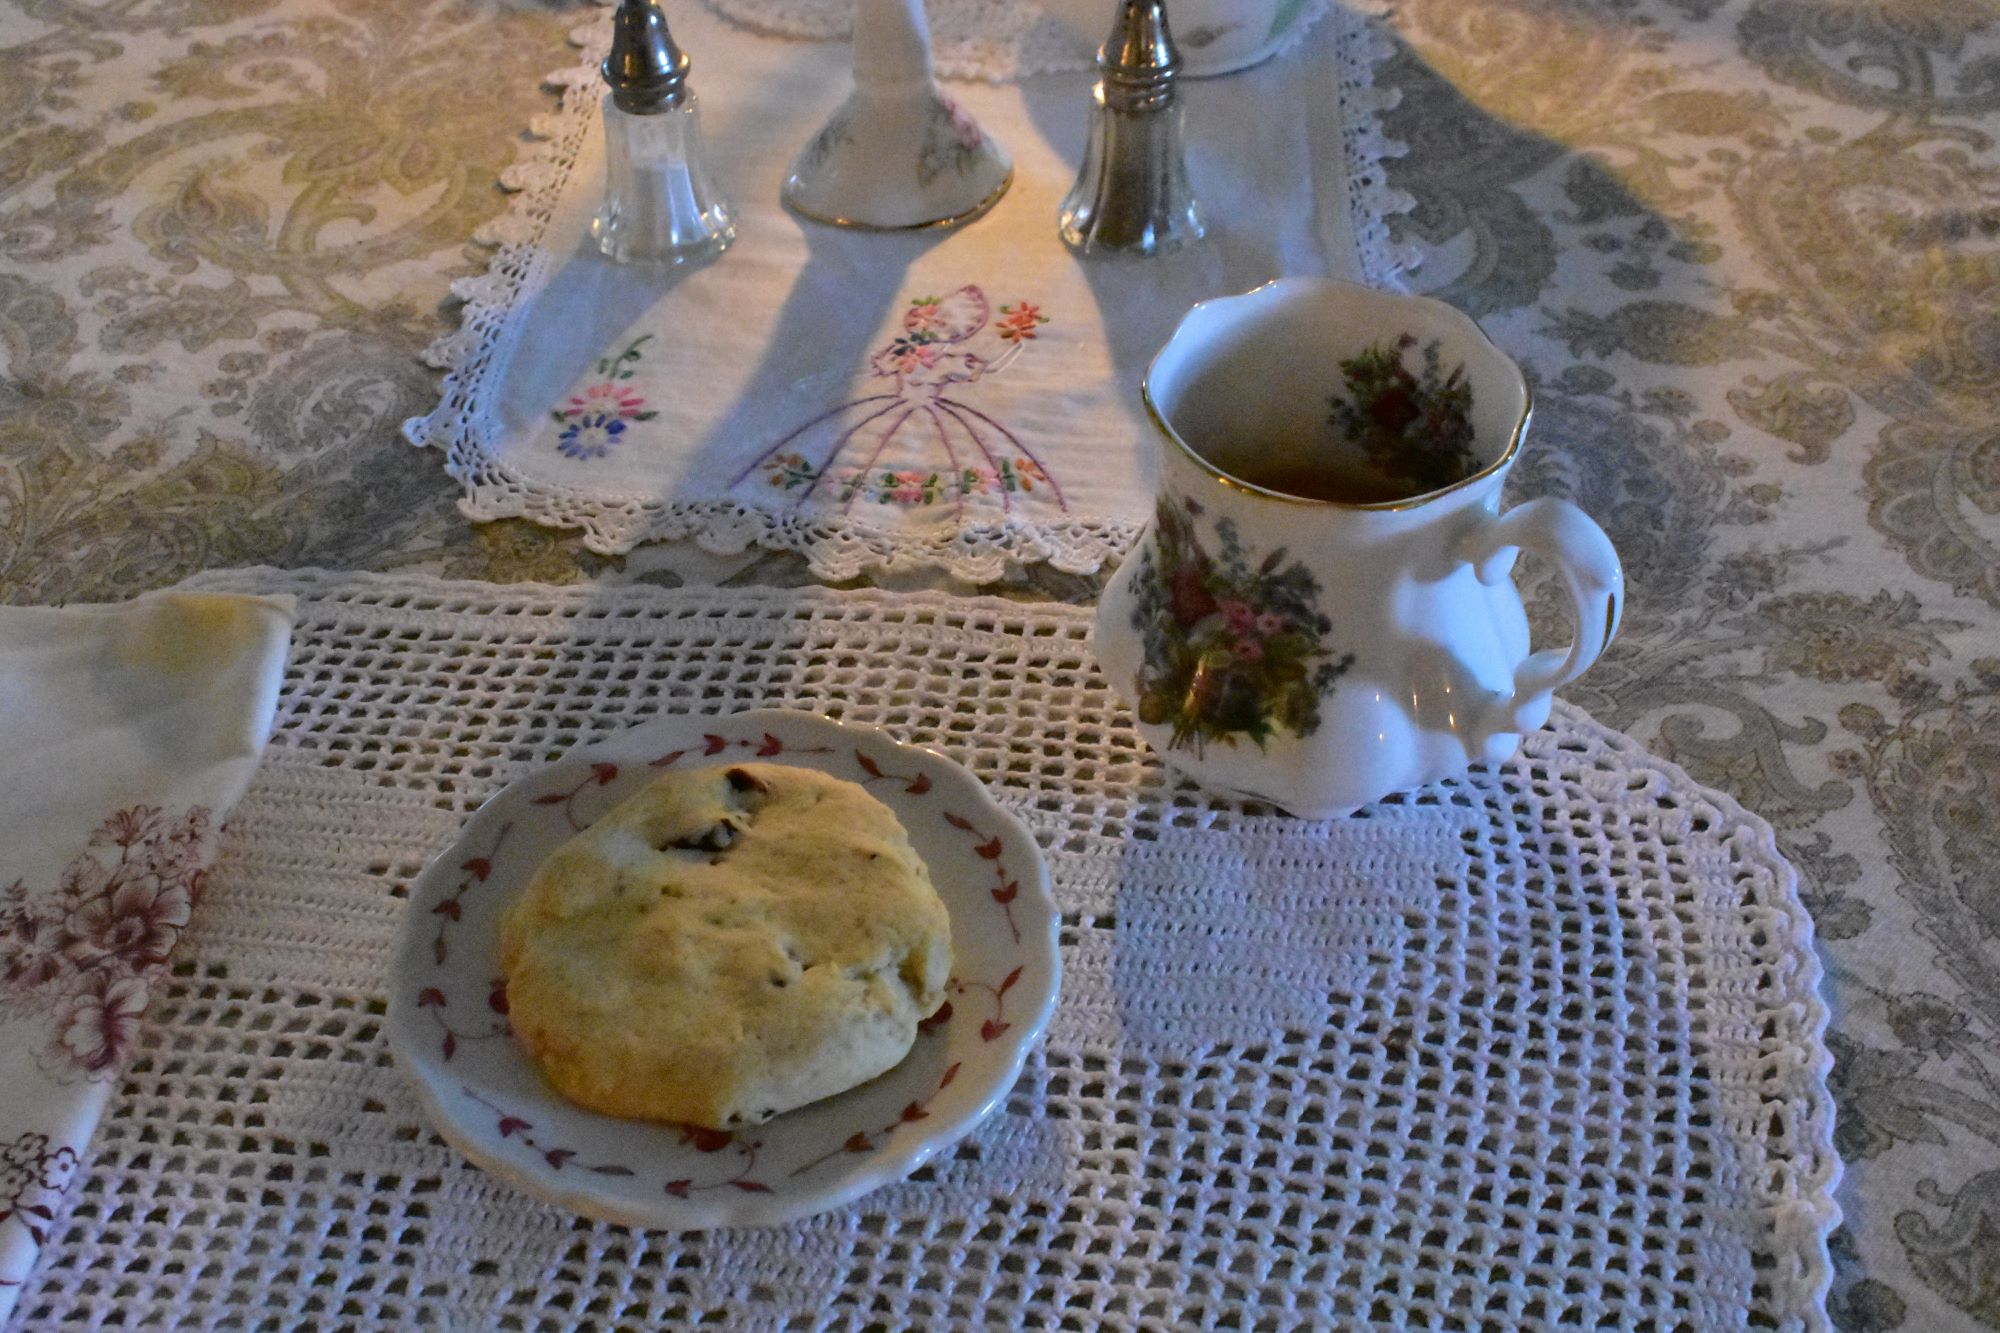
This is the type of Queens Cake that I make. There are many variations for queens cakes. We can look far back in time. So far I have traced them back to 1766. They were called Queen Cakes. The recipe I use is from approximately 1803. There are different types of Queen Cake and as time went forward there were recipes that looked like a cookie or biscuit, a muffin or cupcake. Then in the 1940's and up, they could look like most anything, A full cake to a sheet cake or a mini cake. I studied many queen cake recipes and this is the one that we enjoy eating, it is more of a cookie or biscuit than a muffin or cupcake. The one pictured above, I added dates but you can add any type of dried fruit and or nuts. The very old articles of Queen Cakes is mentioned with other desserts at coronations or Balls or advertisements.
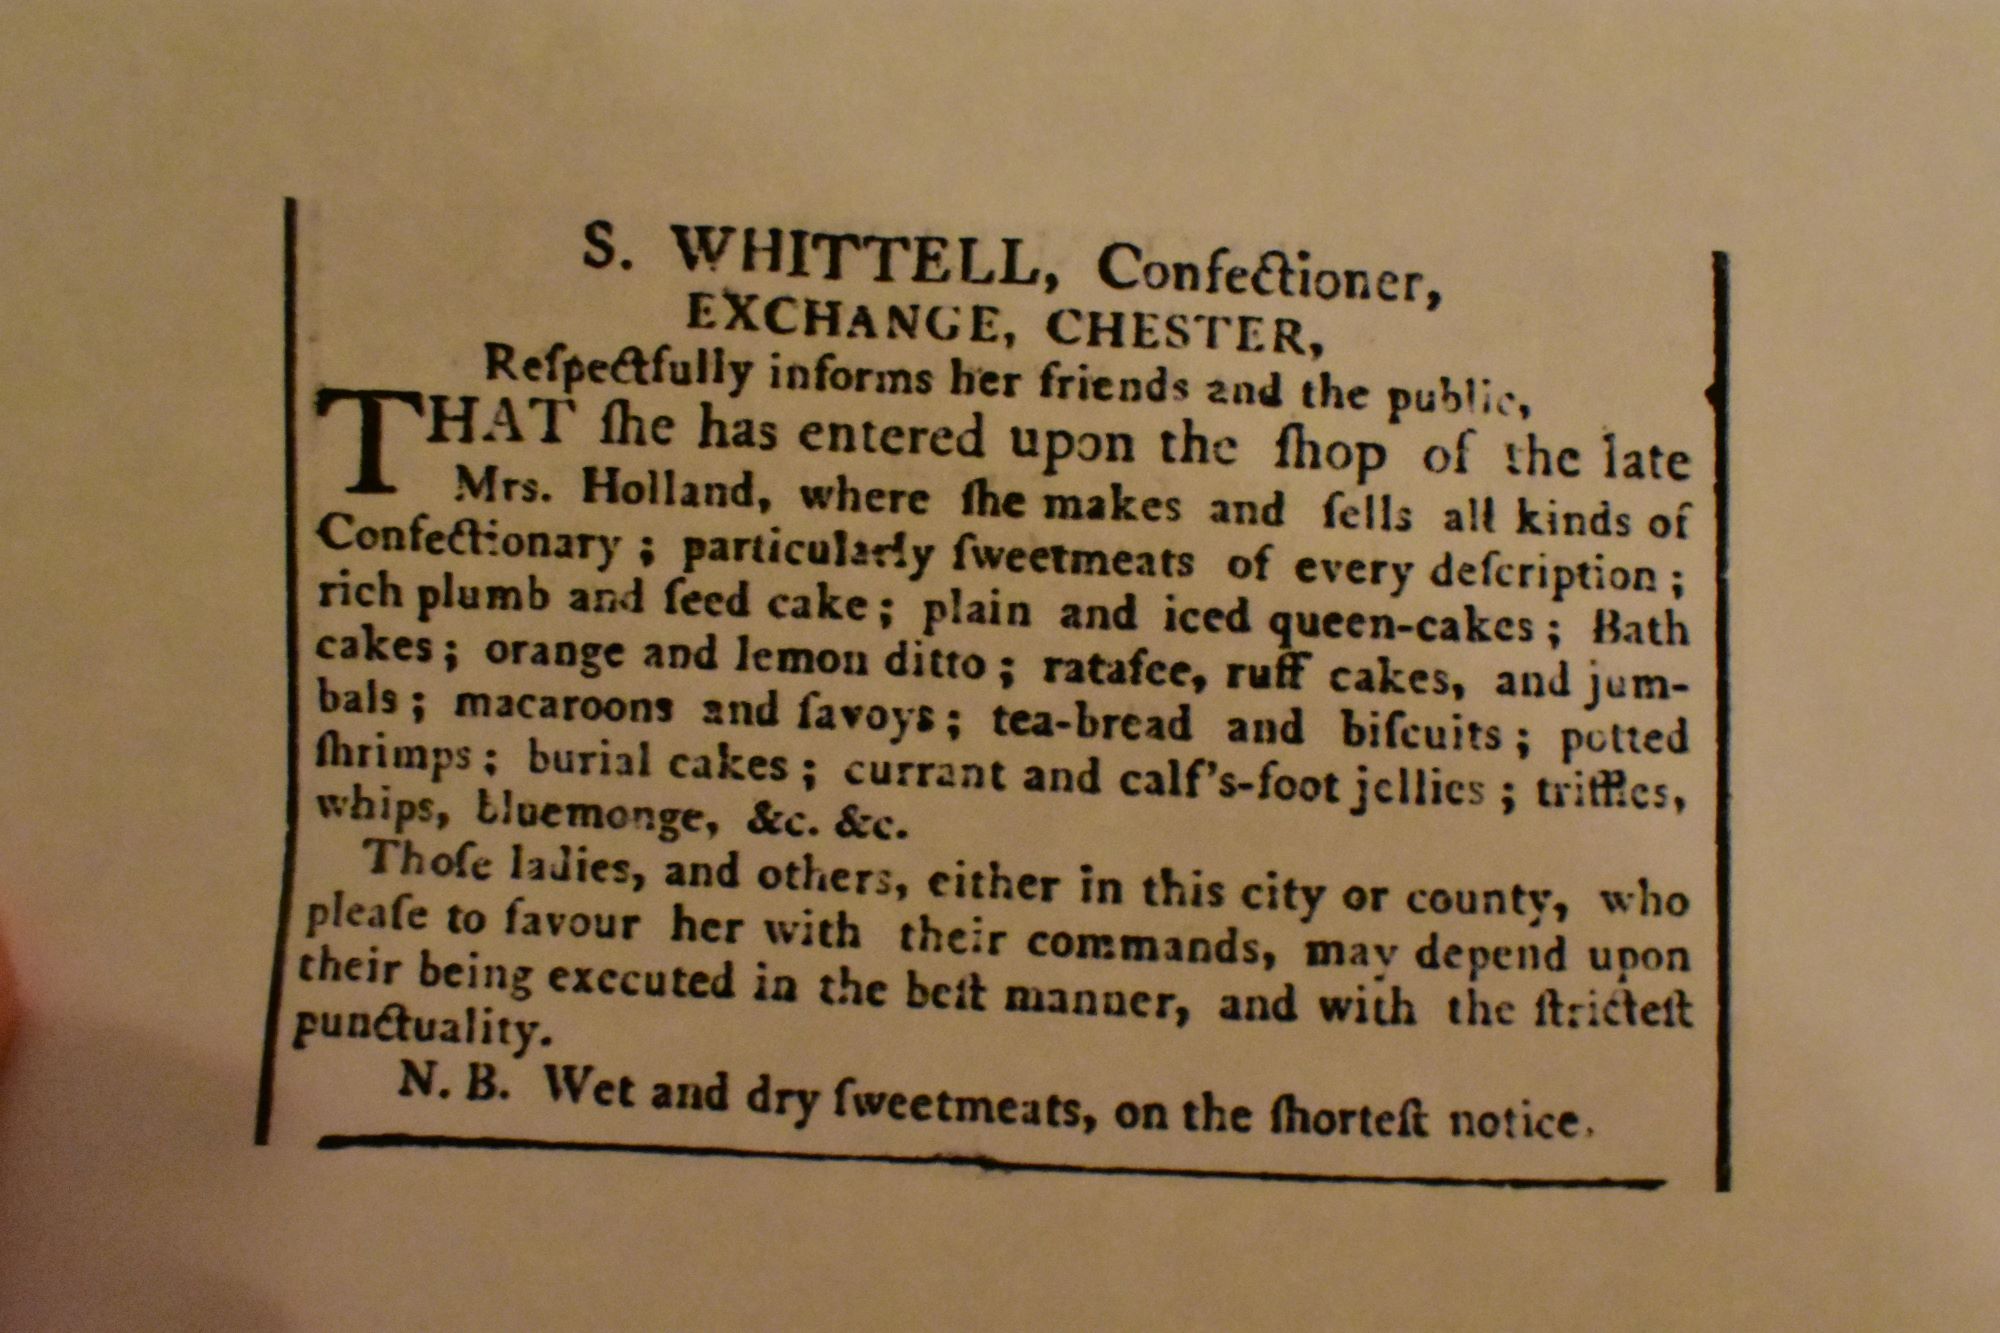
This above is an article from the year 1790 in England and Queen-cakes are mentioned.
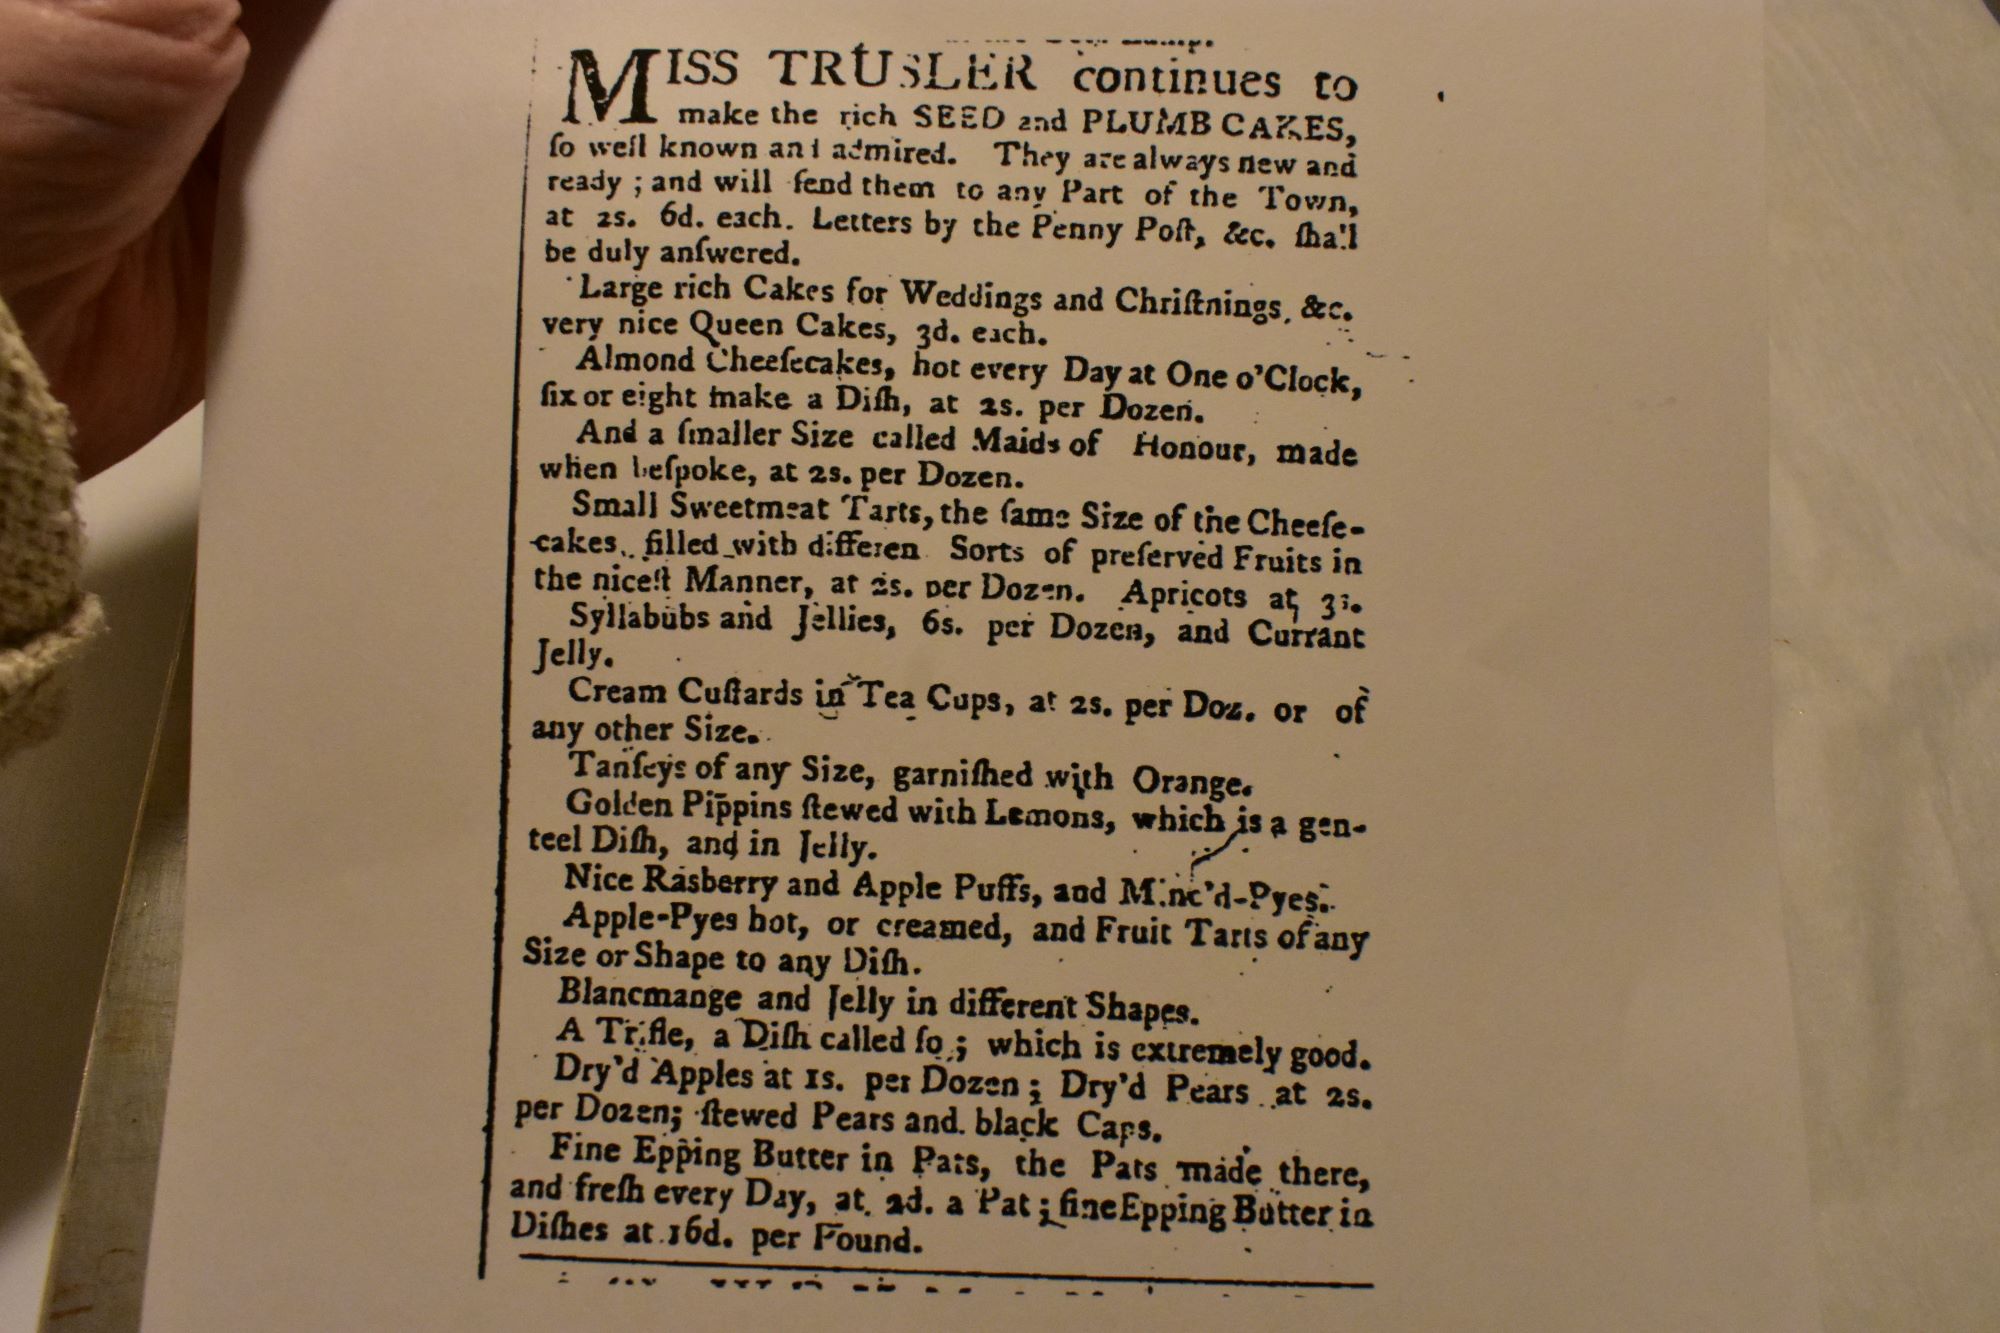
This article is from the year 1766. I did not start finding recipes until I got to early 1800, I found one in 1803, 1811, 1829, and on up to the 1900. There was an article in1838 at the coronation for her Majesty Queen Victoria, the scholars were to be treated with queen cake & wine.
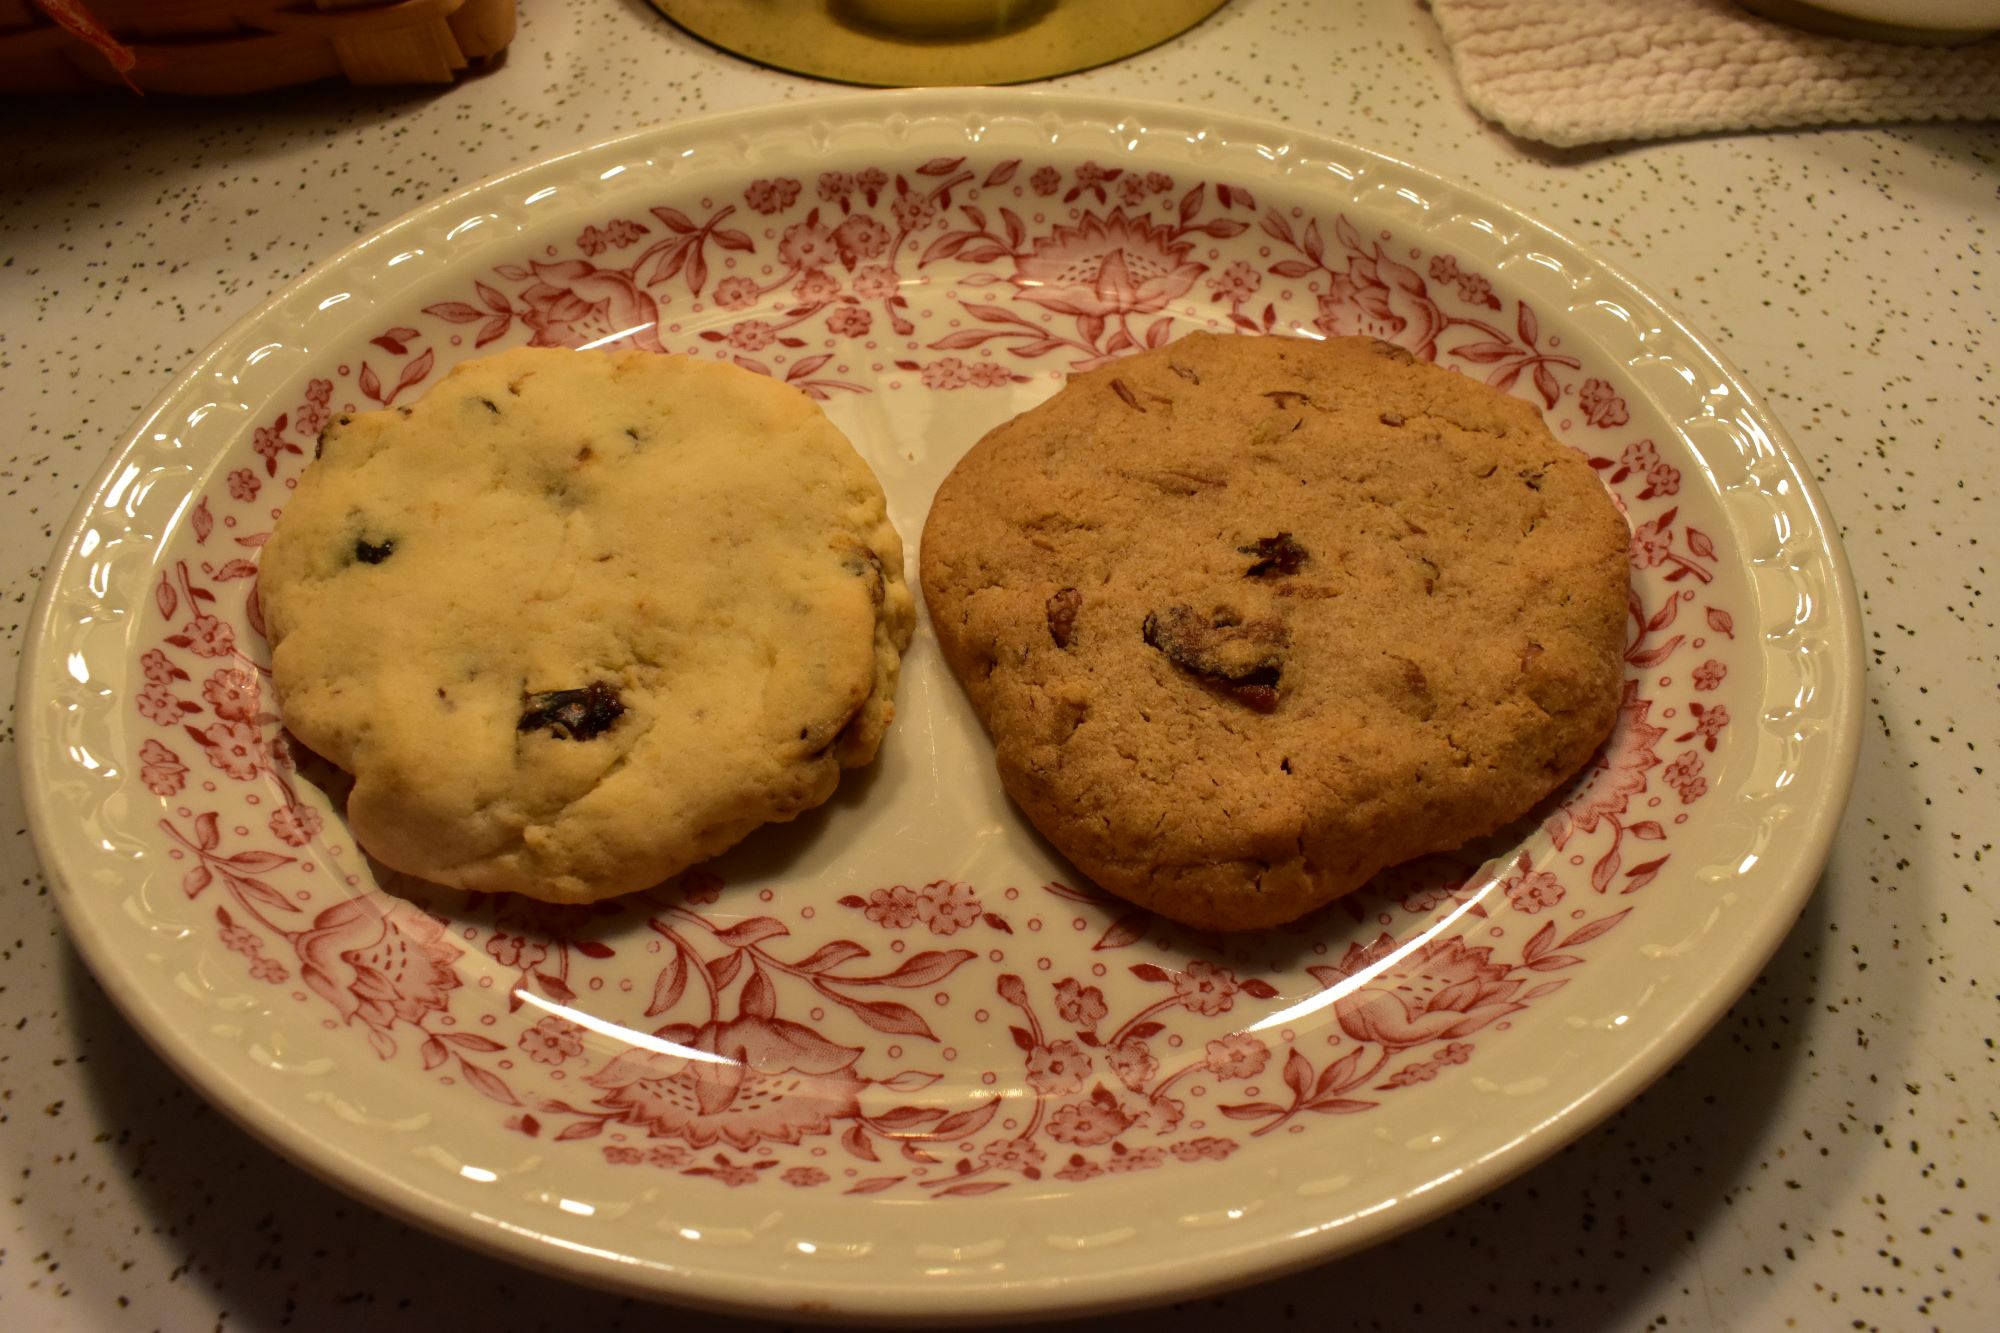
I have been making Queens cakes for several years now. This past week I decided to make the Queens Cake using Spelt flour (the one on the right) I made some spelt bread so I decided to see how the Queens cakes taste with spelt and to Charles and I they are still very good. The spelt Queens Cake above on right has dates and pecans. The one on the left is using all purpose flour and chopped Dates. Possibly this is called a cake because it is thicker and larger than a cookie.
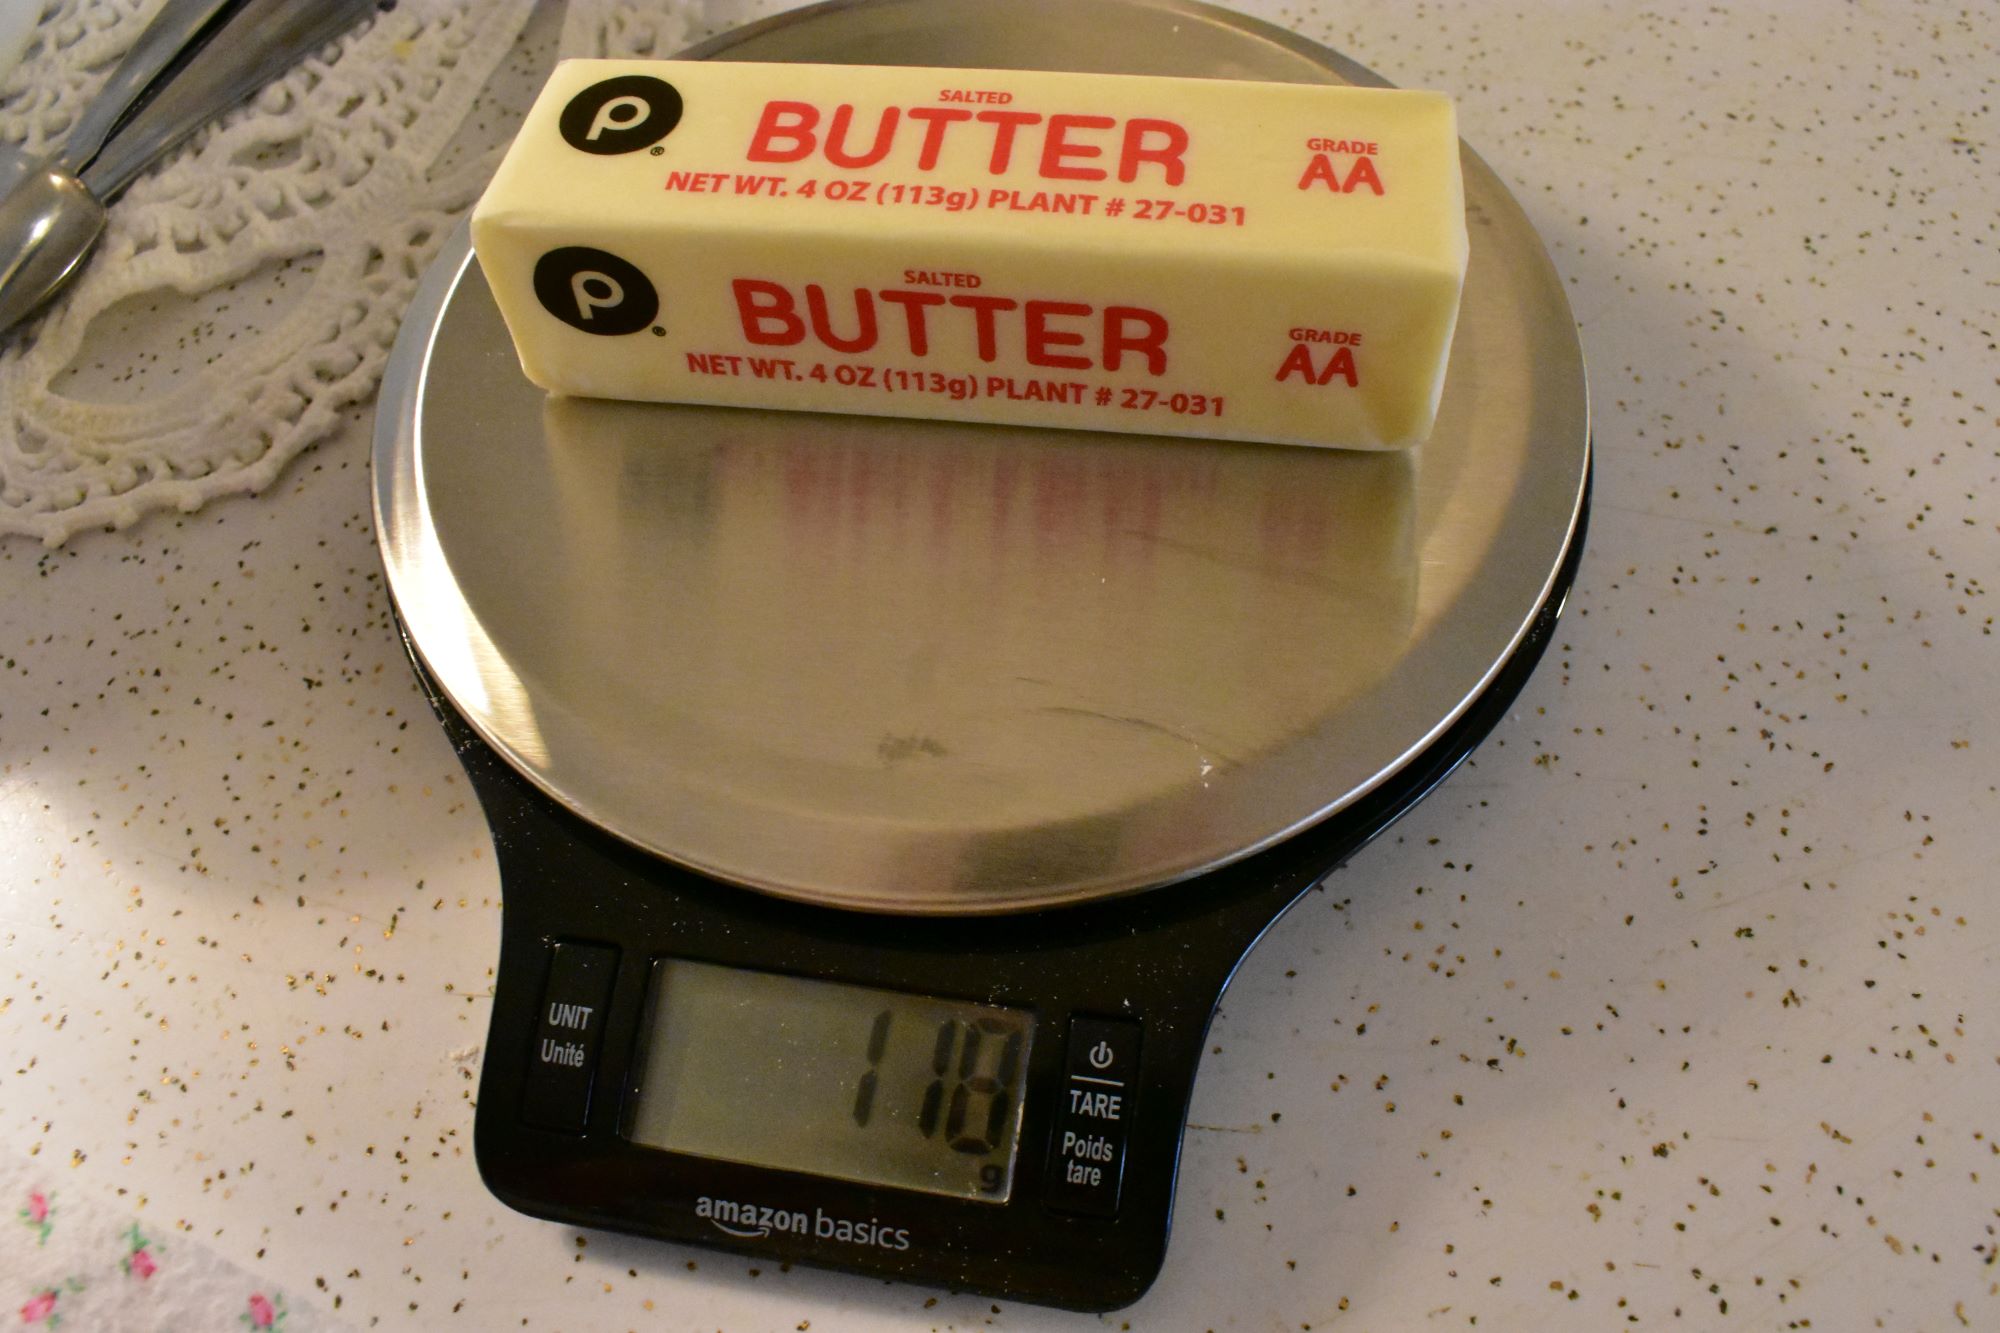
"Let's talk measurements"
Living in the United States, I have grown up measuring with measuring cups and teaspoons and such as that. The internet has opened the whole world to us, and people around the world use different methods to measure ingredients. When I was looking through recipes for pumpernickel bread and Spelt bread, I noticed in the comments they were all over the place. Some said it turned out good, some said it did not rise, some said the dough was too wet, some too dry. That is when the thought came to me that these people were from all around the world and if you are converting cups to grams or ml or the other way around we are going to get different results because the measurements will not be accurate.
Since I have a scale to measure by weight, I scooped out 4 and 1/2 cups of flour. Each cup I scooped out, I weighed it on the scale in grams. Each scoop I weighed was a different weight. I could not get the same no matter how careful I was. This is why the recipes are not consistent when measuring using measuring cups. Weighing the ingredients is best if you want to turn out the same each time. That is hoping that it was good. :)
Many of you in Australia and United Kingdom and I am not sure where else measure by weight. So I have started weighing most of my ingredients and I am all about changing something if it is helpful. I wish I had been taught this way but it does not matter how old we get, keep learning new things.
When I measured out two cups of all purpose flour it came to over 300 grams. But if I look on the chart that converts cups to grams two cups of flour should be 240 grams. So if I use the two cups, that would be too much flour. So don't put all of the two cups in the recipe unless you need it. If your flour is light and fluffy it might be okay but if it is packed down it might not be okay.
What I am saying that if you want to bake better, measure with a scale.
This is the recipe for the Queens Cakes that I make.
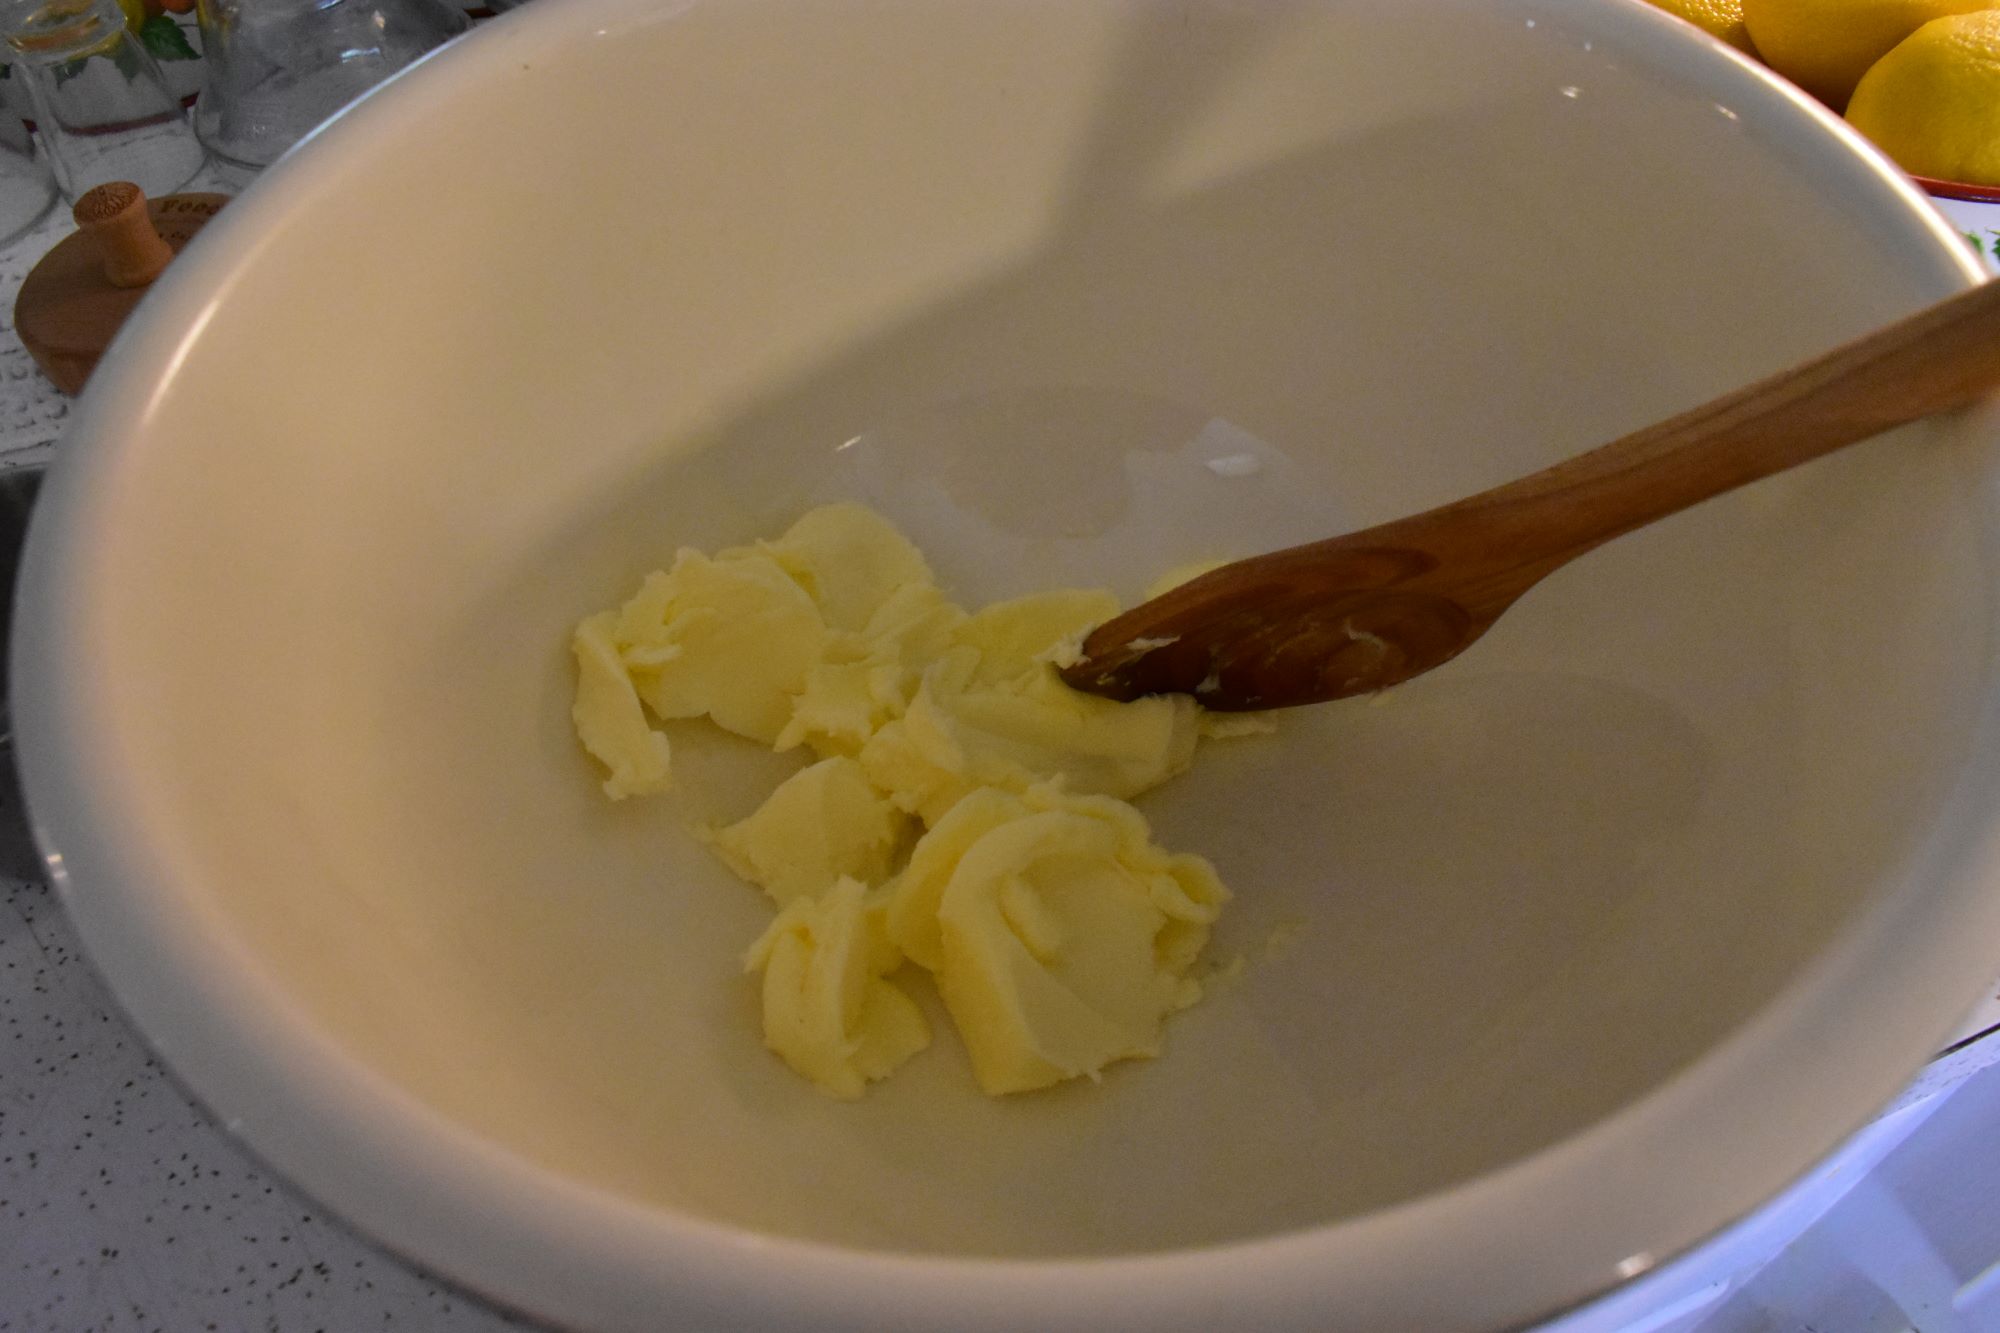
I use one bowl, I do not use a mixer because they did not not have them in 1803 (but they did have scales). I use a wooden spoon or rubber spatula to smash the butter and sugar and ingredients. I use my hands after I have added flour and the dried fruit.
RECIPE
This will make 8 Queen Cakes, the oven needs to set at 350 degrees and it bakes for 25 to 30 minutes.
1 Stick of "softened" butter (1 stick of butter from our stores equals 1/2 cup, I weighed one of my sticks of butter and it was 115 - 118 grams.)
1 cup of sugar, however, I have cut that to half a cup and it is good that way and not as sweet which I like better so I use 1/2 cup of sugar instead of 1 cup.
1 egg
3 tablespoons Heavy cream
1/4 teaspoon vanilla, no more than that. The original recipe did not call for vanilla, I added this to the recipe and it is a very good addition.
2 cups all purpose flour, if you do not have a scale reserve 1/2 cup of that because it might be too much flour. The weight of the flour needs to be about 250 grams. The dough is sticky and that is okay. Do "not" use self rising, this recipe does not require leavening ingredients.
1/2 cup of dried currants or whatever dried fruit you like and or nuts. Dates, raisins, dried Apricots are good too. I normally make that a heaping 1/2 cup.
You will pre-heat oven to 350 degrees Fahrenheit. or 176.667 Celsius I do not know what that number is rounded off. My oven does Fahrenheit.
I use parchment paper on a doubled walled cookie pan that has air between two layers. A thin cookie sheet might burn the queen cakes.
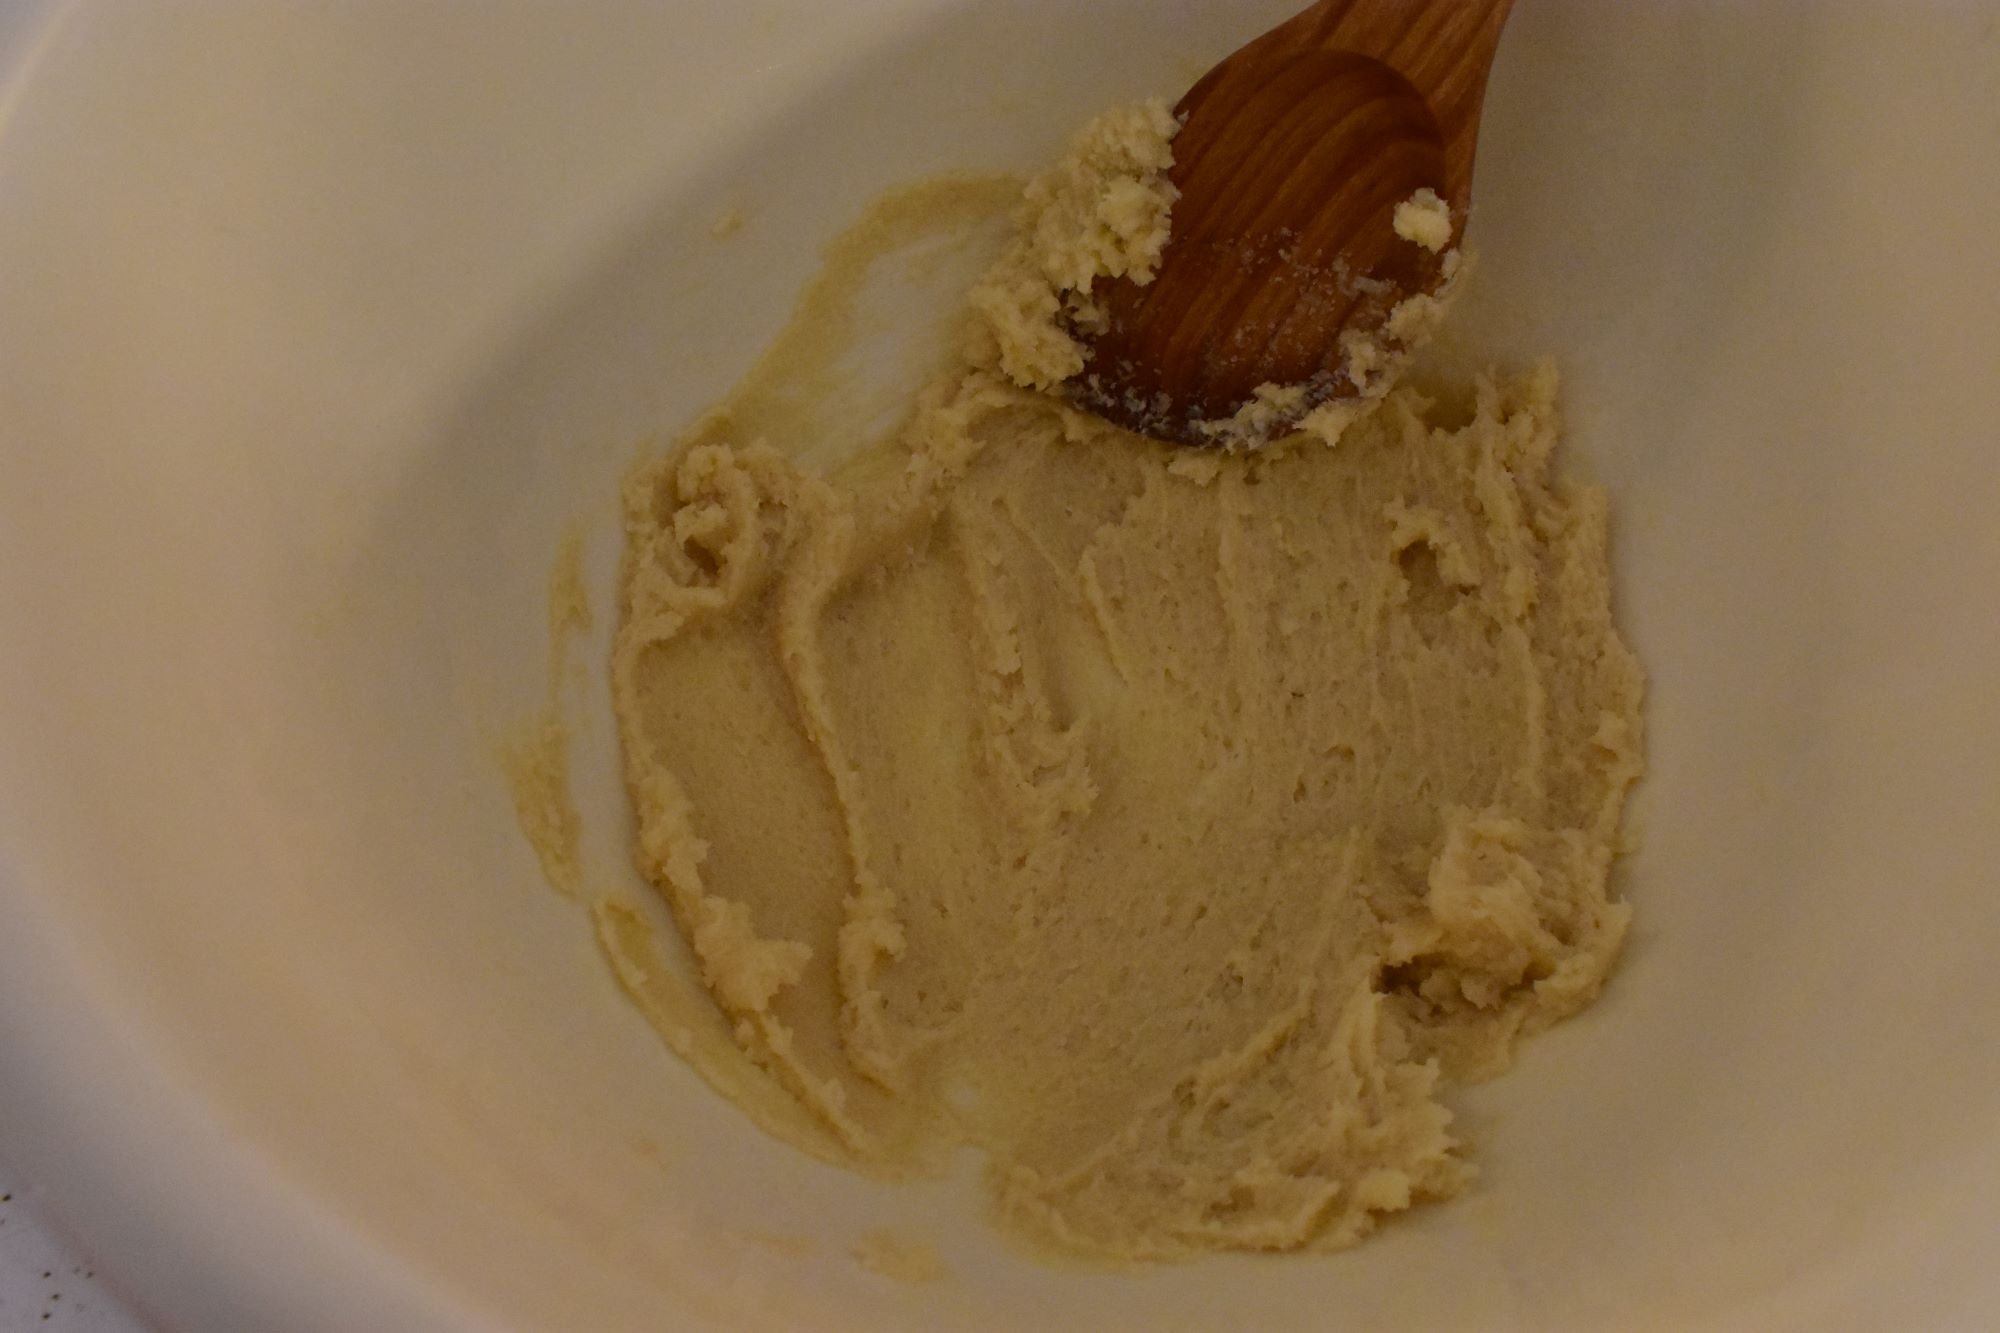
Cream the softened butter and sugar by rubbing them together in the bowl until creamy like this.
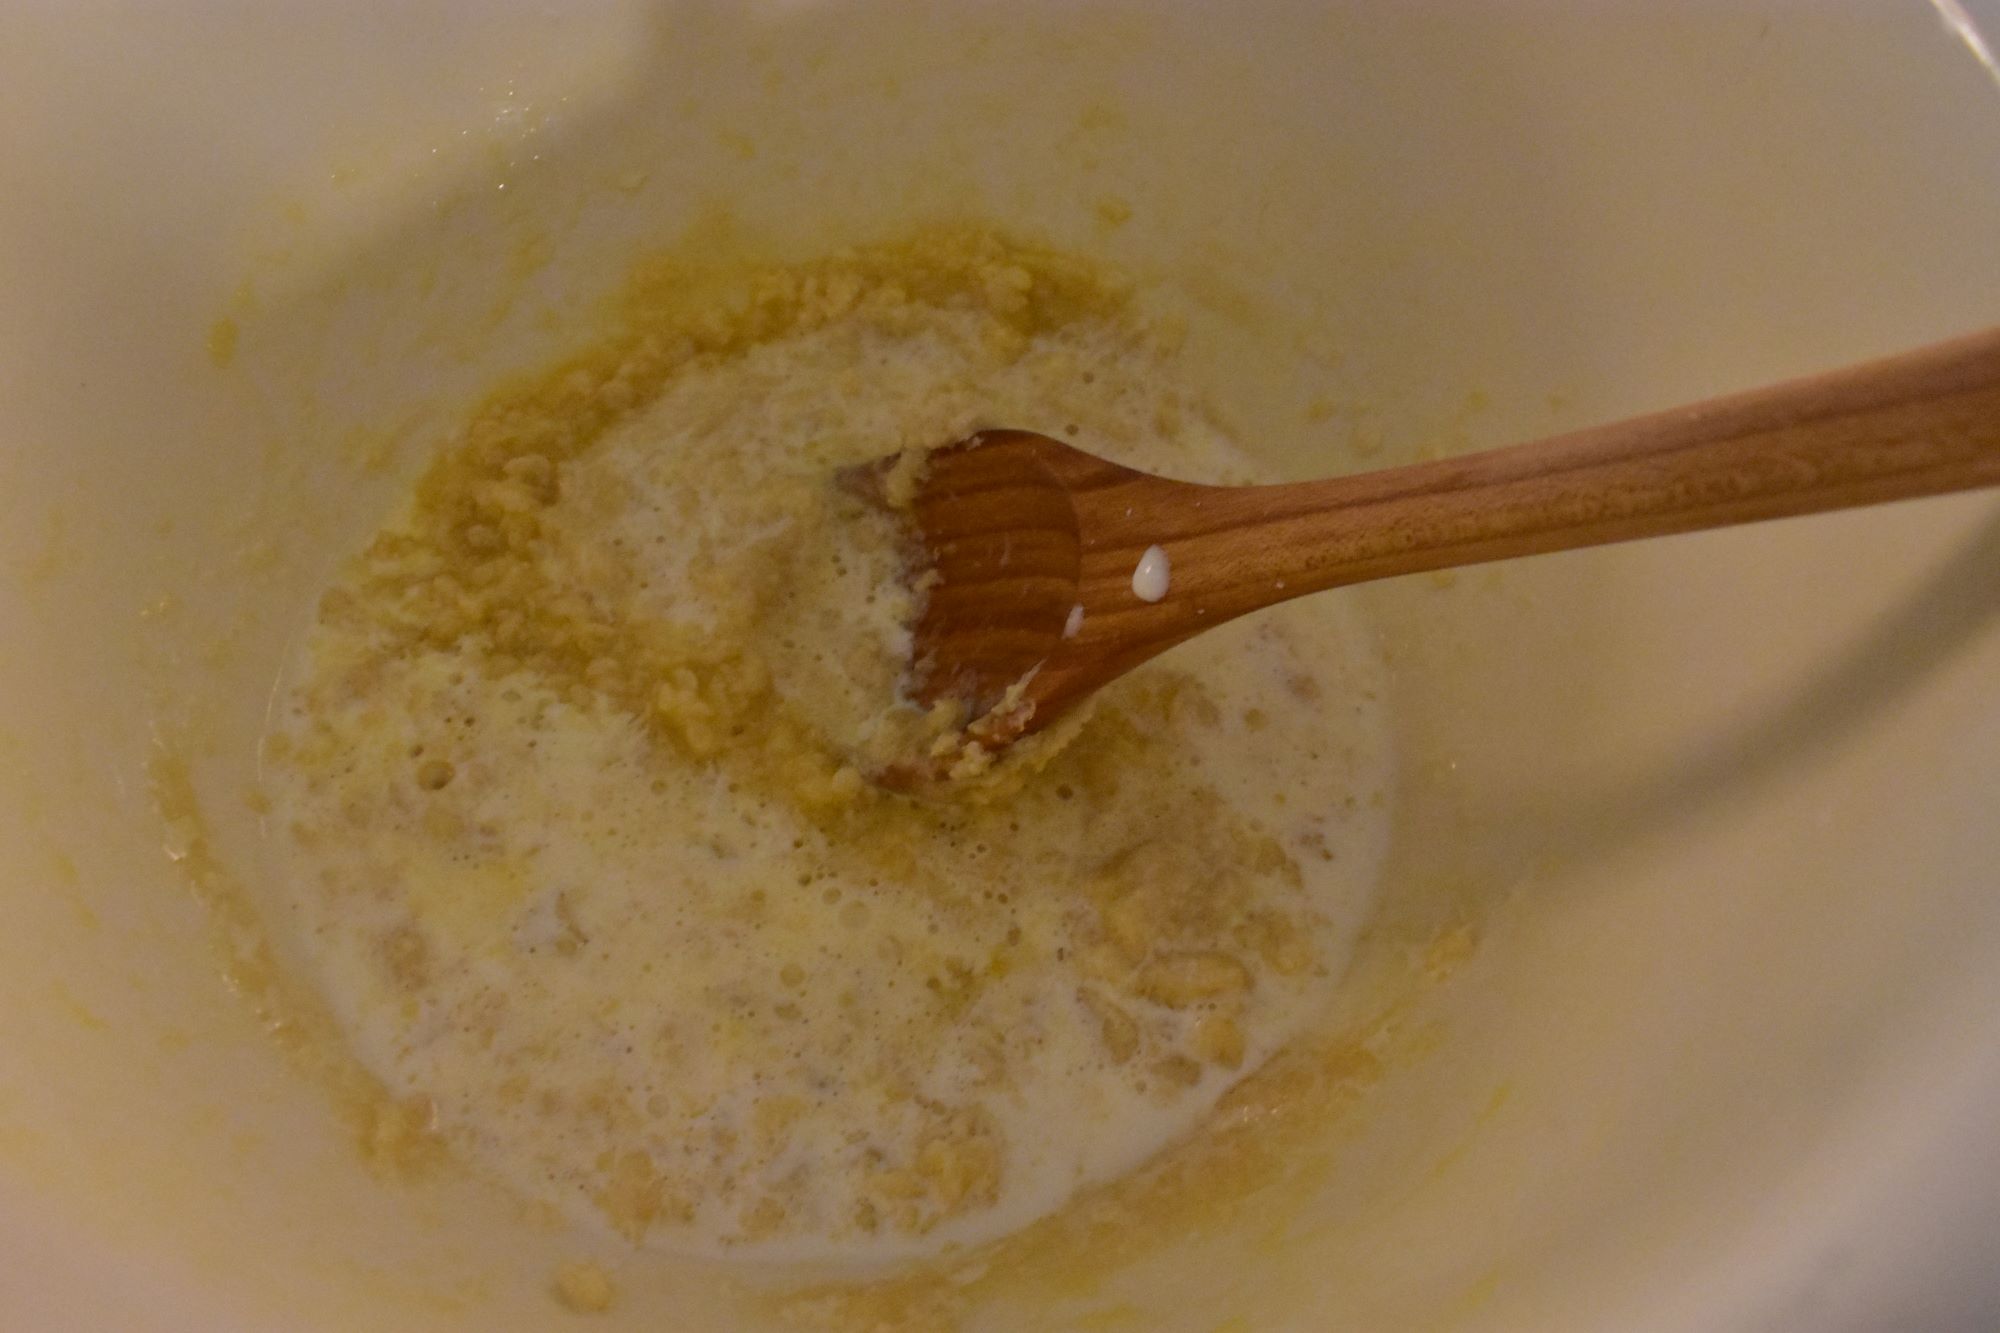
Then add one beaten egg, just whisk it with a fork or whisk. Add three tablespoons of cream and mix that with a spoon.
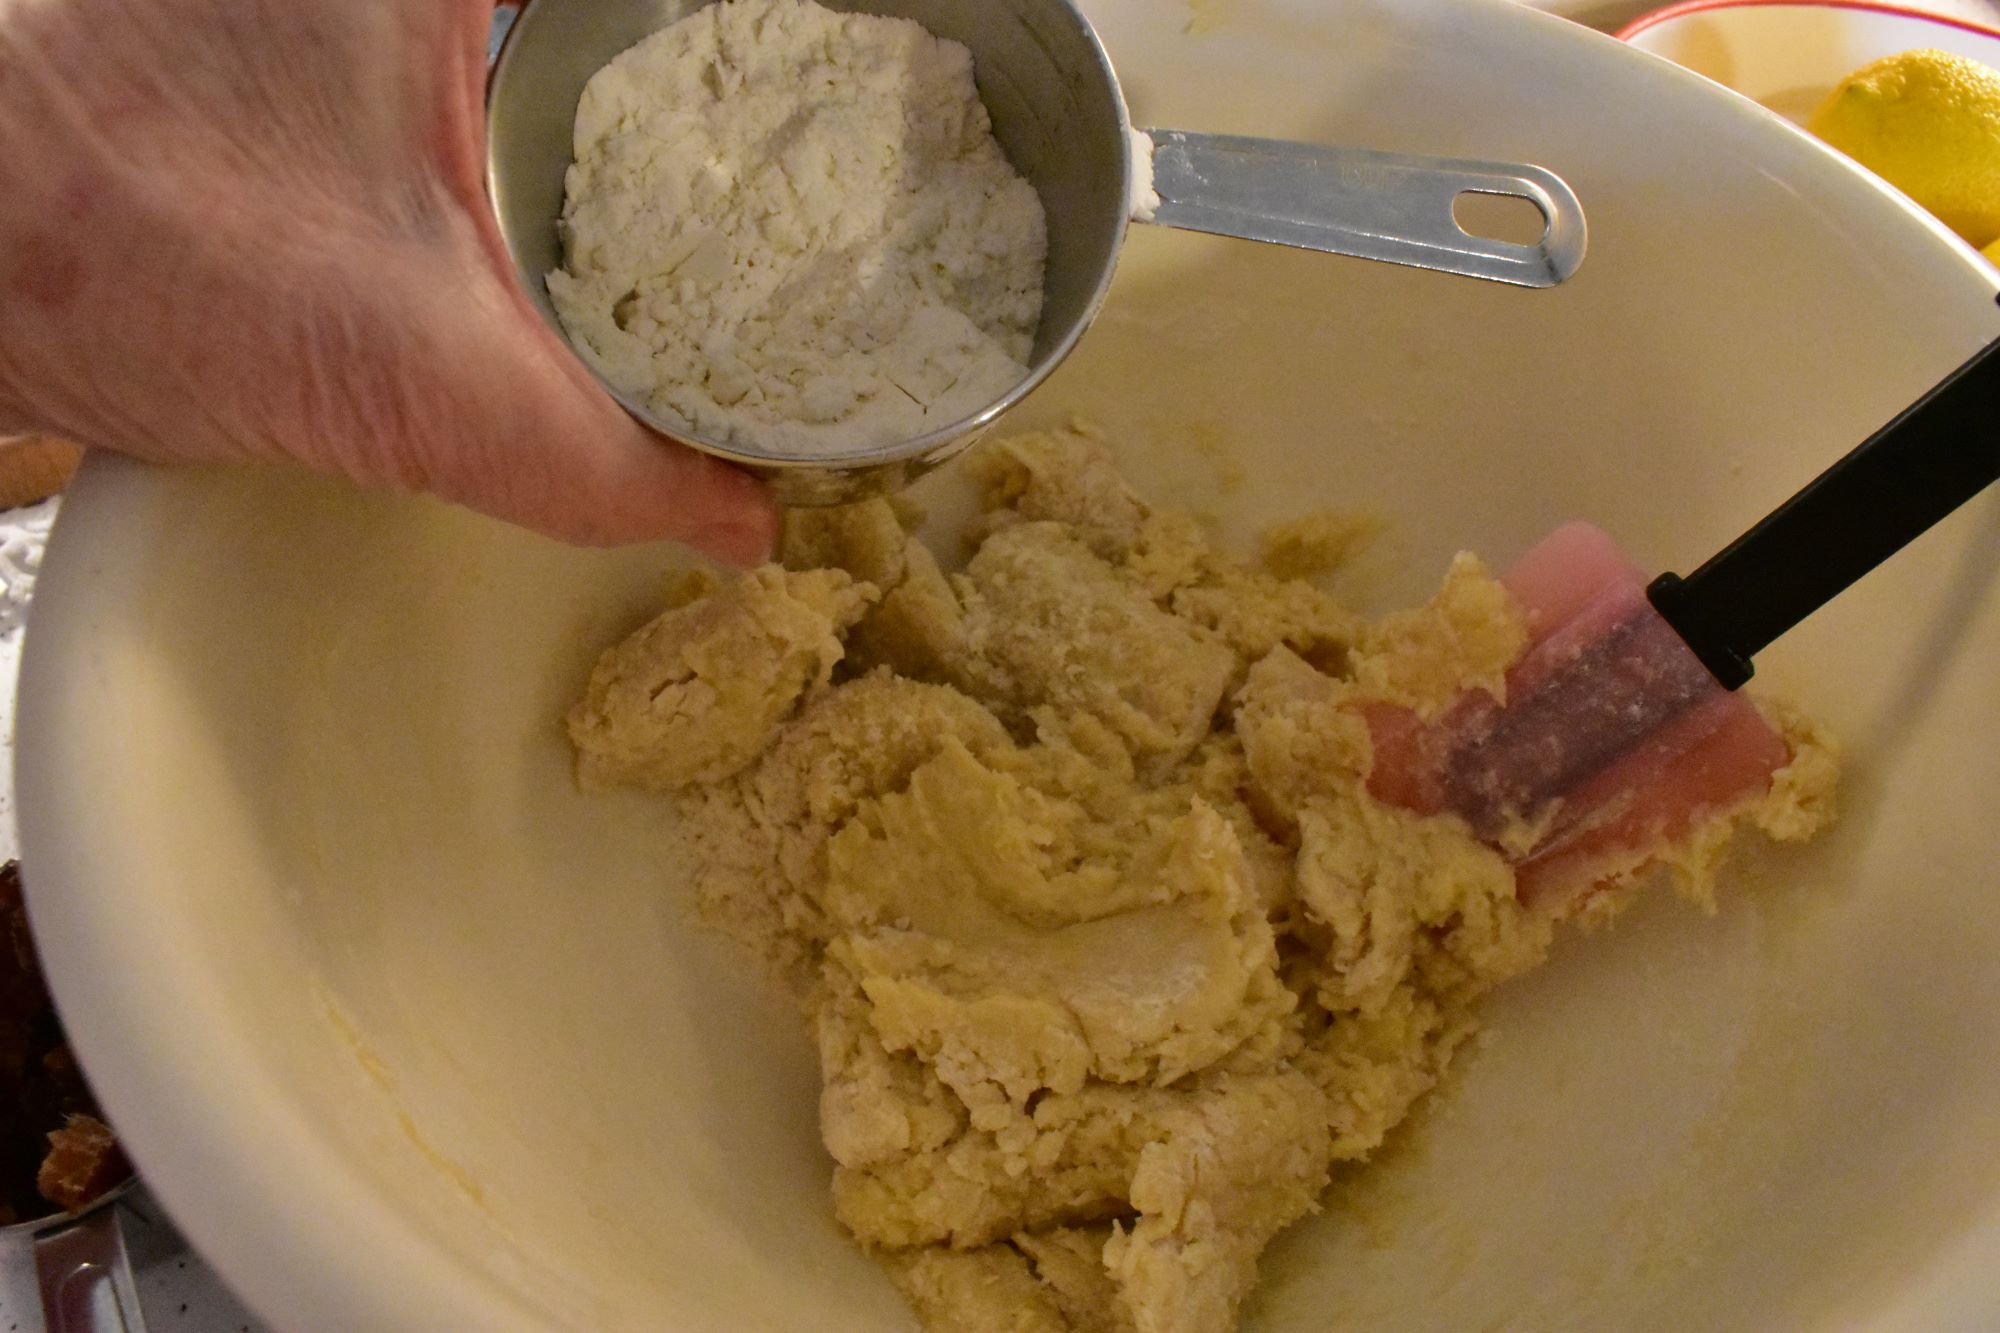
This picture above shows leftover flour in the measuring cup, if I had used all of this the mixture might have been too dry. This is why it matters to weigh out 250 grams. Just save some in your measuring cup if you are measuring by cup and add some more if you need it, you will get the feel of it after making them a time or two.
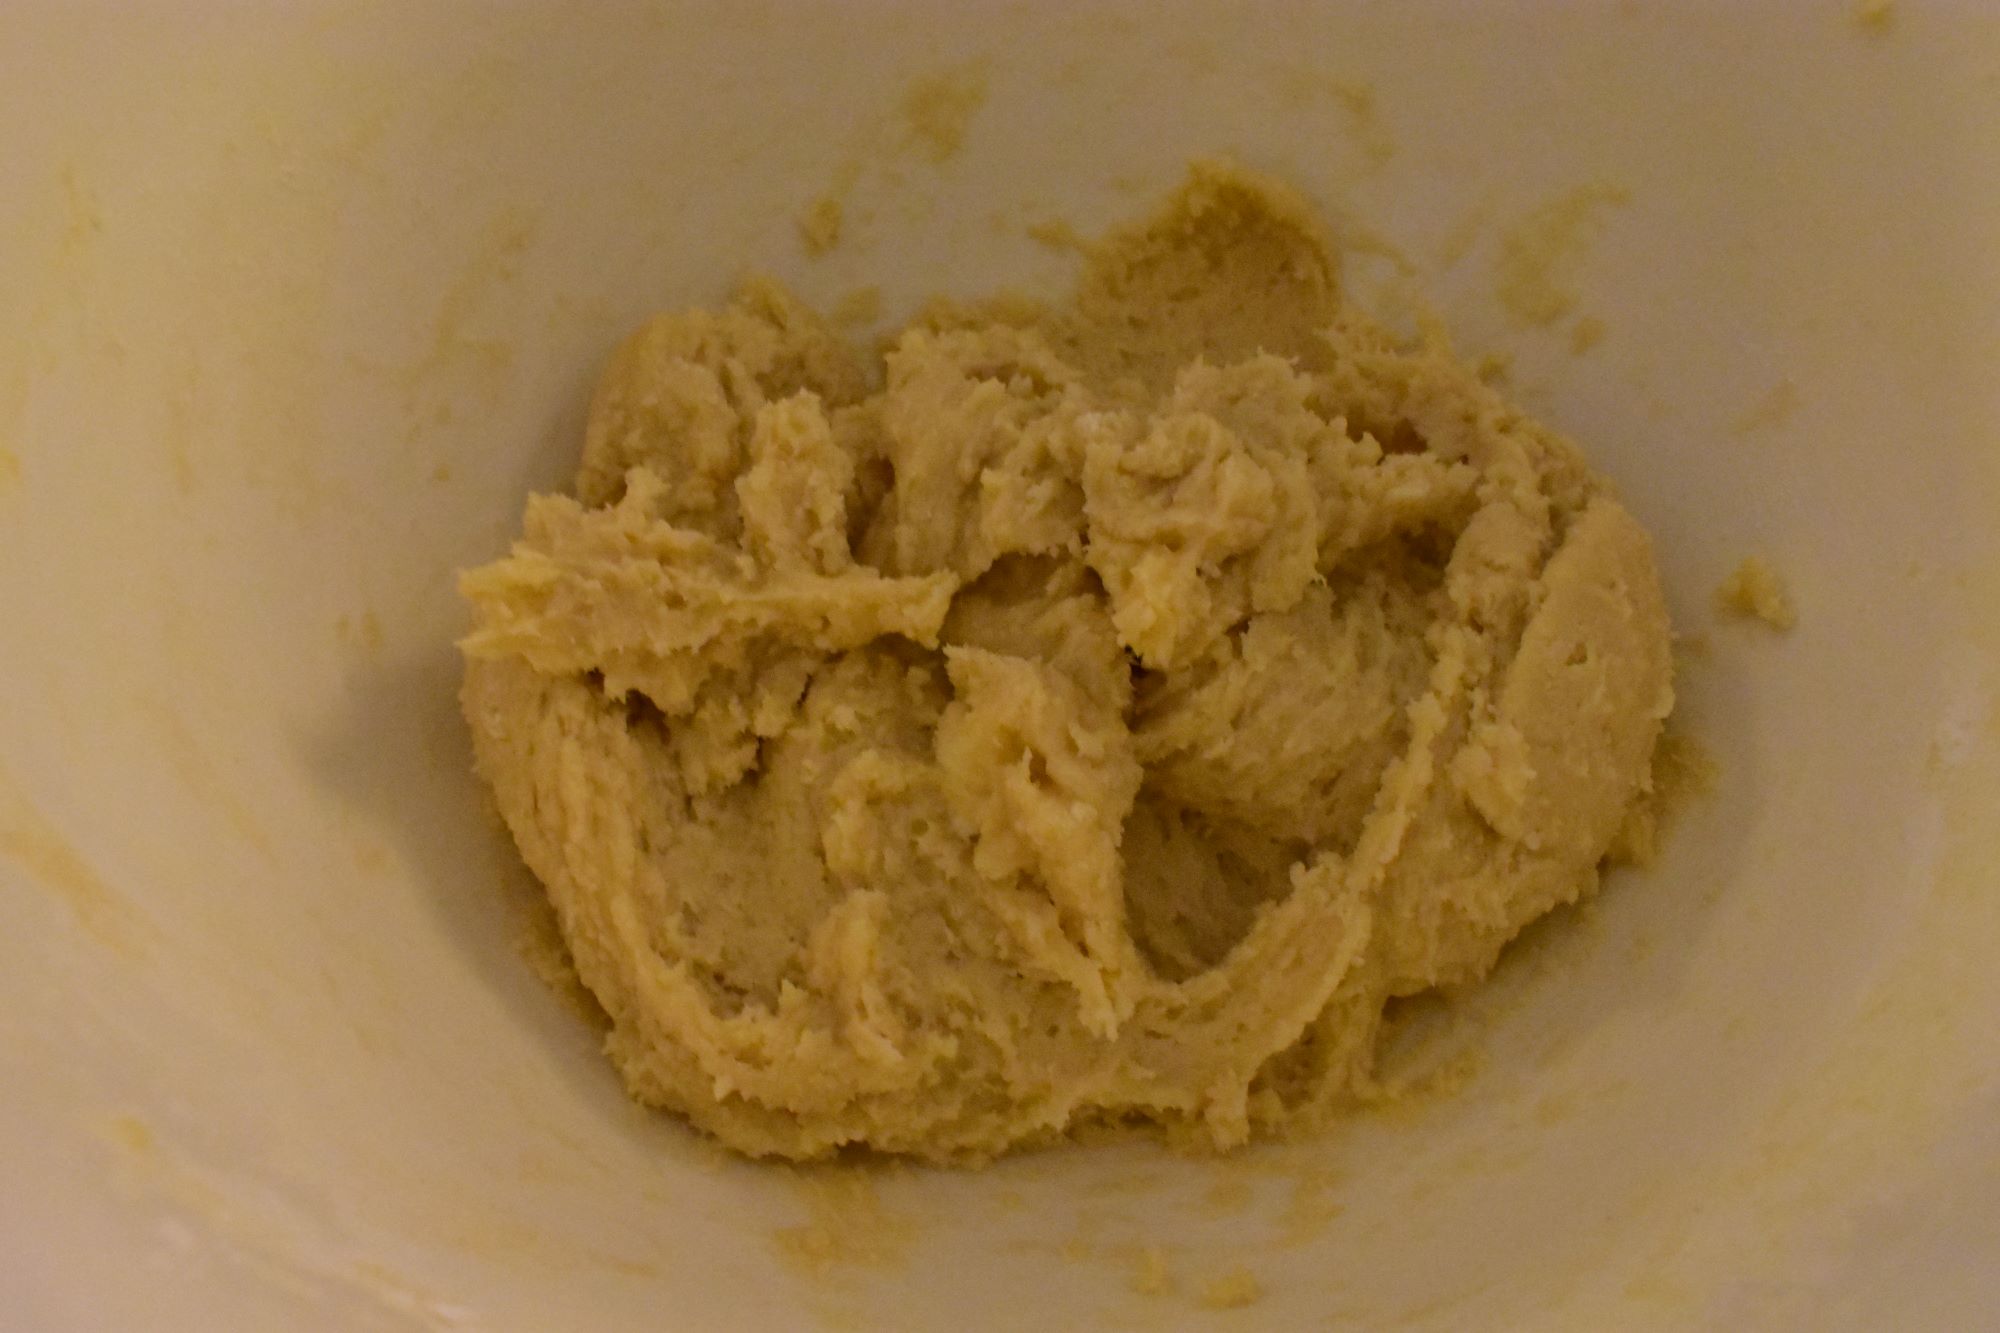
Now add your dried fruit of choice and mix together with your a spoon or spatula until the dried fruit is incorporated.
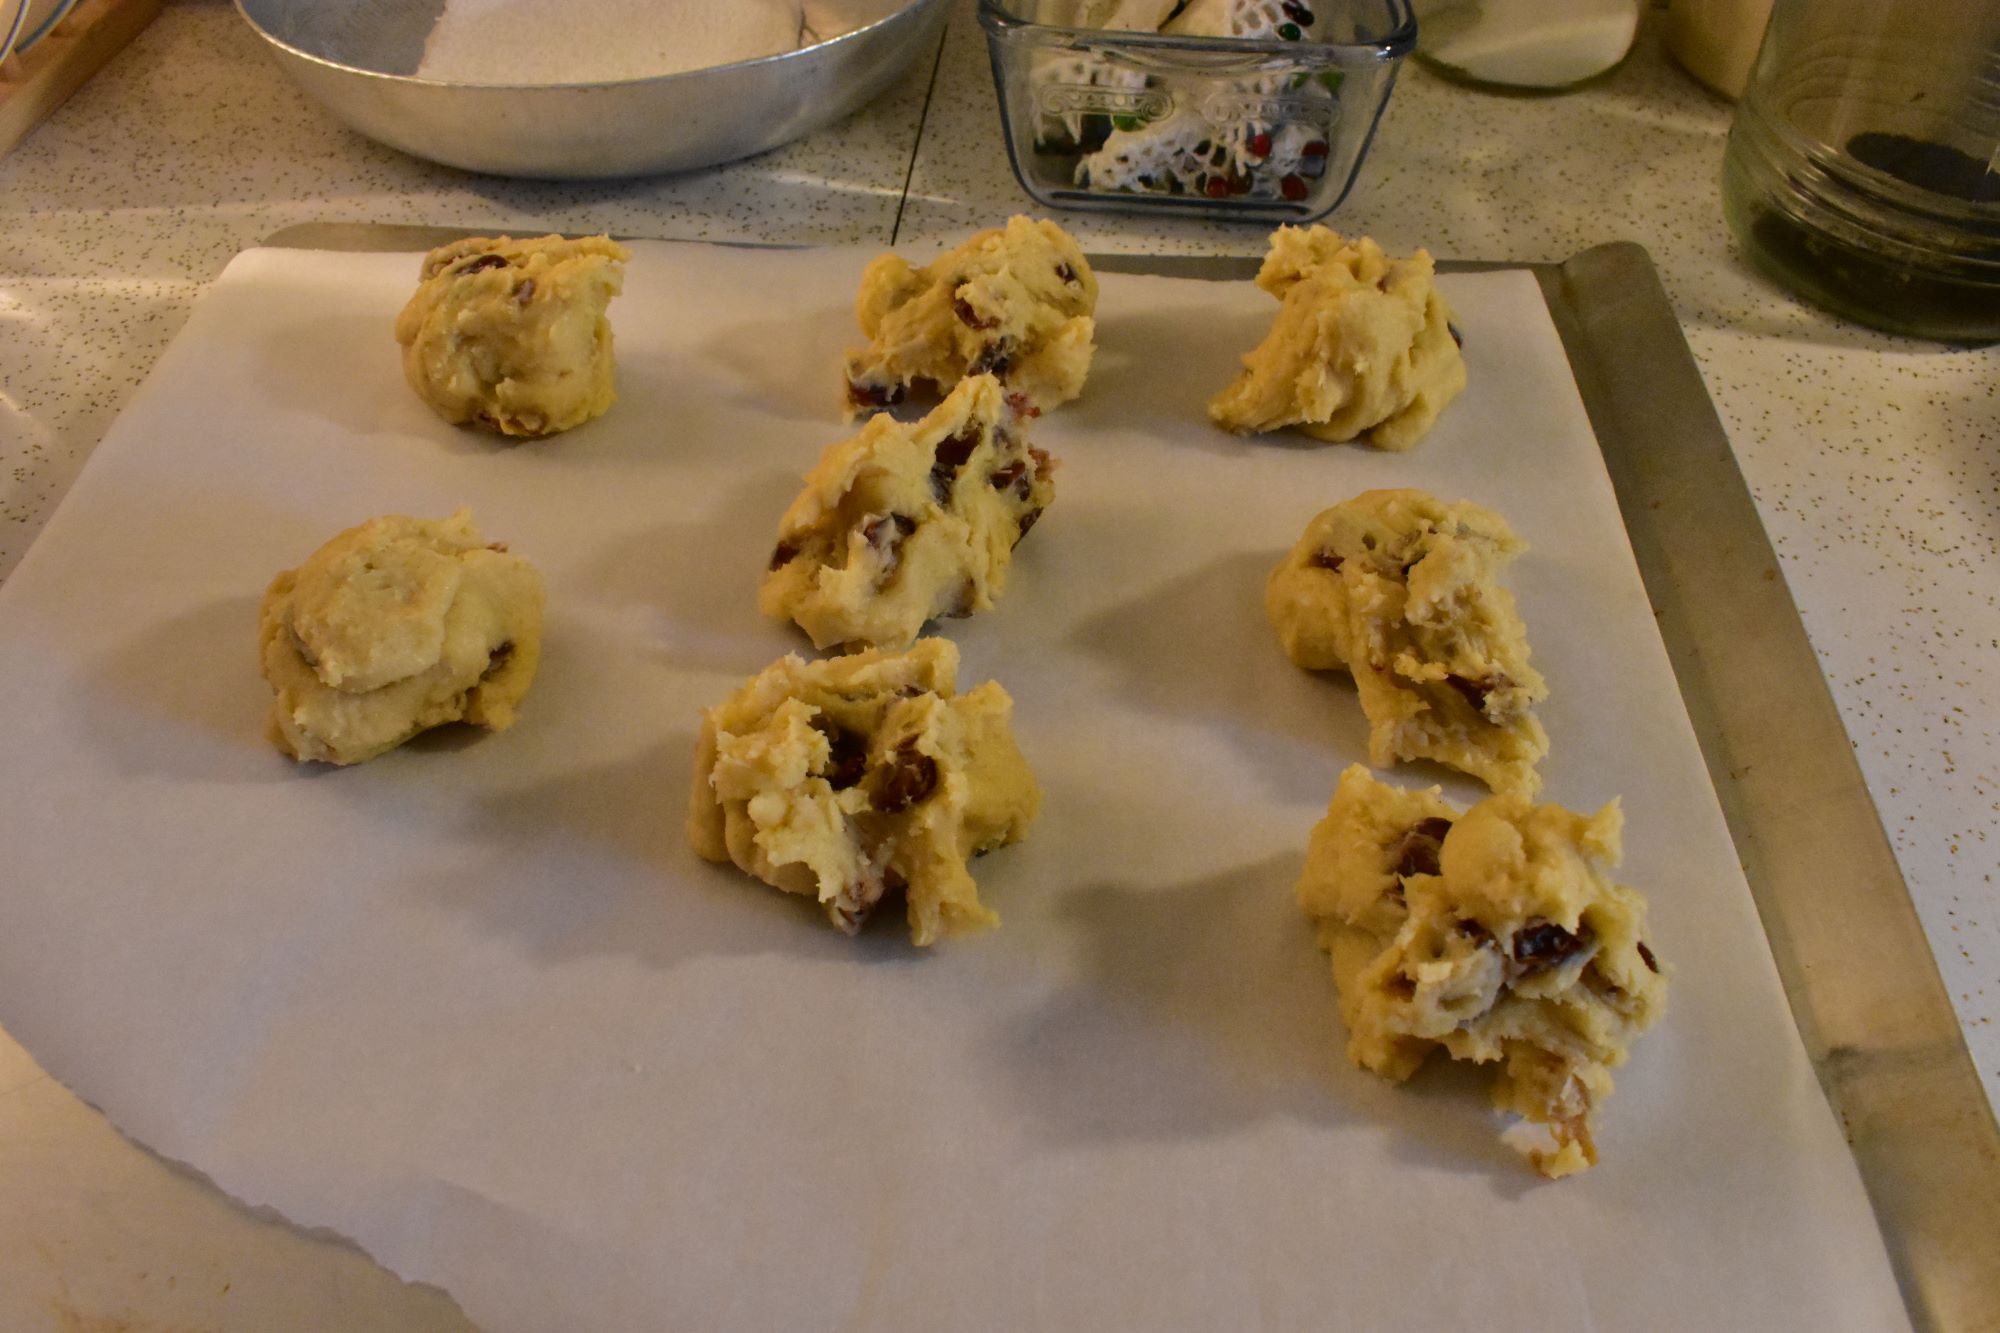
Pinch off to eight equal parts and shape. They need to be somewhat thick. I actually weighed the dough and divided it by 8 so I could have the cakes the same size.
You do not have to be particular like this once you have made them it is so quick and easy you can just make it without any fuss at all.
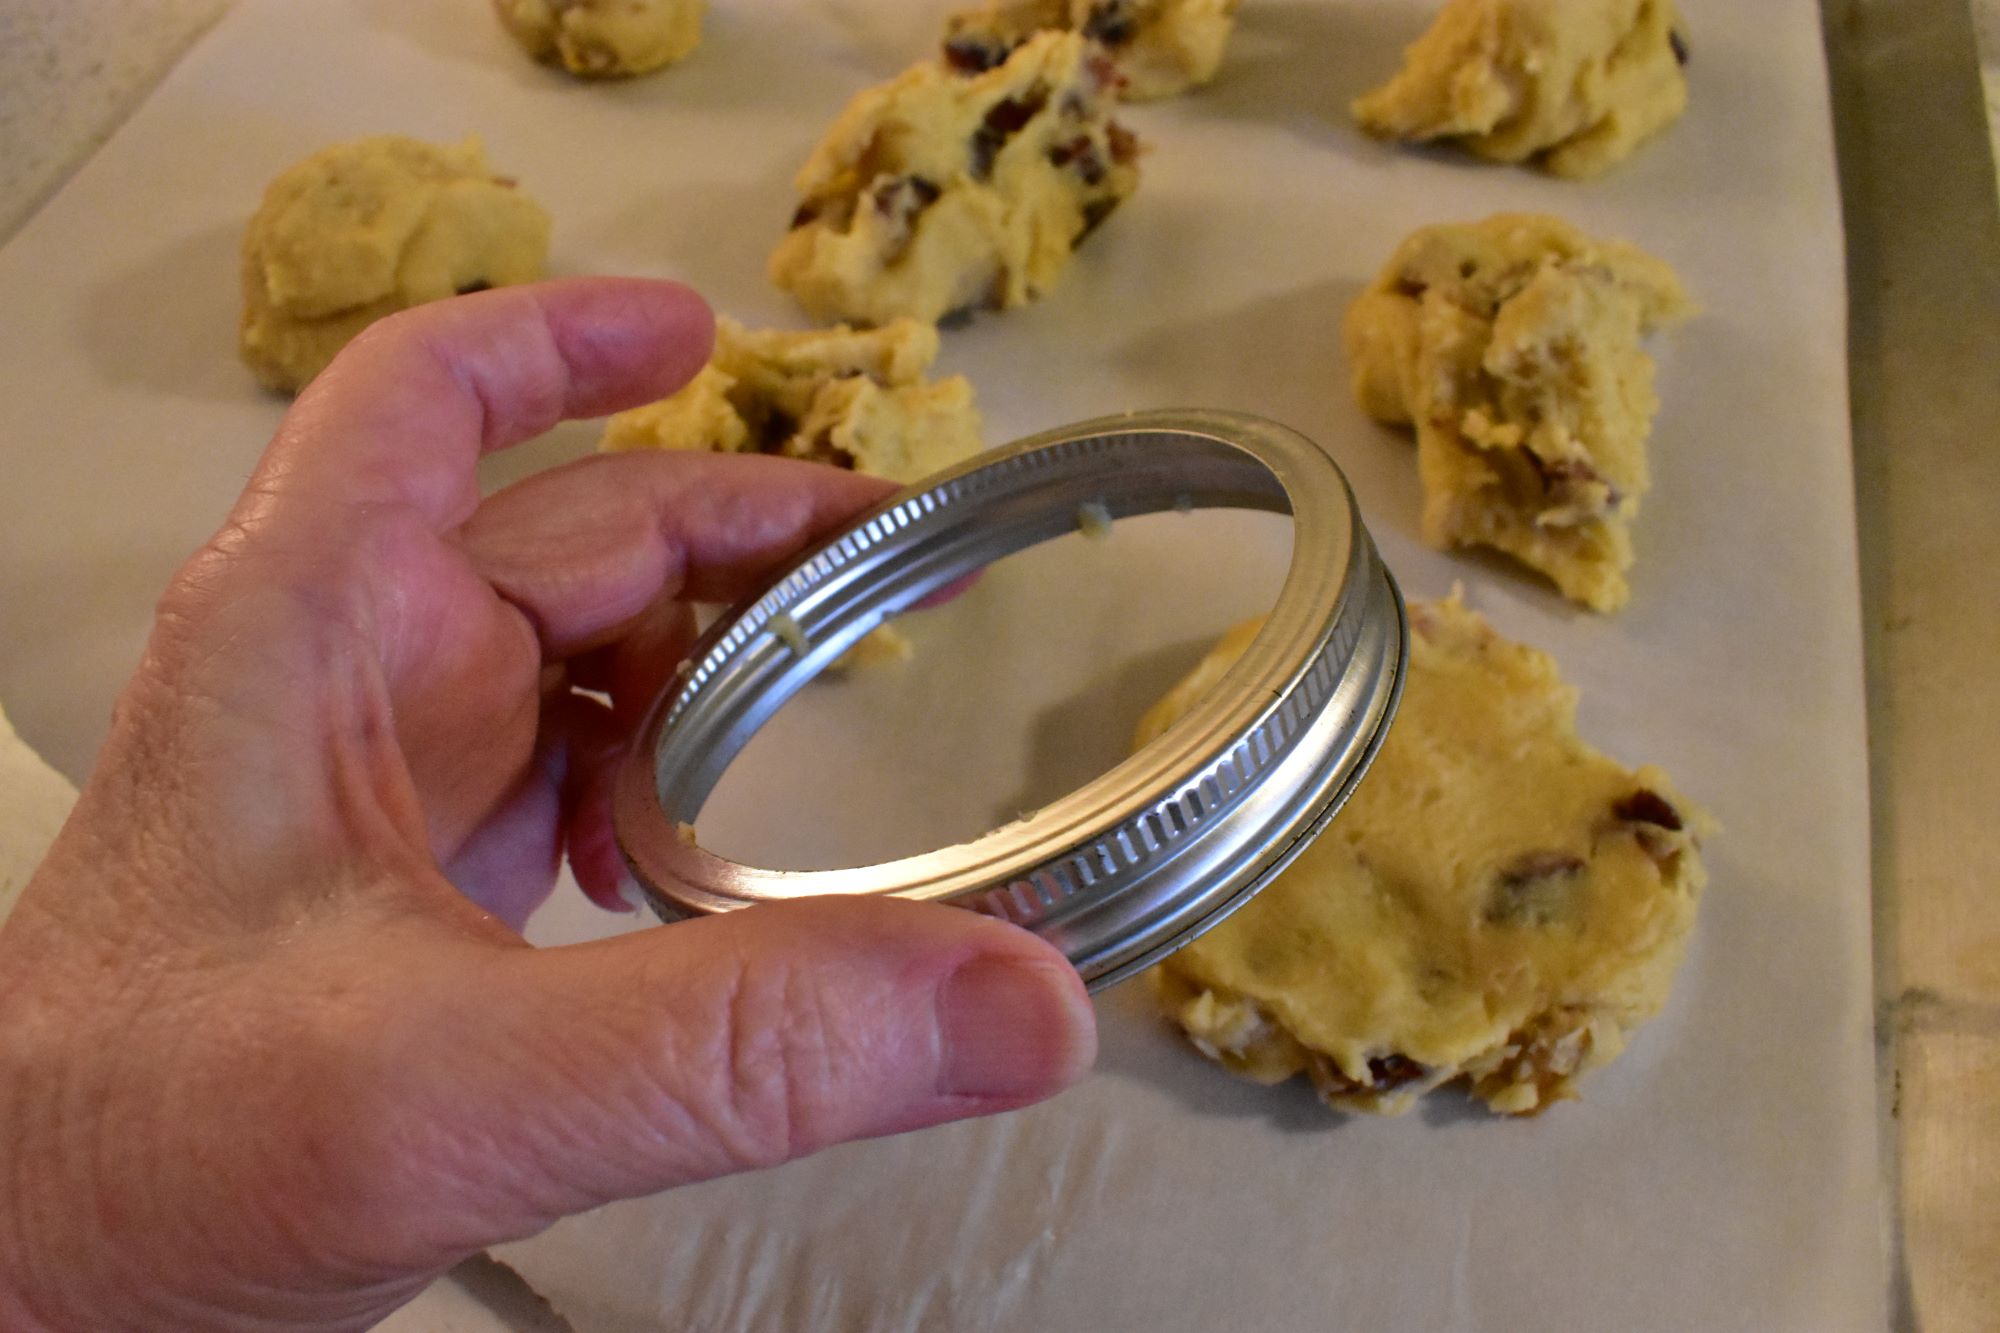
I use a wide mouth canning jar ring to make them all the same size.
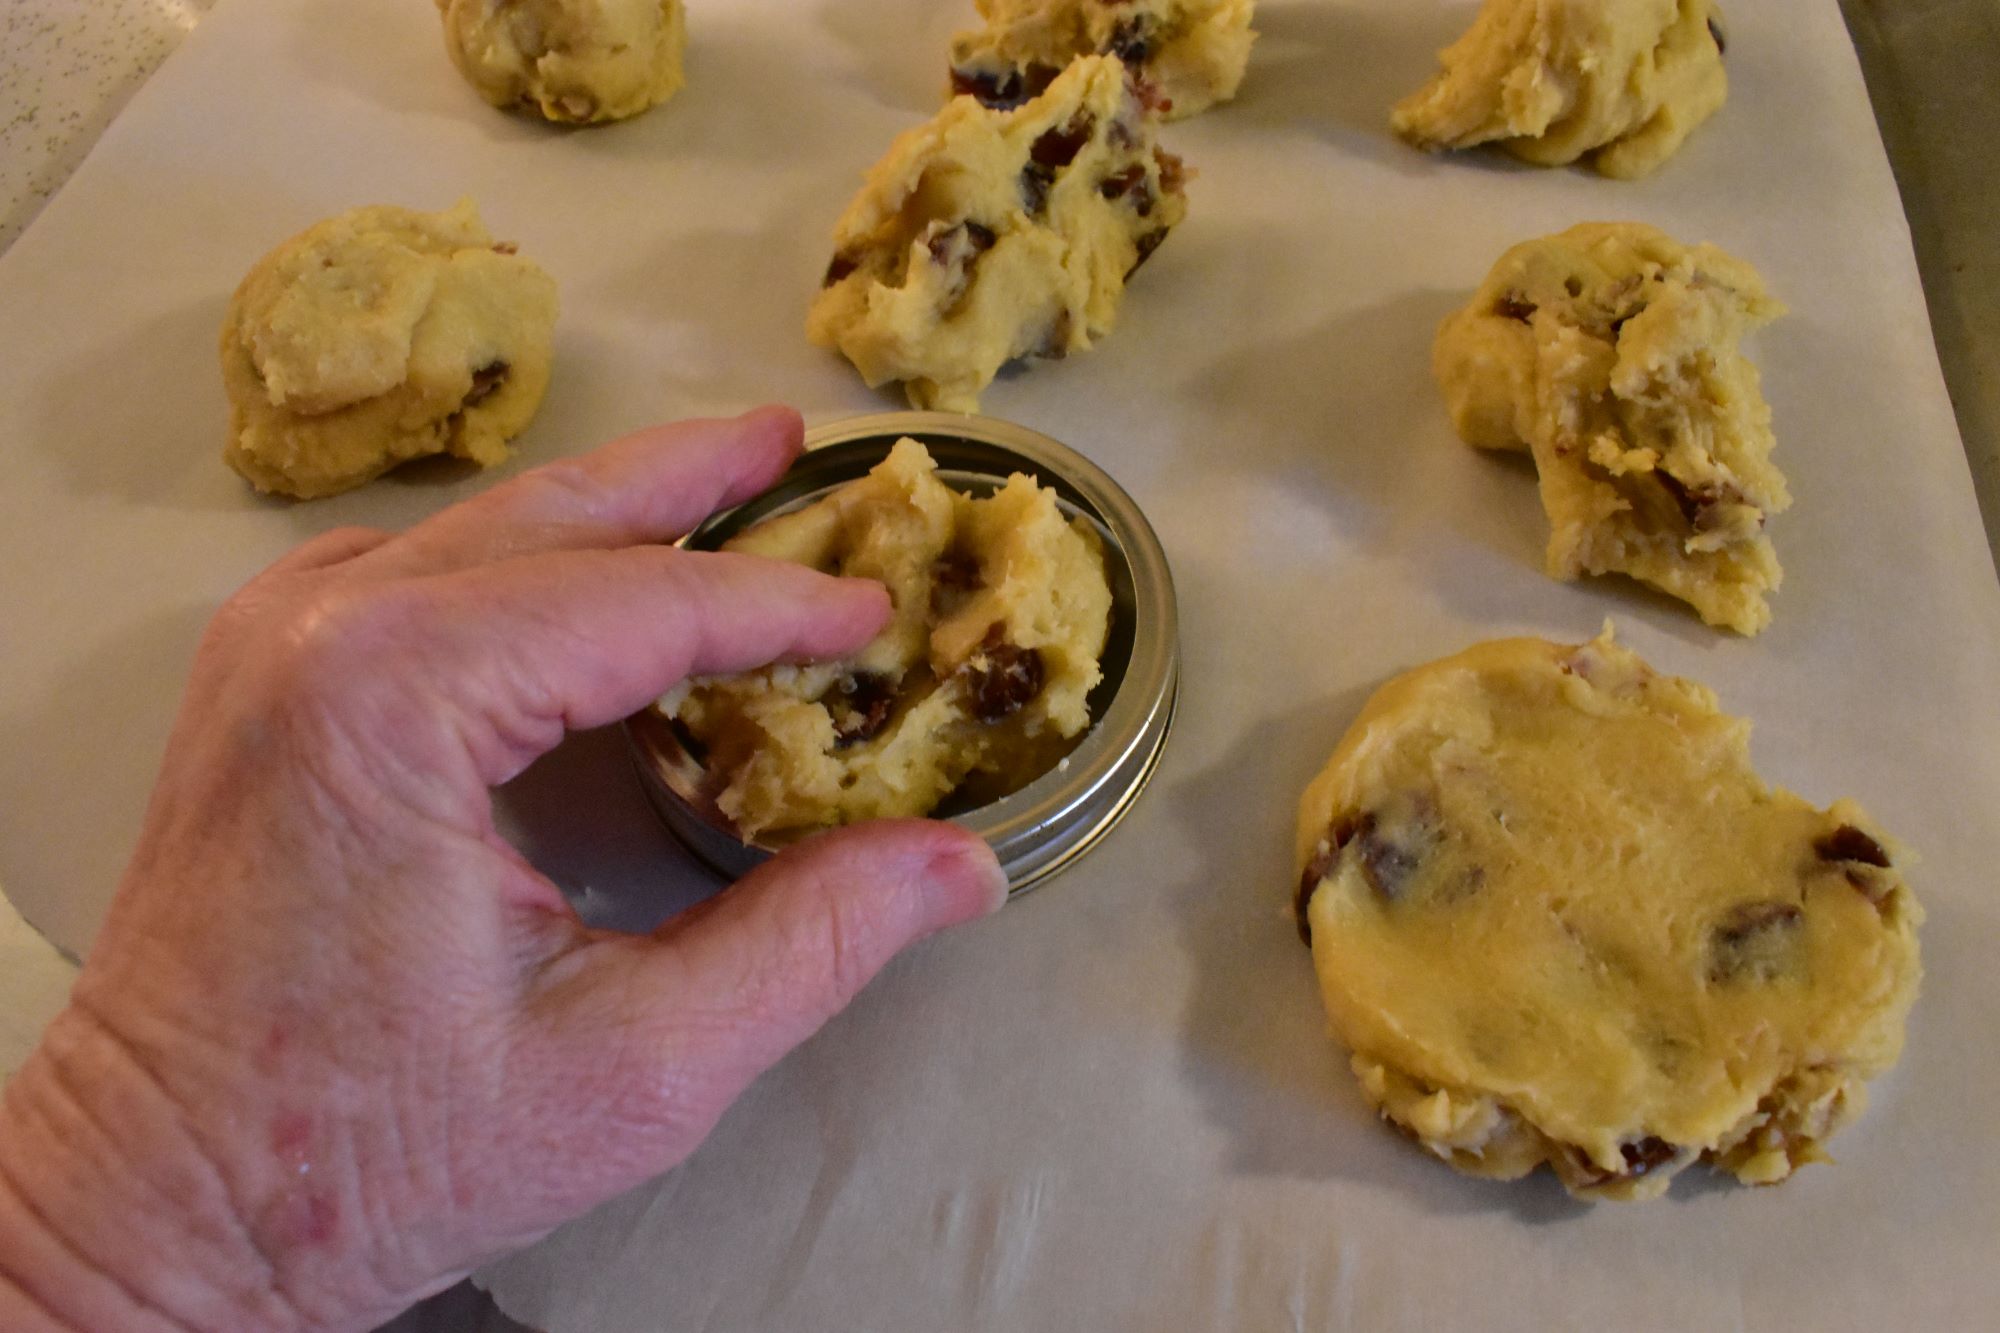
I fiddle with them and gently pat them down inside the canning ring.
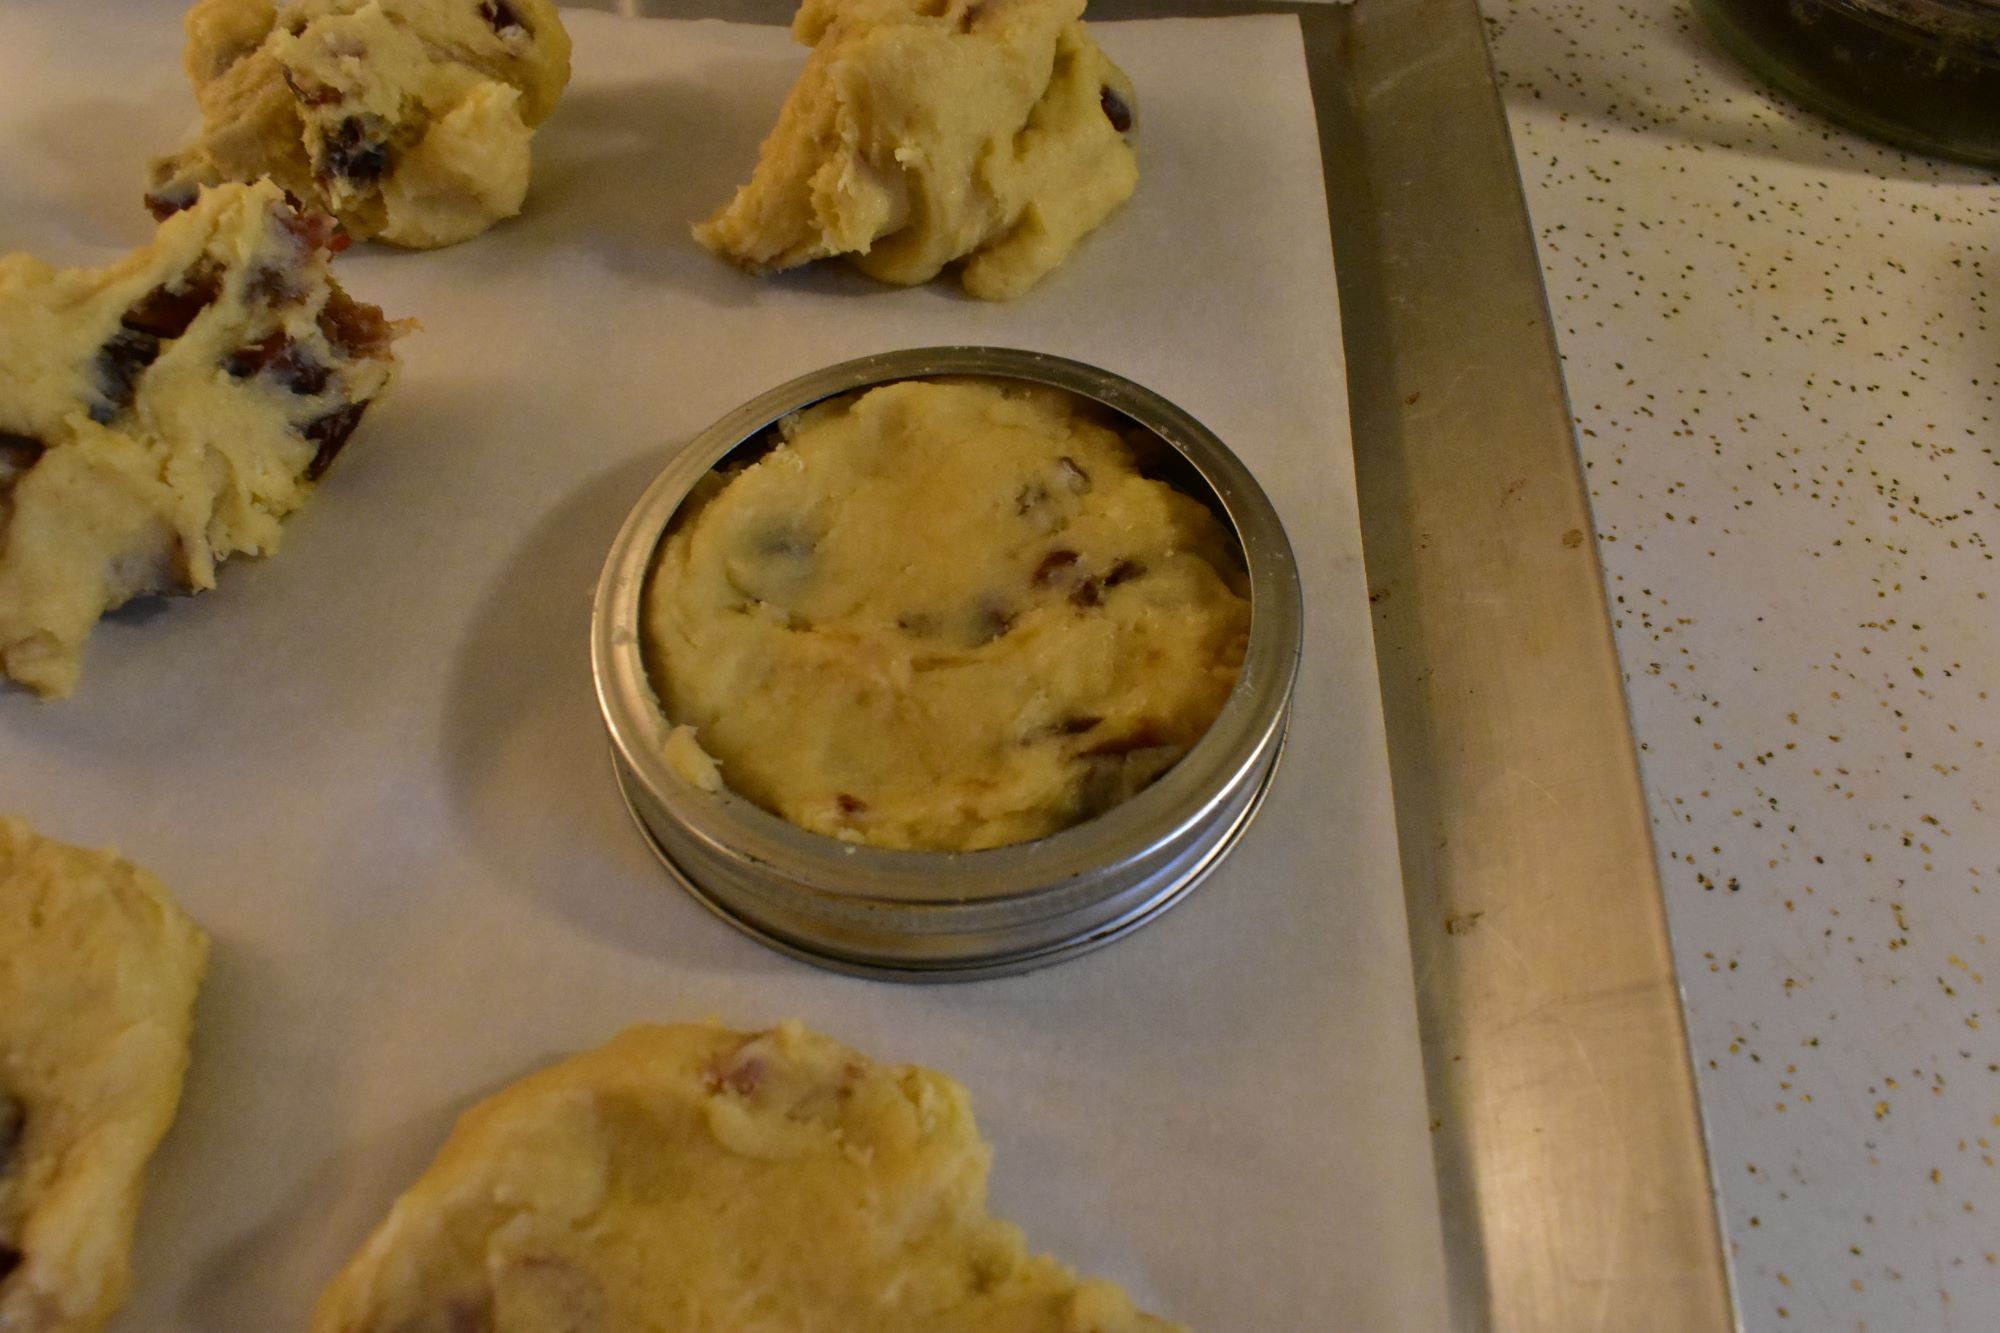
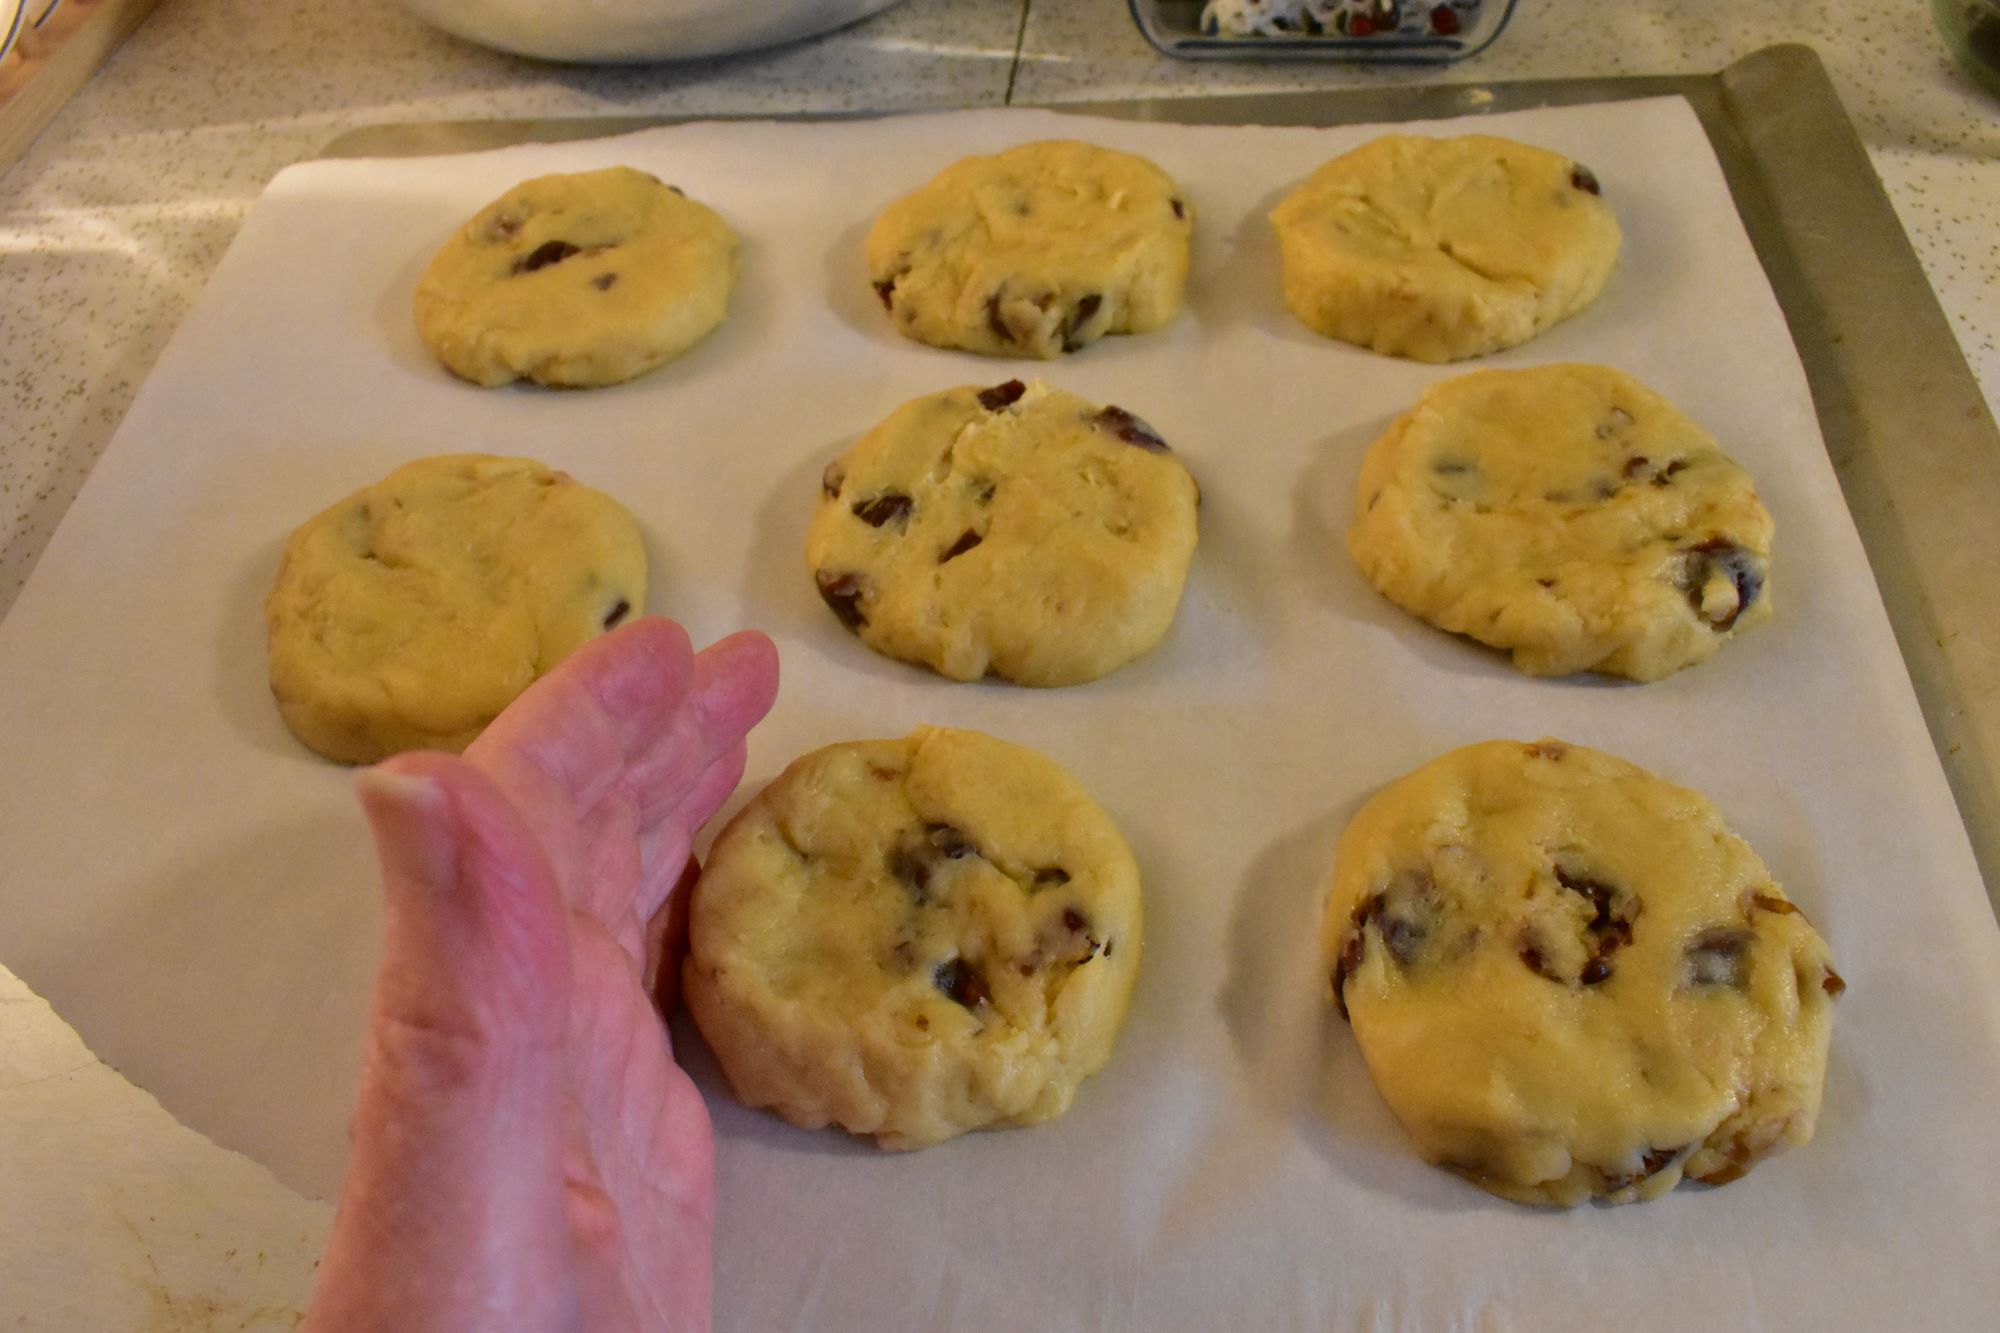
Then I round them out using both hands and fingers.
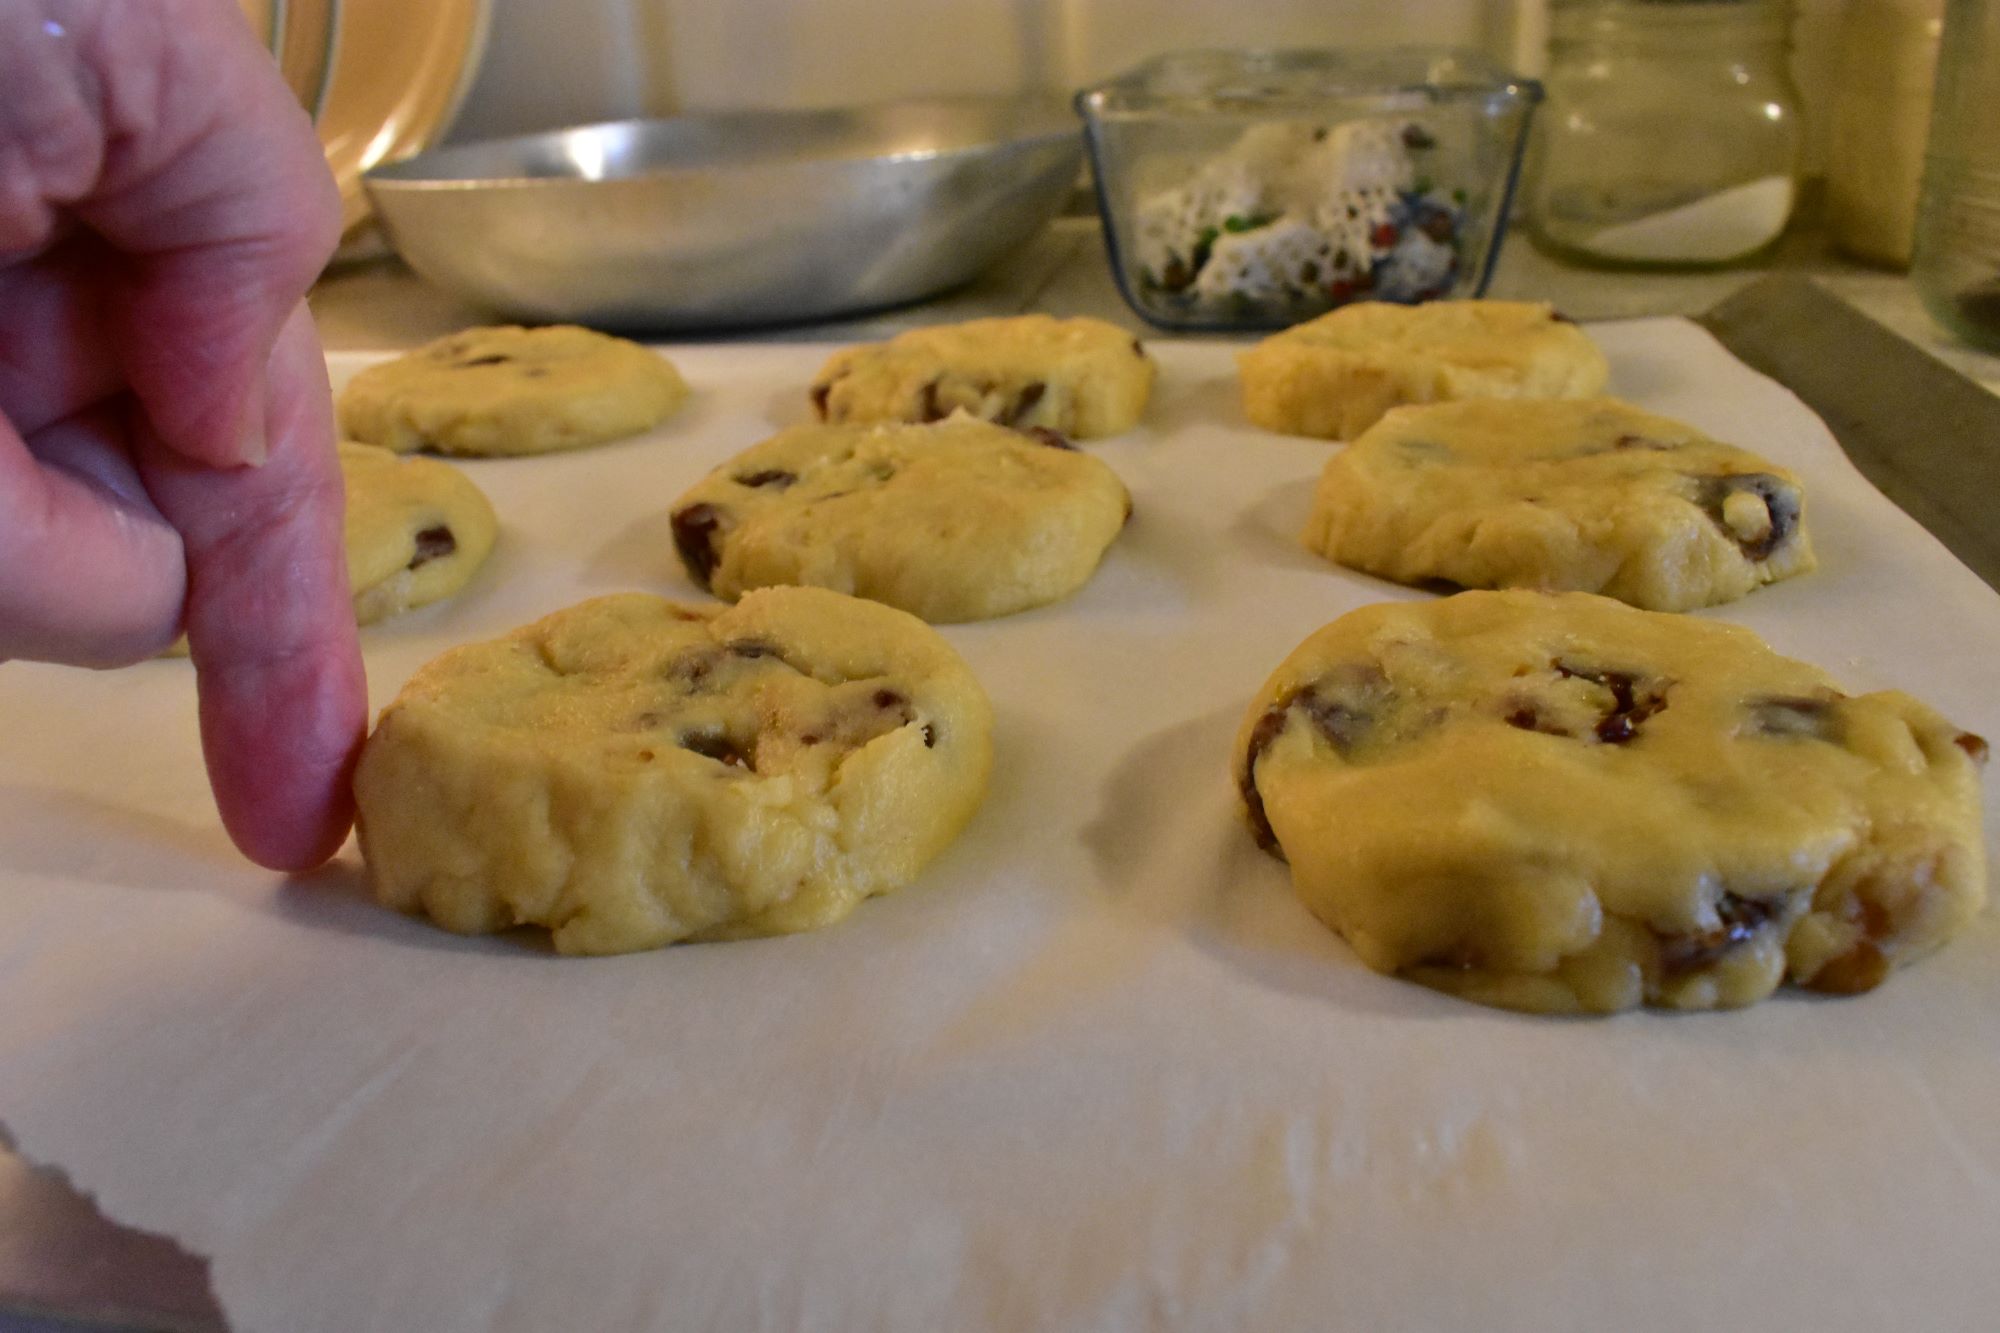
As I round them out I press them up a bit to this thickness. We want them to start off baking thick like this.
Bake them in the oven at 350 degrees / 176.667 Celsius for25 to 30 minutes. You do NOT want them to be brown on top.
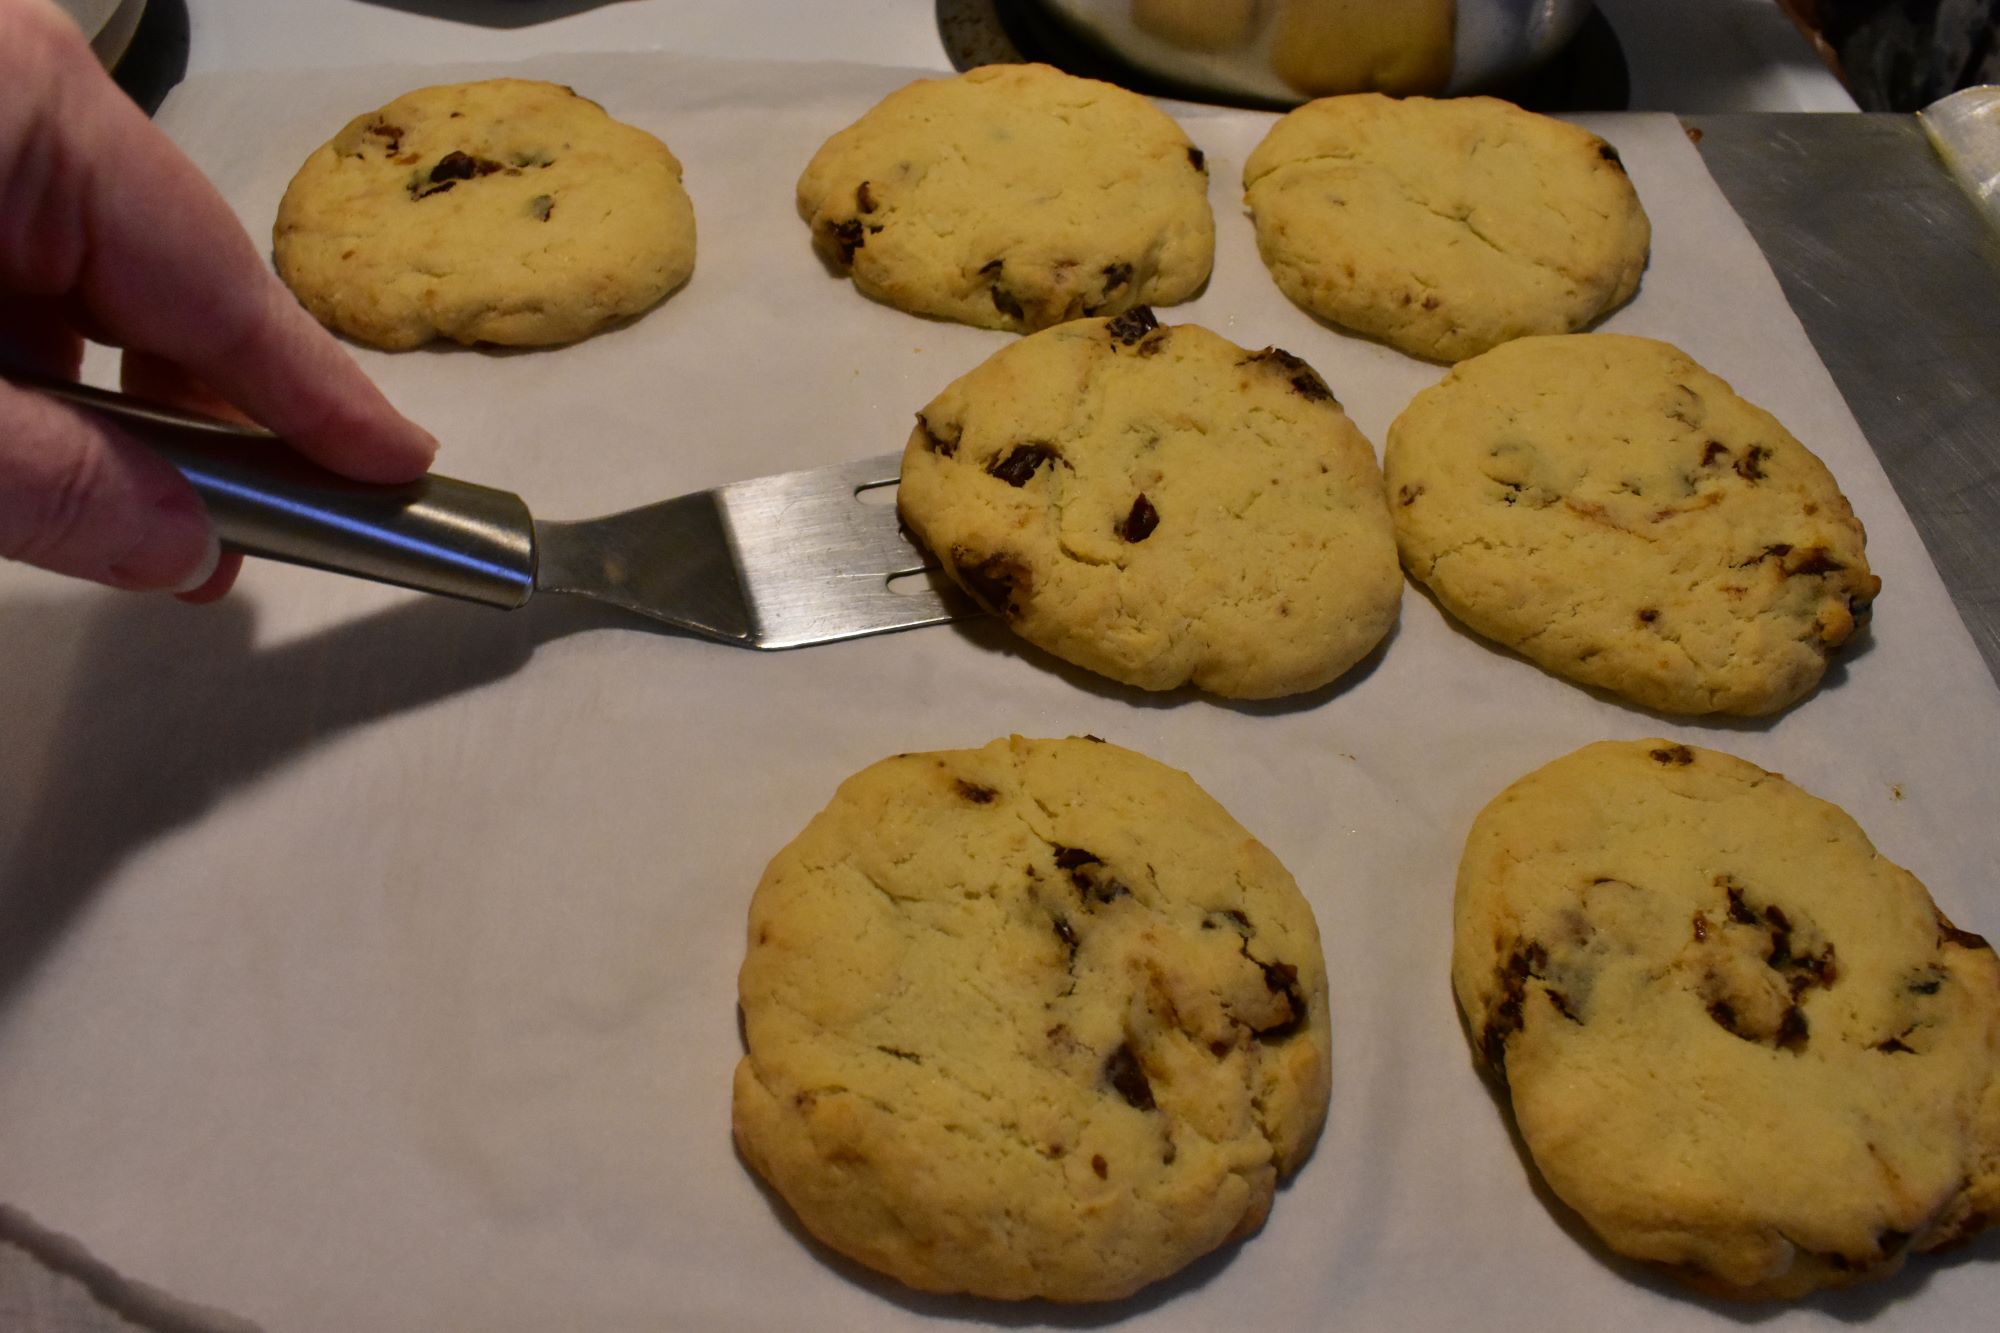
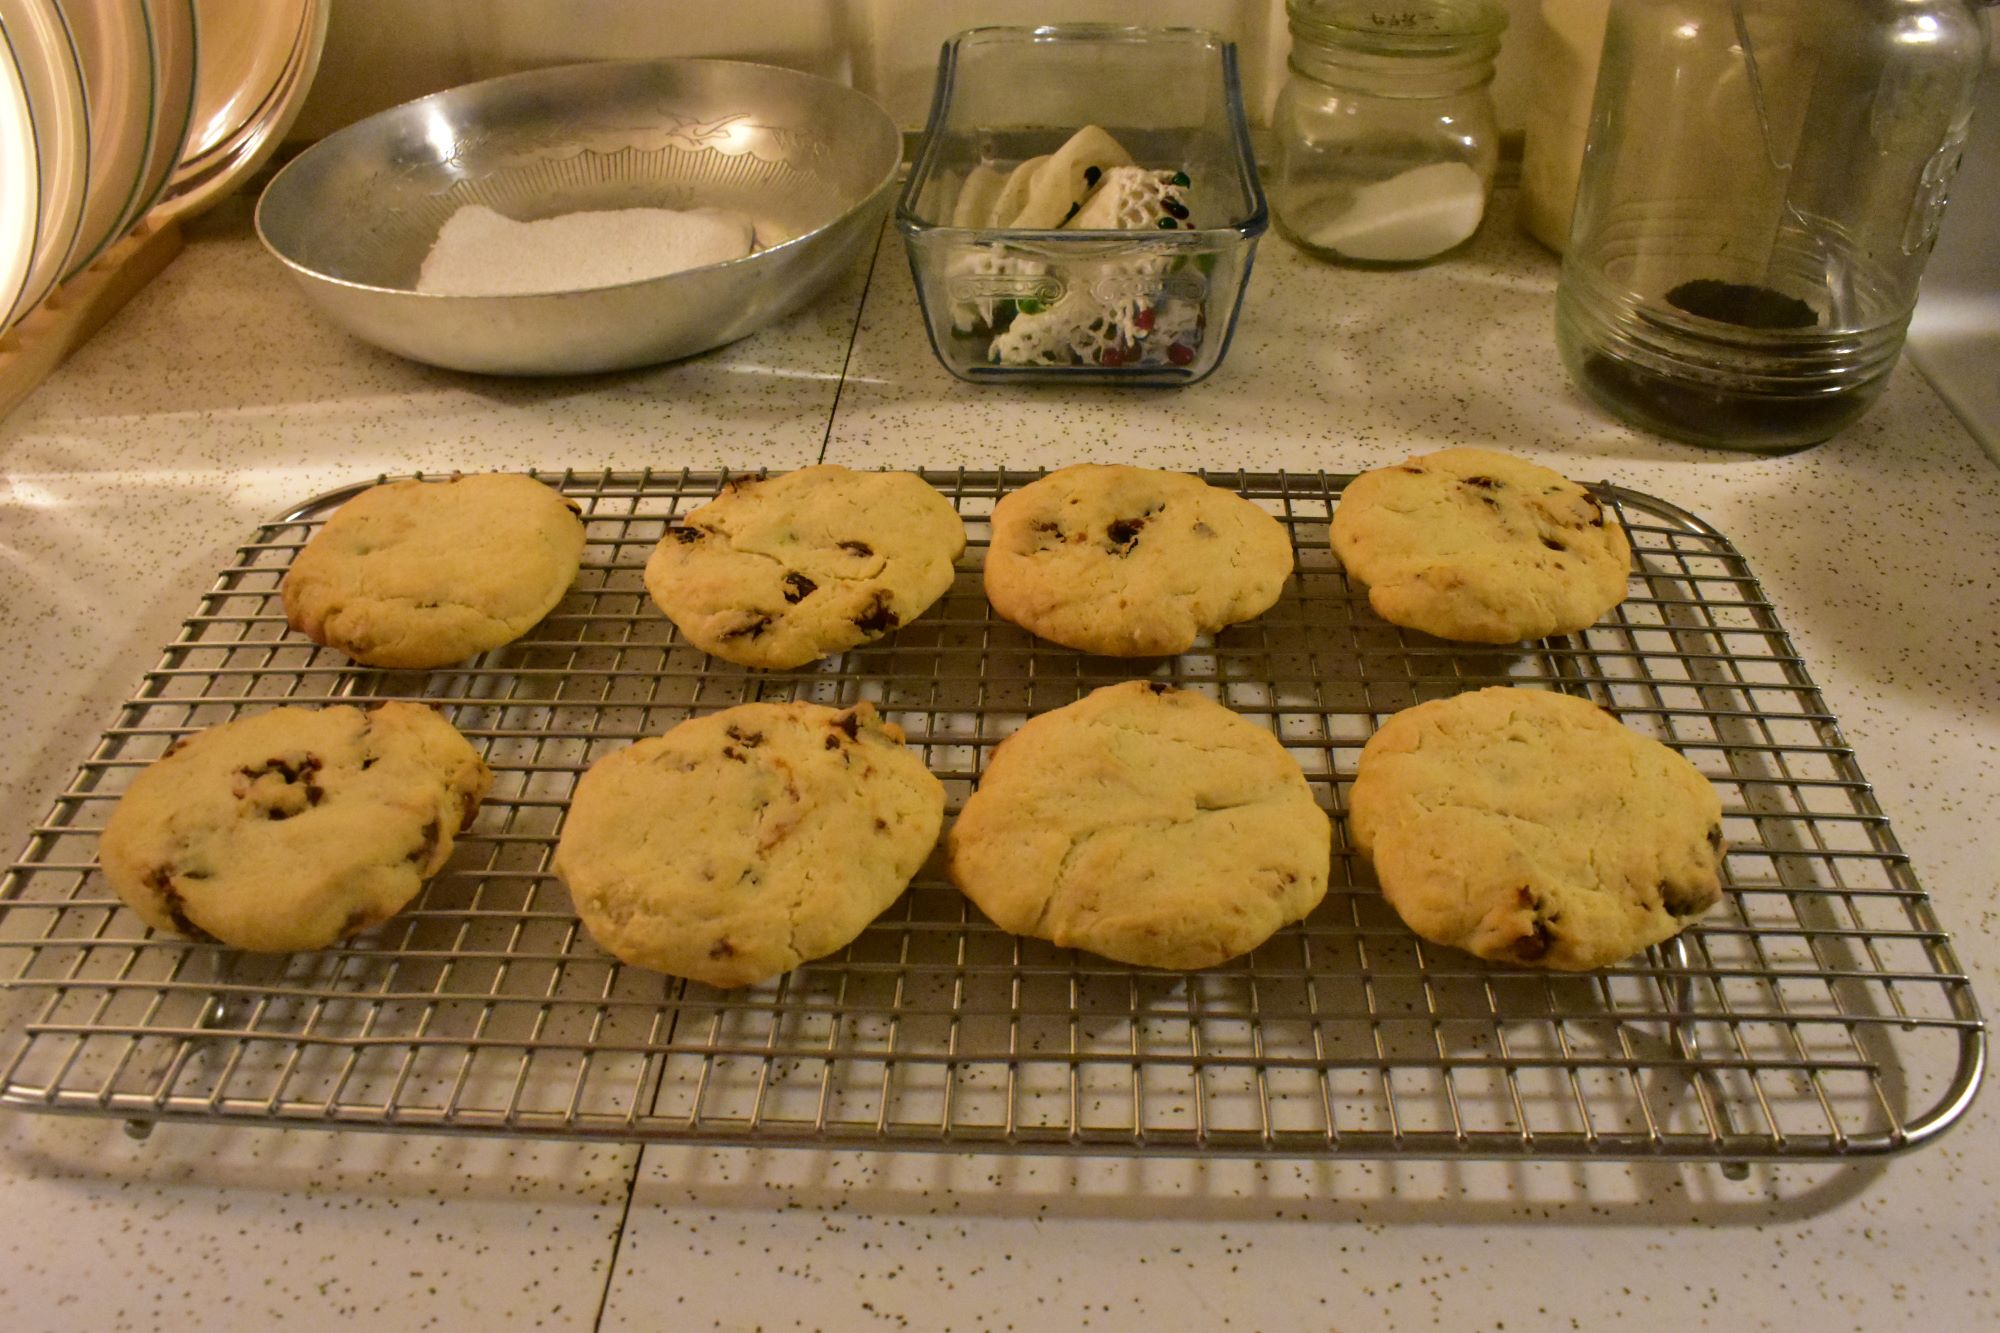
Remove from baking pan immediately and transfer them to a cooling rack.
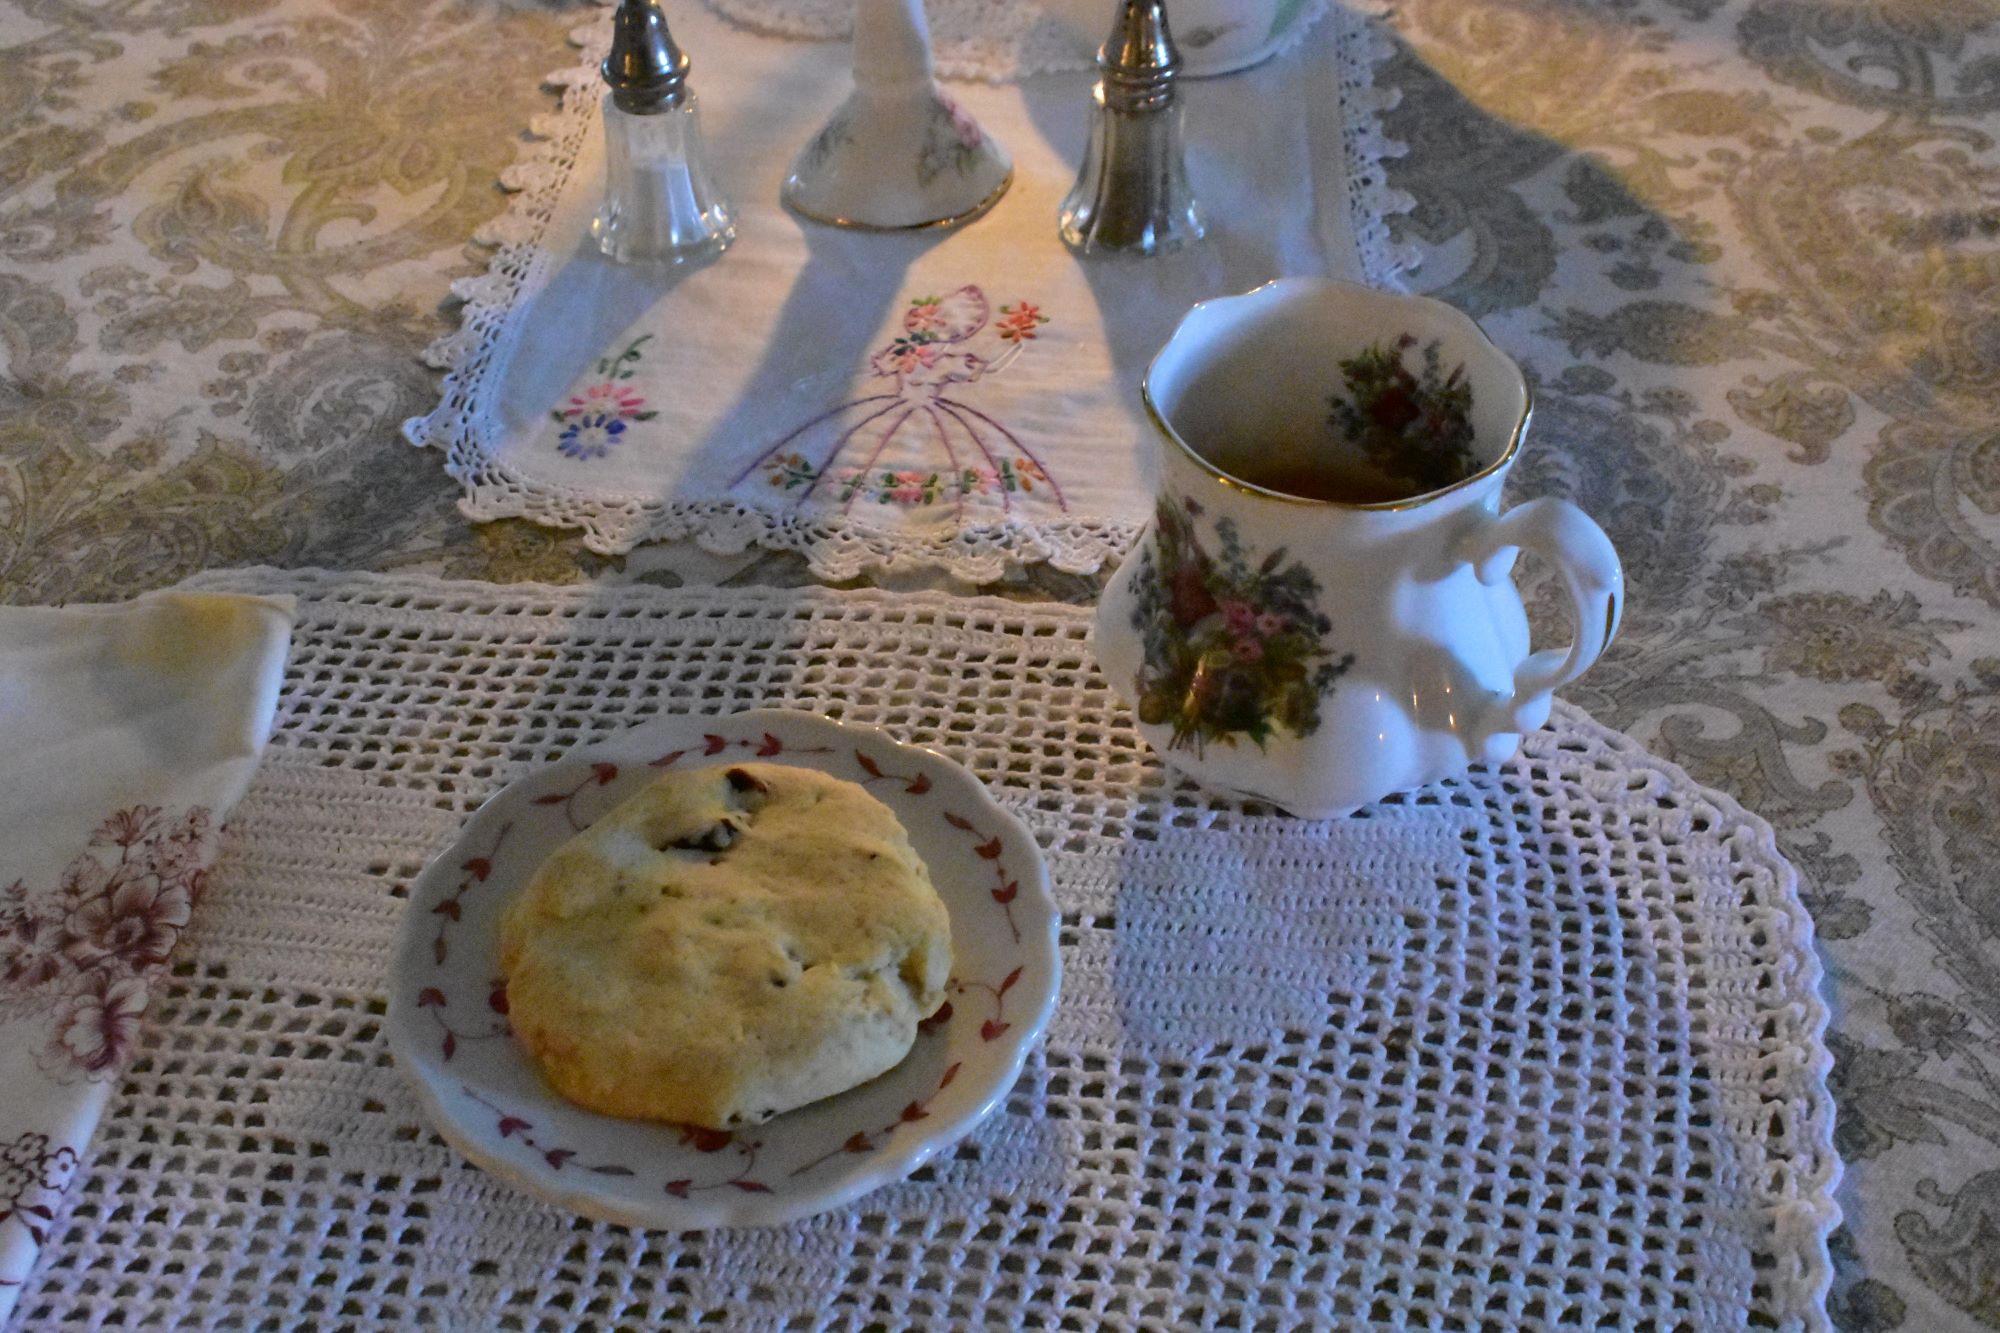
I hope you enjoy these, they are a very special treat. Grandma Donna
