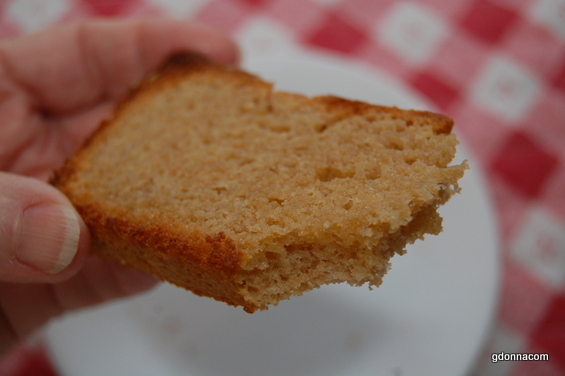
Making whole wheat bread from wheat berries is not a hard thing to do. Acquiring a taste might be for some because it is a more earthy taste.
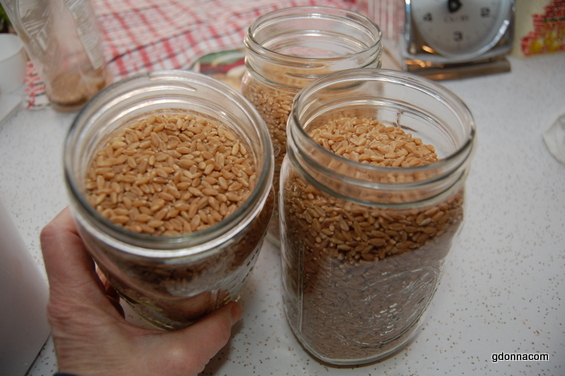
If you want to make bread the way our generations before us did then we really need to start with wheat berries. You can find wheat berries in some store or order them online. This is hard white spring wheat berries and I used them because that is what I can get. There is also Hard red winter wheat berries.
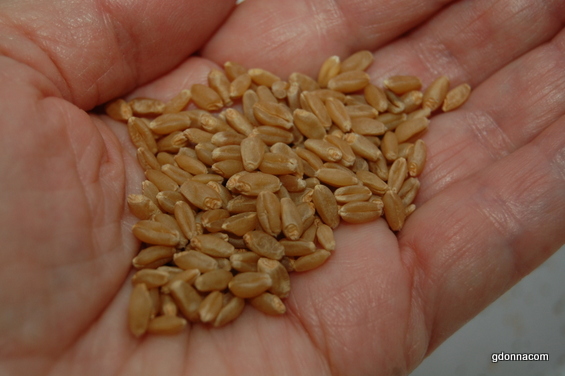
This is what they look like before grinding.
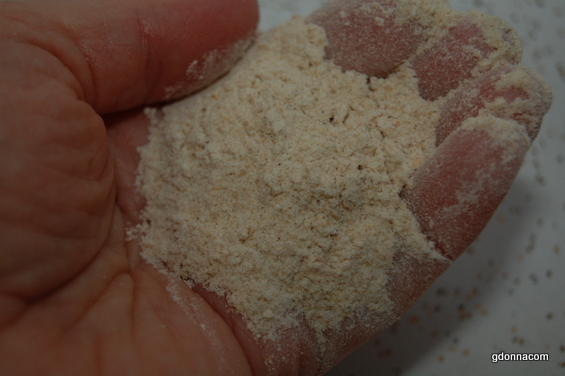
This is what it looks like after grinding.
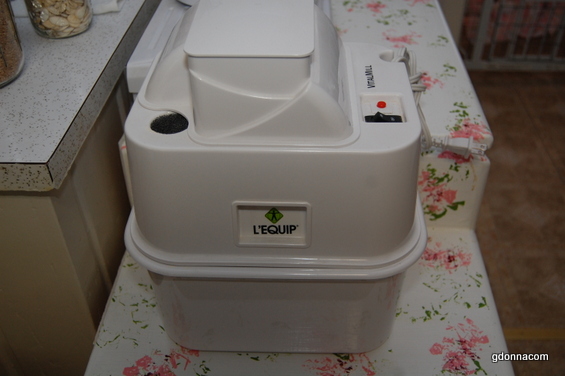
We have two mills. An electric mill and a hand mill in case the power is out. This has been a good electric mill and the only thing I would want to change if I could is the bottom holding area for the flour is a bit difficult to remove.
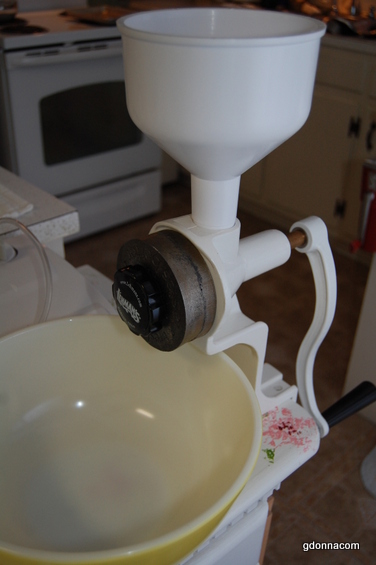
This is our hand crank mill with a hopper on top. Now this one takes a bit of work and you should review the hand crank mills that are out there. They may have several types now.
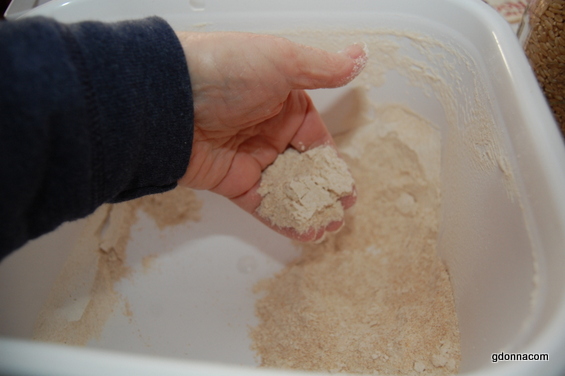
I mill the flour just before making the bread so the nutrients are at their best.
Many people add enhancers and such to whole wheat bread and you can do that but I like things simple and if the bread is not as tall as my white bread that does not bother me. My main goal is to have a healthy bread that includes all parts of the wheat berry. The bran, germ and endosperm. Nothing stripped out.
The Recipe
This is for one loaf
Somewhere around 3 cups of milled flour
2 teaspoons salt
1 cup warm water about 105 to 110 degrees
1 Tablespoon honey
1 Tablespoon sugar
1 "Full" Tablespoon active dry yeast
1/4 cup light olive oil
That is it!
Put 2 cups of flour in a large bowl add the salt, toss it a bit and set aside.
Put the yeast, honey and sugar in a medium size bowl and add 1/2 the warm water and whisk it up a bit. Use a bowl that will leave room for the yeast mixture to rise. Let this bowl sit for 8 to 10 minutes.
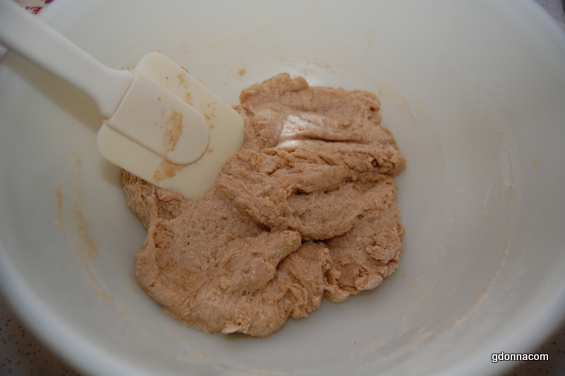
Now add the yeast mixture, the other half of the water and the olive oil to the flour. I use a spatula and mix this all together. You will have a soft doughy mixture.
Now scoop another one cup of the milled flour and sprinkle in about half of that and work that up with the spatula.
Use a counter or bread board and sprinkle it with some of the flour and place the dough onto this floured surface. You will now hand knead the dough adding a little flour as you need. This bread I used just under 3 cups total.
You do not want to add too much flour to this or you will end up with a heavy brick like bread. I have found that the key to making a good dough is to keep the dough moving across the bread board or counter and work really fast. If you work slow it will stick. You will be working with the remainder of the third cup so you can sprinkle it off and on while you are kneading. You want to knead at least 10 minutes. I knead, push it around quickly so it does not touch the surface for very long. I end up with a nice soft dough.
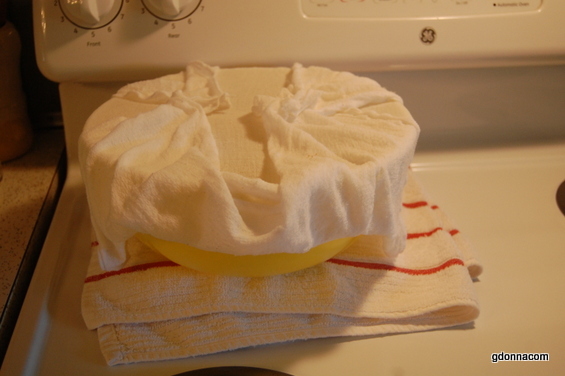
Now that you have made your dough, oil your bowl and put the dough back in and cover it with a damp cloth and let it rest for one hour. If the house is cold you can put it in the oven with the light on.
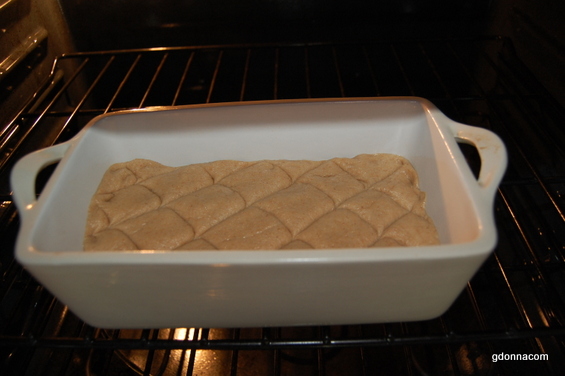
After and hour or after it has risen in the bowl, remove the dough and place in a oiled bread pan and gently press it down. I score mine like this after placing it in the pan.
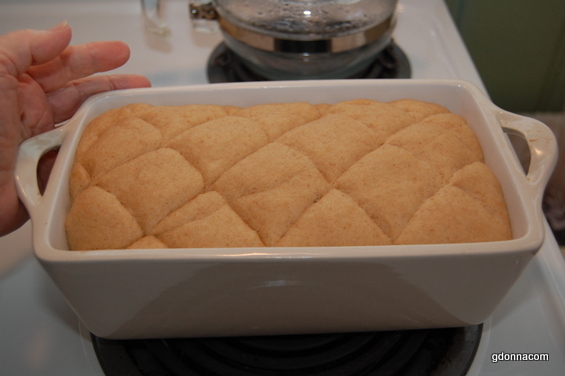
After it has risen in the warm place and doubled in size, 45 minutes to an hour, take it out and pre-heat your oven to 350 degrees. Bake for about 30 minutes.
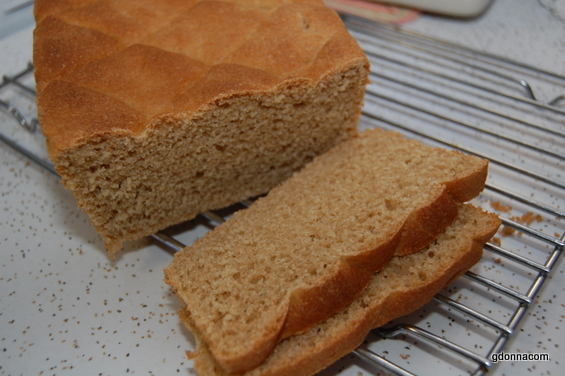
This bread fell just a bit before I baked it because I proofed it too long because I was busy doing something and did not pay attention. It still turned out. I could have shown a better loaf but I just want people to know we are not all about perfection as people try to be these days. My husband had not complaints.
Let the bread cool in the pan for about half hour then remove from the pan and place on cooling rack. If your bread will not let loose from the pan let it sit a bit longer so it can sweat in the pan then it will let go easier.
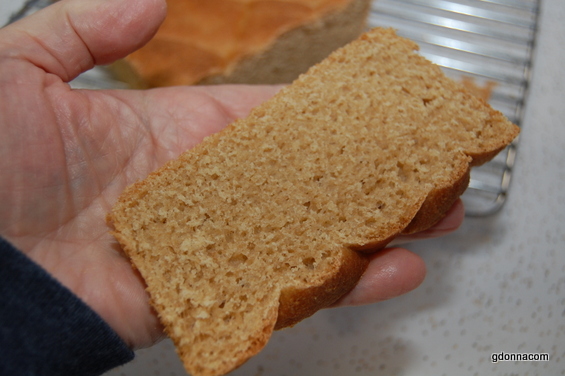
This bread has a nice texture and a earthy taste.
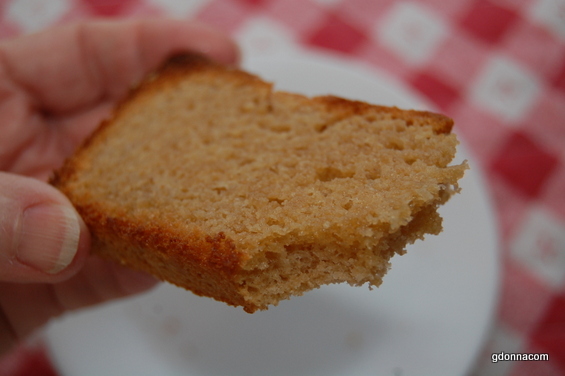
I toasted it with a bit of butter. Enjoy!
