
Sometimes those 1940s recipes just don't work out so well.
I was going to do a post on Stuffed Eggplant from one of my 1942 cookbooks but...
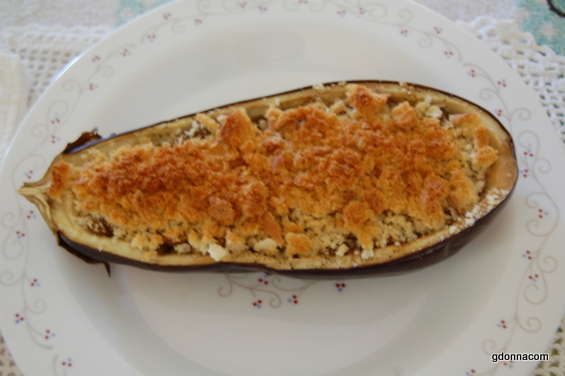
It just did not taste that great. I will post the recipe and you can make it at your own risk, Charles said the best part of it was before putting your fork in it.
Stuffed Eggplant
1 Eggplant
2 tablespoons butter
Salt and Pepper
!/2 Cup water
2 Cups breadcrumbs
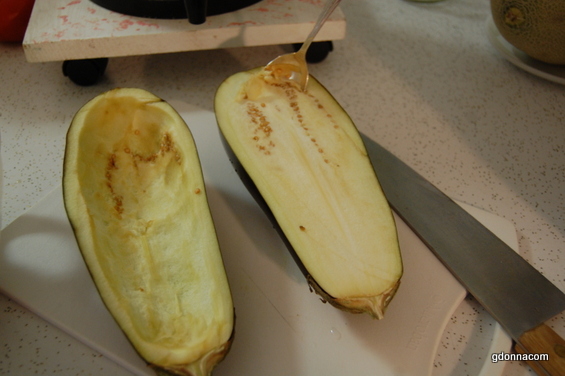
Cut the eggplant in half lengthwise and scoop out the center pulp, leaving the rind about one-half inch thick so that the shape may be firm. Cover the shells with cold water. Chop the pulp fine, season it with salt , pepper and butter, cooking a frying pan for ten minutes, stirring well, then add water and one cup of bread crumbs.
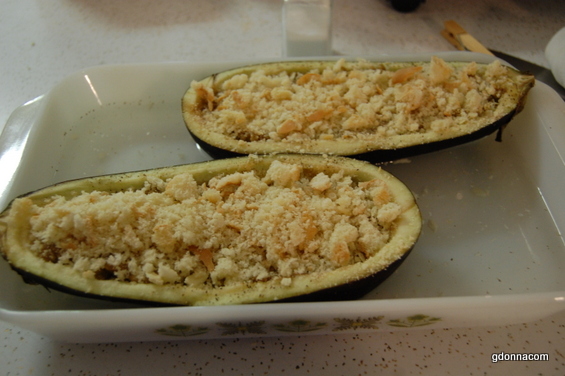
Drain the shells, sprinkle the interior of each with salt and pepper and fill then with the mixture. Spread the remaining crumbs over the tops. Place the halves in a baking dish or deep pan and pour enough hot water into the pan to come one third up the sides of the plant. Bake in a moderate oven 350 degrees one half hour and serve hot.
I think this recipe could be better with some more seasonings and possible chicken stock instead of water. I will stick with fried eggplant and baked with bacon eggplant.
What I did learn though was in another recipe for fried eggplant was to cut the eggplant in one half in slices, pare and sprinkle each slice with salt. Lay slice upon slice and place a plate upon the top. Let stand two hours The salt will draw out the disagreeable bitter flavor. Half and hour before serving, wipe each slice dry, dip in beaten egg, then in cracker dust or fine breadcrumbs and saute in hot fat. Put a pan in the oven or in some other place where it can be kept hot, lay a piece of absorbent paper in the pan and upon it place the slices as they come crisp and brown from the frying pan. Serve on a hot platter with the slices overlapping.
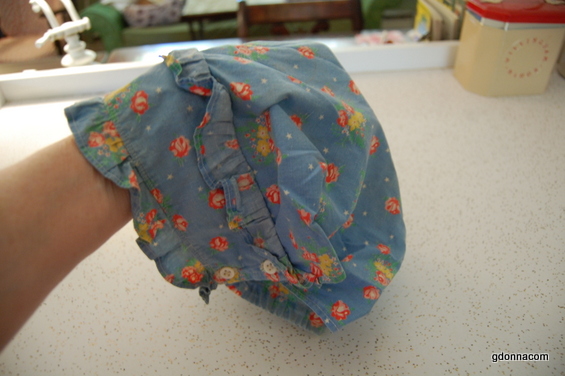
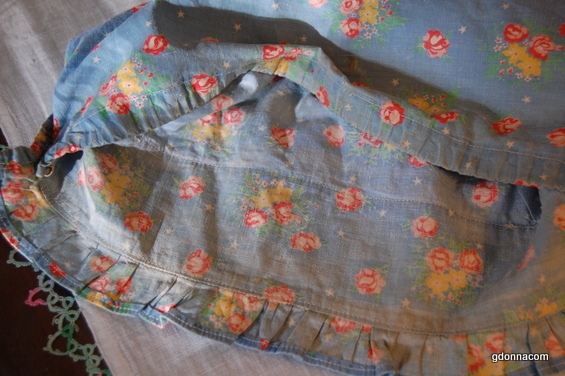
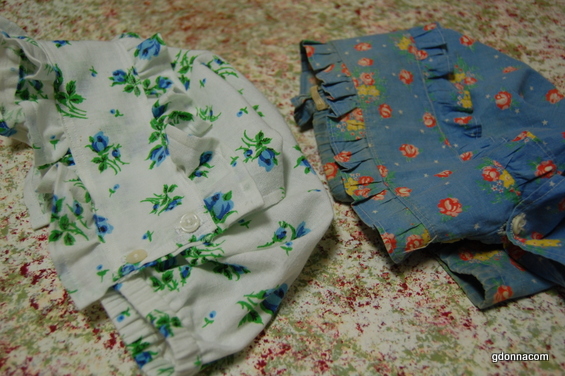
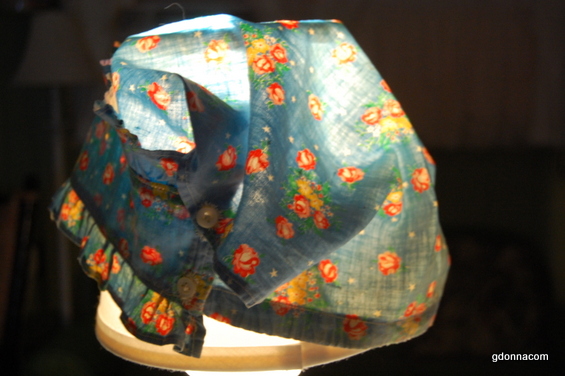
Moving on to the OLD bonnet.
I have this very old Bonnet and I am going to share how to make one of these. The elastic is worn out on this one.
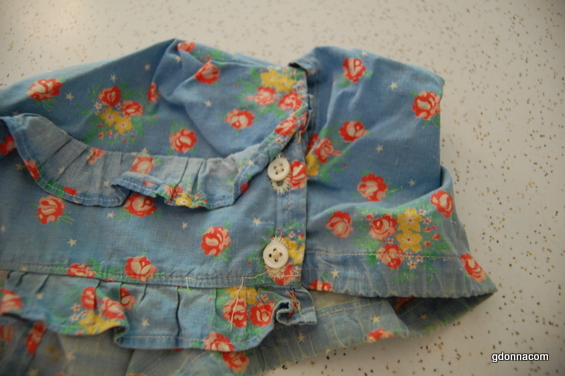
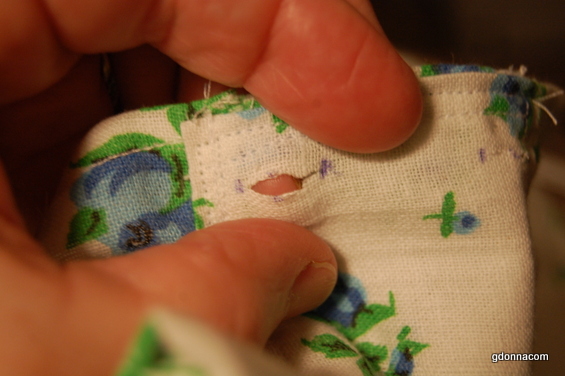
This bonnet has six button holes and four buttons..
If you look close you can see that one is still buttoned three button holes will go on two buttons. The two by my fingers go on these two buttons the one by my thumb goes on the bottom button not the one that has fabric buttoned on it the other button hole goes there.
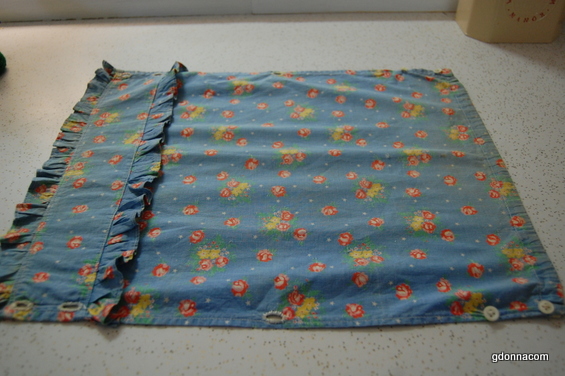
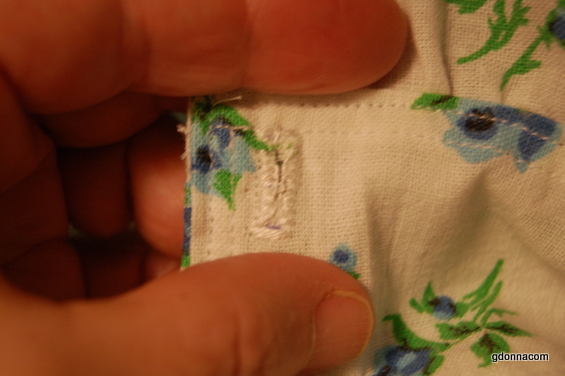
So I unbuttoned the bonnet. see the two buttons on the bottom right and the button hole in the bottom middle and two the bottom left. The other side of this is exactly the same. The bottom of the bonnet is the right side and the brim is the left side. I am not sure why the bonnet was made this way but it is easy to unbutton, wash and iron.
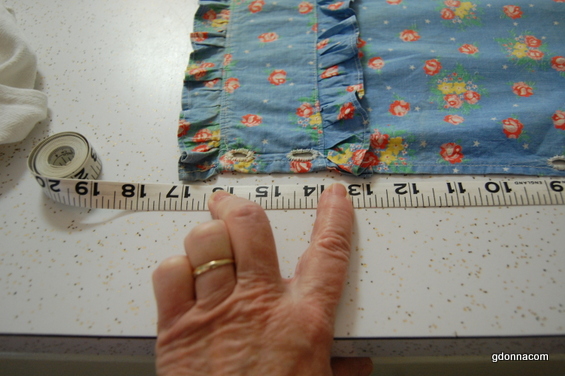
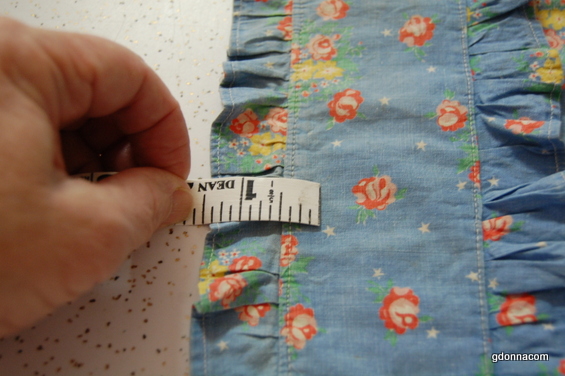
I measured the bonnet. The finished length is about 17 and 1/4 inches
The ruffle and we have to consider the folded fabric. I will post the measurements with all the tucks and folds included.
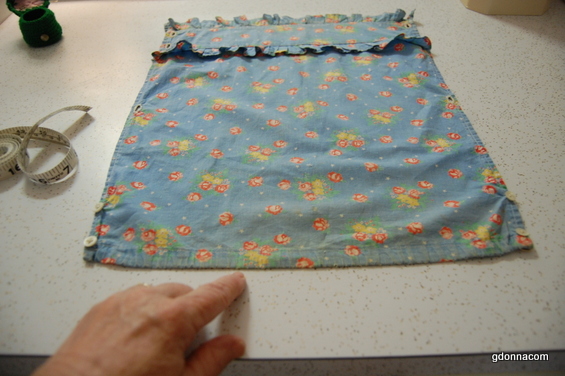
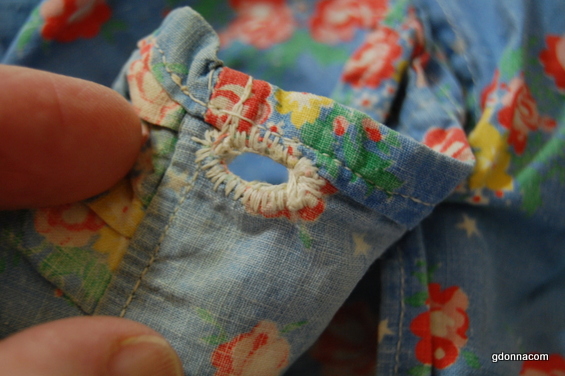
The bottom is hemmed and given enough room to run elastic through to gather at the back of the head/neck.
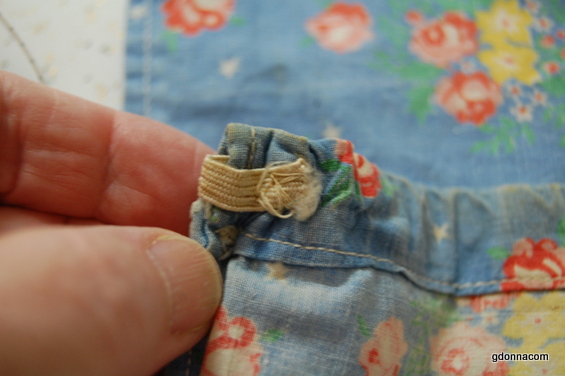
This is how the elastic was hand sewn in.

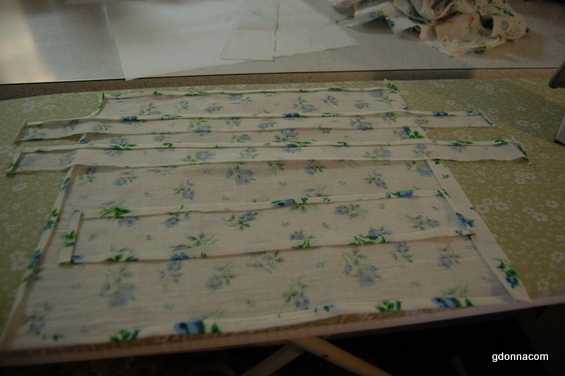
So here are the measurements to make one.
17 3/4 inches long
15 1/2 inches wide
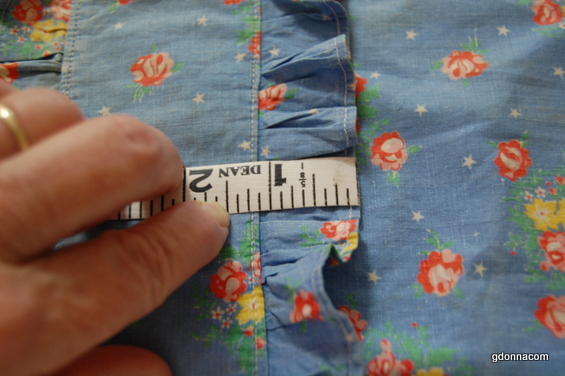
The brim is 3 inches wide
15 3/4 inches long
The ruffle
2 inches wide
24 1/2 inches long.
Seam allowance is considered in these measurements. There is not enough here to give a generous fold so if you need more adjust these measurements. Back when this bonnet was made they were mostly made from scraps and so the tucks and folds were most likely 1/8 inch.

So I pulled out some flour sack cloth and cut out the pieces, steam pressed the edges..
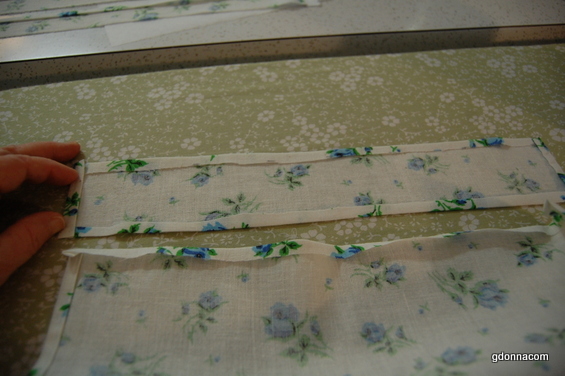
Where the brim strip goes over the main fabric I laid it next to it to make sure I folded the brim the correct width.
I put it on and folded to make sure it will sew on the correct size.
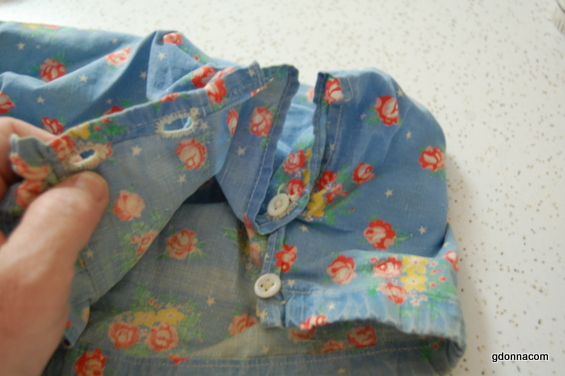
A closer look at the brim on the old bonnet..
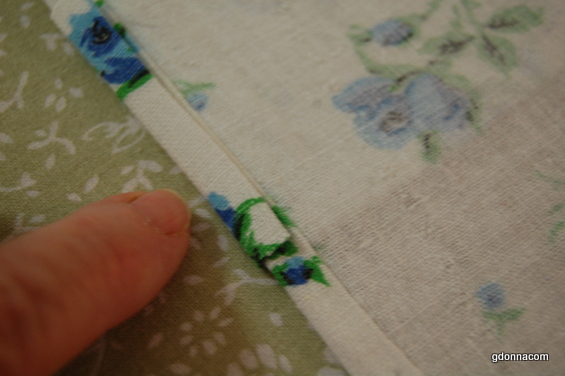
The underside of the brim. You can see the brim is placed on top of the good side of the fabric and sewn onto the bonnet fabric.
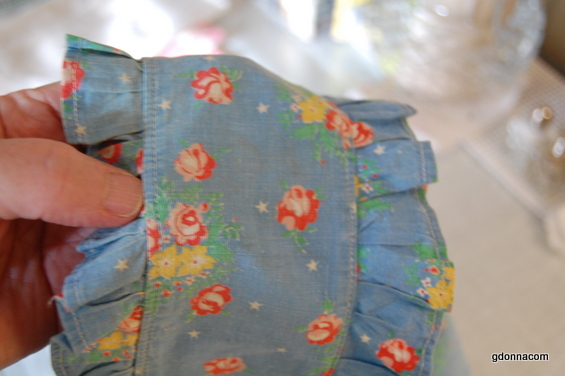
Where my thumb is shows the brim piece is sewn to the edge of the body fabric. It lays on top.
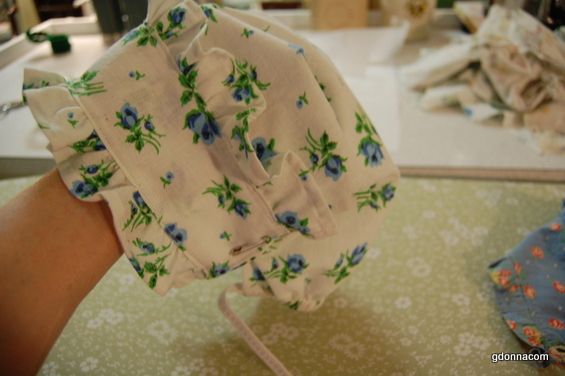
It is ready to assemble.
The two ruffles will need sewing a gathering thread on the unfolded edge. That edge will be tucked under the brim.

So I sewed it together and ran elastic through the bottom fold. This is too tight, I had to let it out quite a bit. It does not need to be gathered tightly or it will make the bonnet fit too tight on the head.
Here is the bonnet before sewing the button holes.
I marked and snipped the button holes...

The correct position of the needle and thread for the button hole stitch. I used two strands of embroidery thread.
Now five more to go...
Here is the new bonnet...
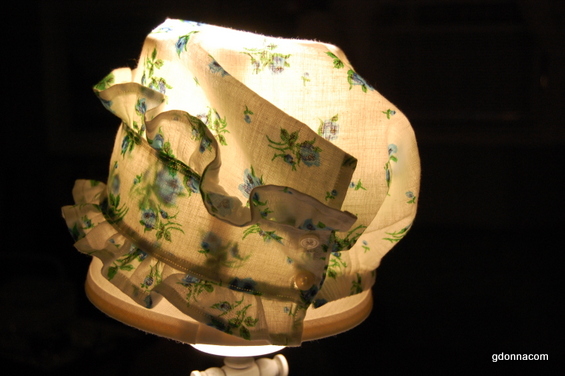
You see how the elastic being stretched out at the bottom of the old one makes it lose its shape. I think I will add some new elastic to this one because it still has some life left in it.
I have a few more old bonnets that I am going to make, it is difficult to show how to make these without a video. I have considered doing some sewing videos but I have to get a camera first.
Well on to some dehydrating vegetables today. Grandma Donna

