
Canning is not as difficult as you may think
It may be easier to go to the grocery store and buy your food but canning your own food is so much better because you know what you put in that jar. The most important part of canning is to get you a good canning book and read about the things you need to know such as do you need to use a water bath canner or a pressure canner.
Let us make pear preserves
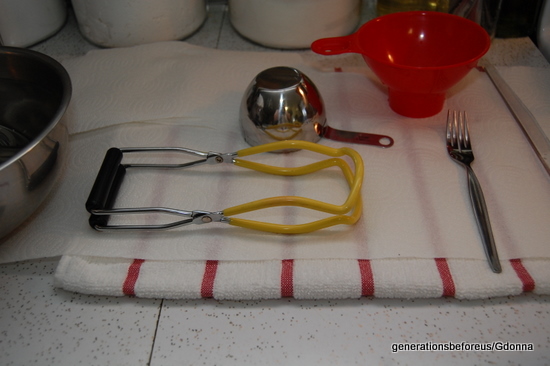
You will need a few canning tools. A jar lifter to handle hot jars, something to dip with, I use a measuring cup, a jar funnel, a lid lifter or a fork (something to get the lids out of the hot water), and pictured far right a long air bubble remover. It is a flat plastic knife like stick to push into the jar to remove any bubbles.
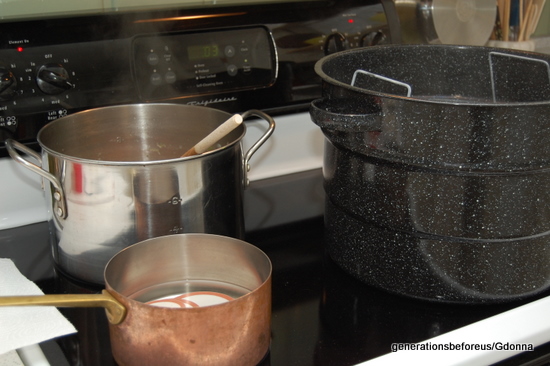
You will need a waterbath canner, as simmering pot to keep lids hot, a large pot to cook your pears
you will need sterilized half pint jars, lids and rings and pots or pans to keep these hot. I keep my clean jars down in my canner in simmering water while I am boiling the pears.
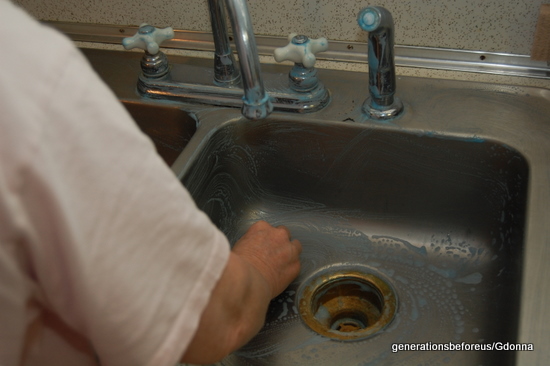
Start with a clean kitchen. I scrub down my sink and counters before starting. I also lay out clean towels to set my tools on for the canning process.
Start with Six Fresh washed Pears
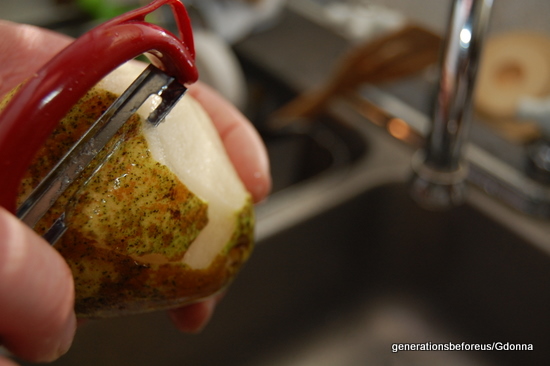
Peel the pears
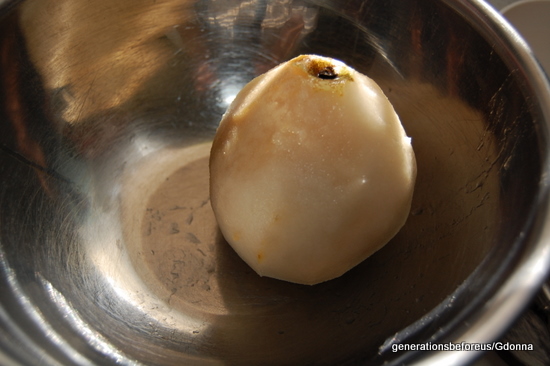
You will need to remove the core of the pear and slice the pears.
Many of my canning recipes come from the Ball canning book but some come from my Mother and Grandmother and some come from State Extension books. You should never take shortcuts in canning and you should always waterbath or pressure can your food to the proper times recommended. You should purchase a good canning book and study up on how to can your food. You should always follow their food safety guidlines. The books will tell you the proper length of time to process each fruit, vegetable, meat etc. If you mix ingredients then you need to know the proper time for each ingredient. Lets say you are canning something that has three ingredients and one ingredient takes 10 minutes and another takes 15 and another takes 20 then you will have to process that for 20 minutes because if you only did it for let us say 15 minutes then the item that took 20 minutes will not be safe. You must know if you need to do a waterbath or a pressure canner.
These pear preserves requires a waterbath canner.
Here is the recipe for a small batch
6 Fresh ripe Pears (not soft, they should crunch like biting into an apple)
1 Washed lemon
1 and 1/2 Cups of sugar in a small bowl
ANOTHER 1 and 1/2 Cups of sugar in another small bowl
2 and 1/2 Cups Water
5 Half pint jars
Wash Pears and peel them. Remove the core and slice the pears. Slice the washed lemon into thin slices.
Combine 1 and 1/2 cups of sugar and the 2 and 1/2 cups water in a large sauce pan. (The pot that is pictured above is larger because I made a double recipe). This recipe that I am posting is the single recipe.
Your pan that you use should have a thick bottom so your sugar does not burn.
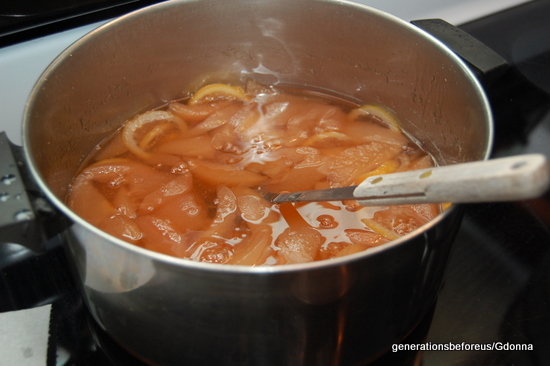
Heat on high heat and boil for 2 minutes. Stir as this sugar dissolves. Now add the pears and reduce the heat to a gentle boil and gently boil for 15 minutes. Now add the remaining 1 and 1/2 cups sugar and the lemon slices. Stir until this sugar dissolves then increase the heat and bring to a rapid boil and boil until the pears start to turn clear. About 30 minutes or so. Now remove from the heat and cover the pan. Place the pan in a cool place in the kitchen and let the pears sit for 12 to 24 hours. Why you let the pears sit is for them to soak up the syrup.
After the pears have sit for the 12- to 24 hours you are going to get the canning process ready. Get out your water bath canner, your clean sterilized half pint jars, your washed lids and rings, all your canning tools. Fill your waterbath canner and turn on your heat. Get out your small saucepan and put in your lids to heat. Get your clean sterilized jars ready in hot water. Your jars must be sterilized and hot when you put your hot pears in them. Put the pot of pears back on the stove and bring them to a boil.
Now that your pears have returned to a boil, Fill the hot jars immediately with pears, leaving a 1/2 inch headspace. Add boiling syrup to cover the pears, leaving a 1/4 inch headspace. Remove the bubbles, wipe the jar rims and adjust the lids. Process the jarred pears in a boiling water-bath canner for 10 minutes.

So now I am going to pick up here with photos showing the canning process. You have already cooked the pears in their syrup, let them sit in a cool place for the 12 to 24 hours and now it is time to can the pear preserves.
Clean your kitchen, sterilize your jars, lids and lay out all your tools. Bring your pears back to a rolling boil. Remove your hot sterilized jar from the pot
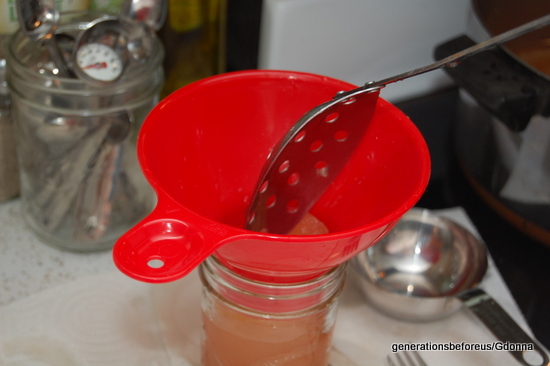
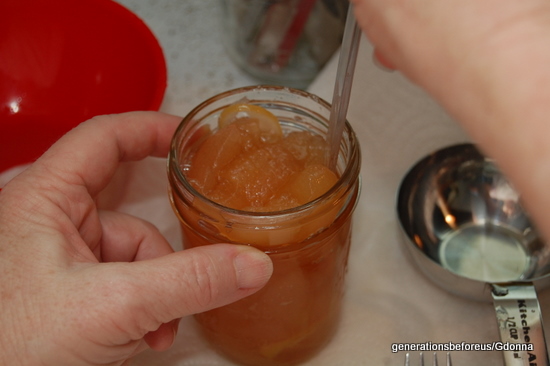
Fill your hot jars with the hot pears leaving a half inch headspace.
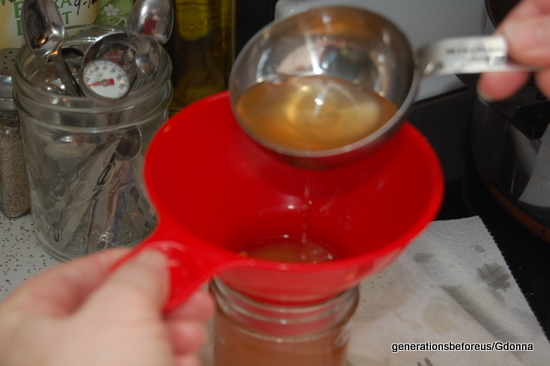
Pour the hot syrup over the pears and fill to 1/4 inch headspace
Use your tool to remove any air bubbles in the jar
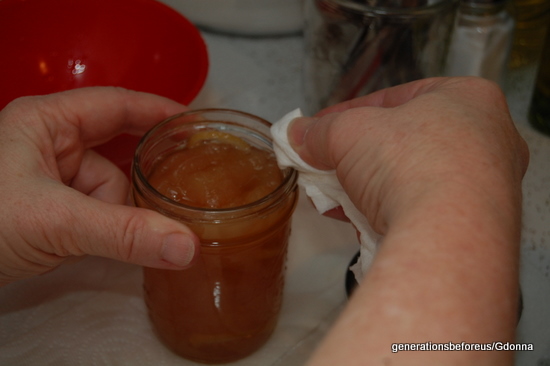
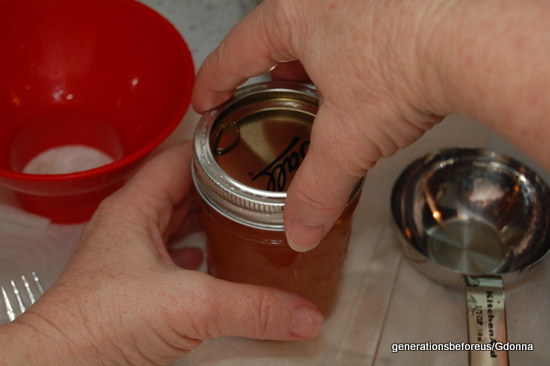
Wipe the rim of the jar so you get a good seal
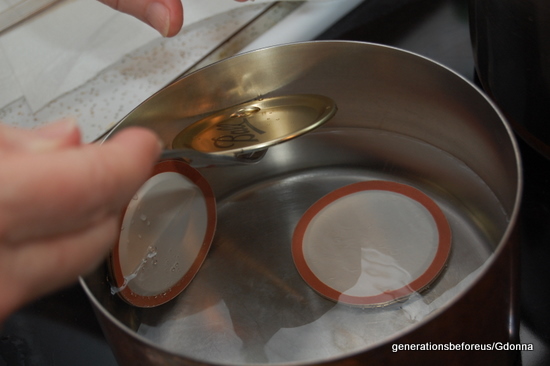
Remove your lid from your low simmering water
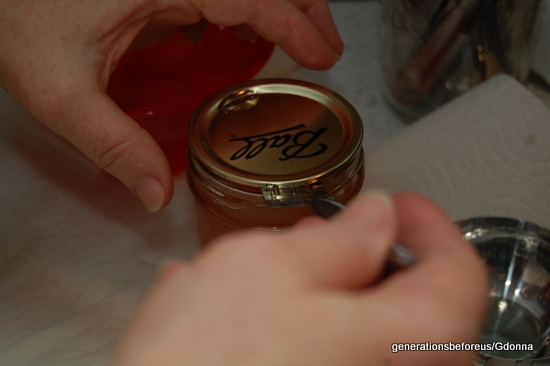
Place your lid on your jar
Put on the jar band and tighten to a gentle tight. You do not want your band to be too tight.
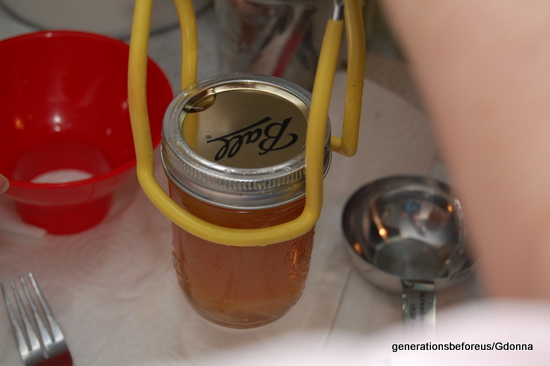
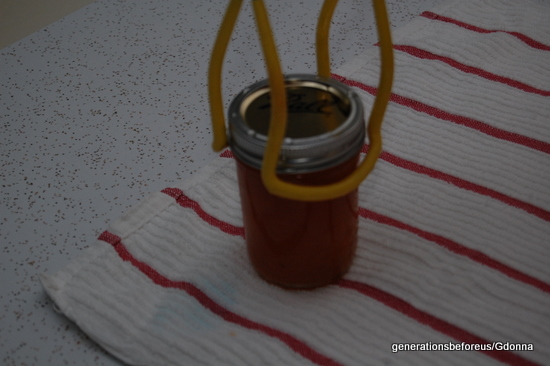
Use your jar lifter because your jar is very hot with the hot pears and syrup
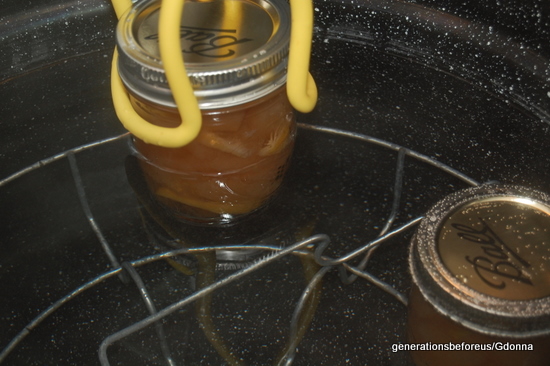
Place your jar in your water bath canner
The water should cover your jars a couple of inches above the top of the jars
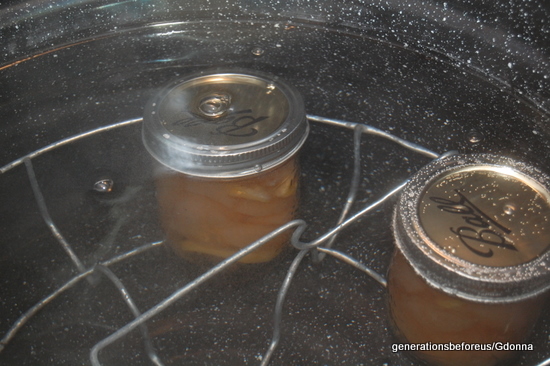
Put the lid on the waterbath canner and bring it to a boil. You may see air bubbles coming from your jars in the canner, this is normal. Boil for ten minutes.
*Note: If you will notice in this picture that there is a rack inside the canner. This rack is to keep the jars from sitting on the bottom of the pan. It also keeps the jars separated so they do not touch each other.
Remove your jars from the canner and place on a towel. You should never place the jars on a cold surface because the jars could break.
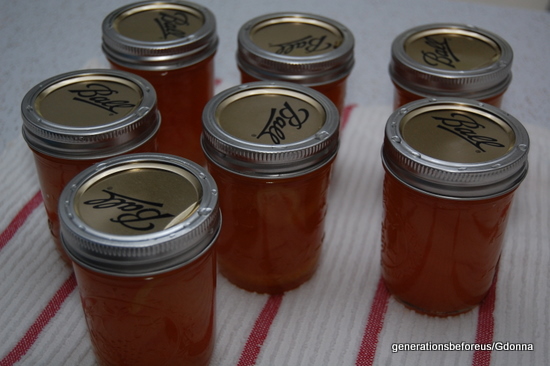
Let your jars cool undisturbed. The lids will make a popping sound after you remove them from the canner.
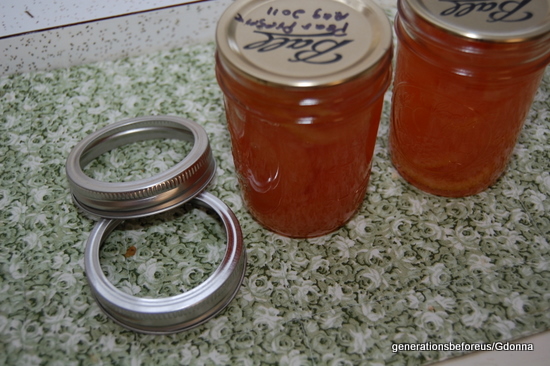
When your jars have cooled, I usually wait until the next day, you can remove the bands from the jars. Test the lids, they should be tight and pulled in. If you leave the bands on the jars they could cause rusting. Some people leave the bands on but I prefer to take them off.
If you have a feeling that a jar is not sealed properly just put it in the refrigerator and eat these preserves first.
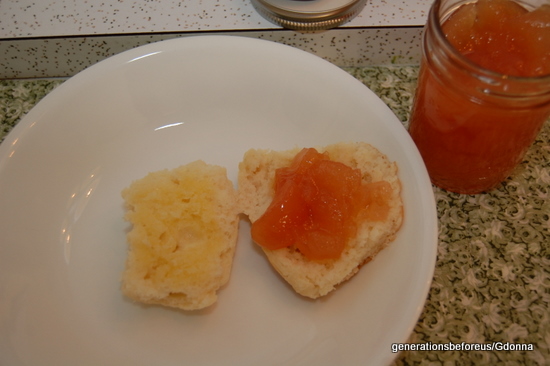
I hope this information has helped you with your pear preserves

