
Making bread or dough at home is not difficult. After making a few loaves of bread or a few pizzas you will start feeling more confident. The house will smell wonderful and knowing what is in your food is a good thing.
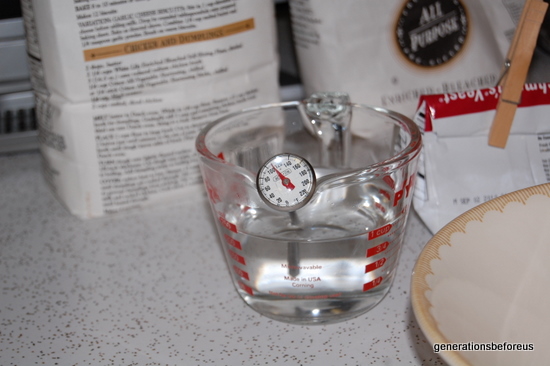
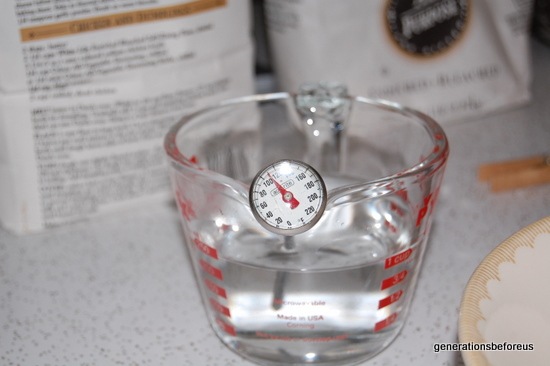
One thing that would be helpful to buy is a kitchen thermometer because you will have better results if the water is around 105 degrees to 110 degrees. Some people can just feel that temperature with their hands but I have always used a thermometer. If you don't have the money for it don't worry, just warm the water until it feels warm, not hot.
This is my basic bread dough for all, you can make bread, dinner rolls, hamburger buns, hotdog buns, raisin bread, pizza crust or cimmamon rolls with this bread dough and recipe. After the dough has been made and set to rise for the first rise then you can make it into whatever you choose.
This full recipe and directions may seem complicated but it really is not. I am going to give you every detail I can think of and break down all the steps for those that have never made homemade bread to help you learn to make this dough. Once you make it you will know this is a wonderful dough recipe and is not that difficult. It just takes practice.
The Recipe for two loaves of bread
2 cups warm water bottled water or tap
1/2 cup olive oil
1/4 cup active dry yeast (Fresh, not expired)
1/4 cup sugar
1 Tablespoon salt
1/3 cup dry milk
( if you are allergic to milk or you don't have any dry milk you can skip the dry milk and the bread will still be good)
4-5 cups bread flour
First thing you will do is clear off your area and gather your ingredients. Measure out your ingredients and warm your water. You will divide this water and I will tell you later.

You will need one or two large mixing bowls and an extra medium size bowl to mix this dough (you can barely see the extra bowl in this picture far left). I use two large bowls but if you only have one large bowl you can wash it during the bread making and re-use it. I have done that before I got a second large bowl. Notice the pot on the stove that is to warm the water.
** You can skip using the pot to warm your water if you want, I do this because I use bottled water to make bread and the reason I do is because we have so much chlorine in our tap water here. If you use tap water just get your warm water from the tap.
This is where your warm water is used. You will be mixing your yeast, sugar and water together in a medium size bowl.
I buy my yeast in bulk at our local sams club because it saves money and I use a lot of yeast because I make a lot of bread.
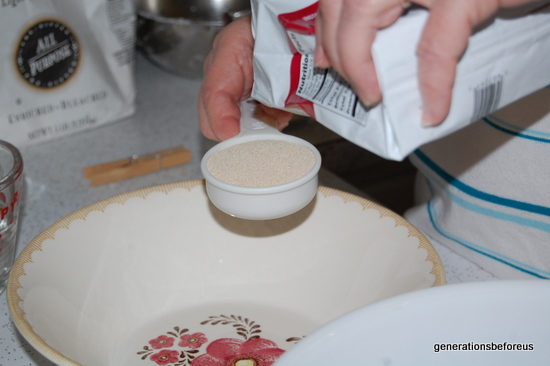
Put your 1/4 cup of yeast in your medium size bowl. Make sure your yeast is fresh and not expired or your bread will be a flop.
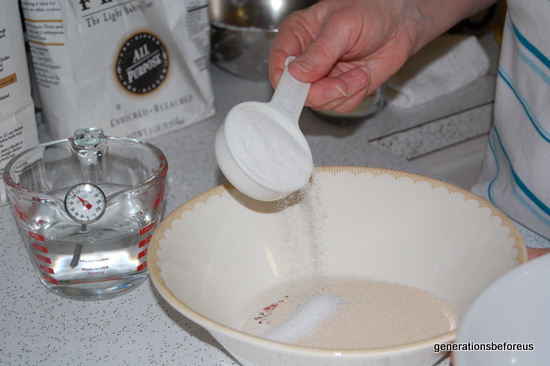
Add the 1/4 cup of sugar to the yeast in the medium size bowl
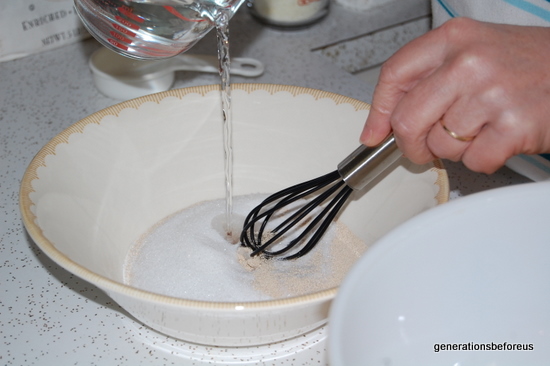
Add one cup of the warm water to the yeast and sugar mixture. The other cup of water will be used later
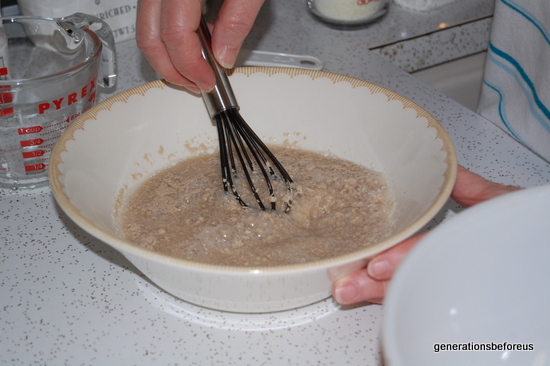
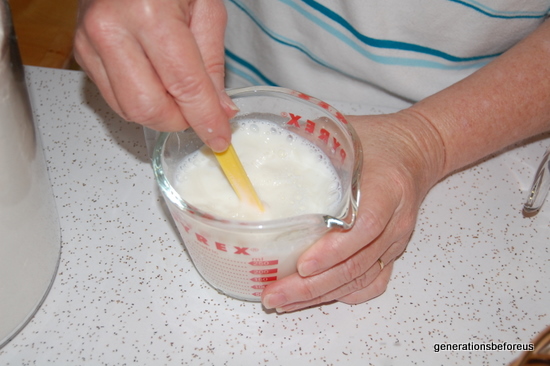
Whisk the yeast, sugar and water together until dissolved. Then set is aside and set a timer for 10 minutes. It will rise a lot so make sure you used a medium size bowl. I use a serving bowl and it rises almost all the way to the top. You can use the other large bowl and just rinse that out until you learn how much your yeast mixture rises.
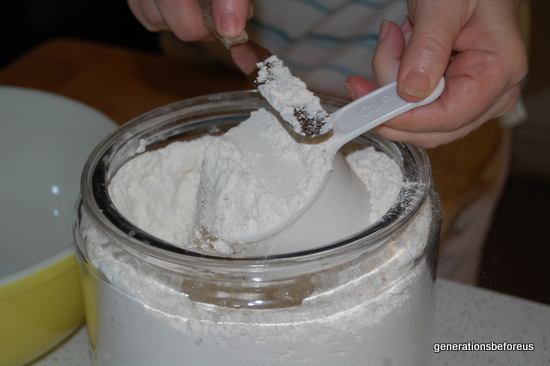
I keep my flour in a large container with a large open top because I make all our bread at home. When you are making bread you use the flour in stages and this just makes it easier than dipping in and out of the flour bag.
You will now dip out three cups of flour and put that into the large bowl.
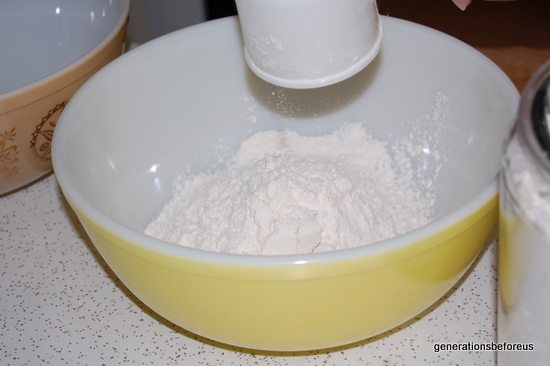
Keep the container of flour or bag of flour close by because you will use more flour but for now just the first three cups of flour into the bowl.
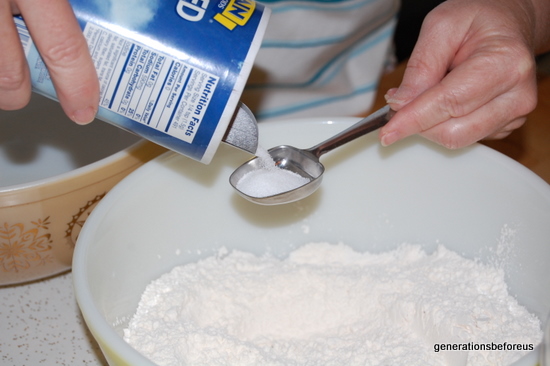
Add the one Tablespoon of salt to the flour
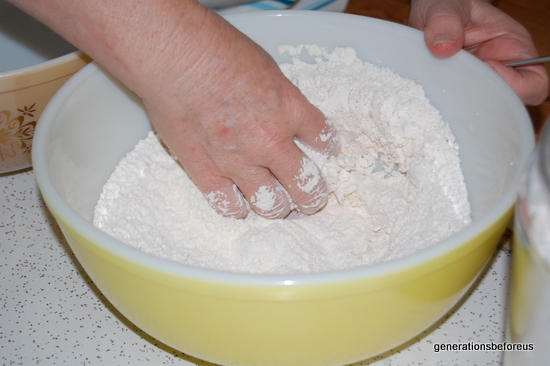
Toss around the salt into the flour. You can whisk it into the flour if you like.
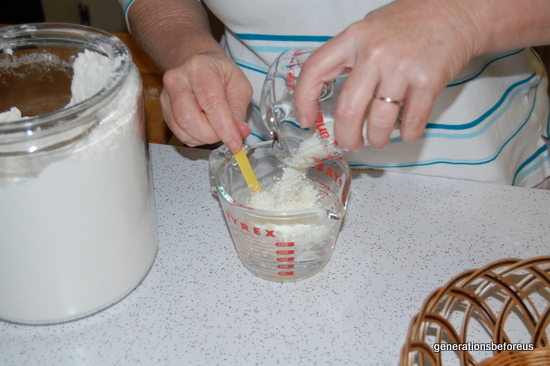
Now here is where you add the 1/3 cup of powdered milk. You will be adding it to the remaining one cup of warm water. If you are allergic to milk just leave off the milk completely. Just use the remaining one cup of water without the milk. Your bread will be fine without it.
If you are using the powdered milk, give it a stir
Your timer that was set for ten minutes has gone off and your yeast mixture has risen.
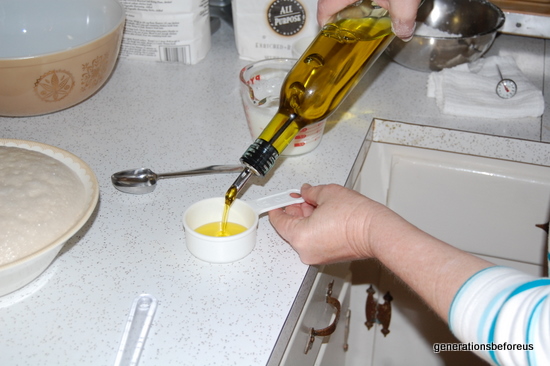
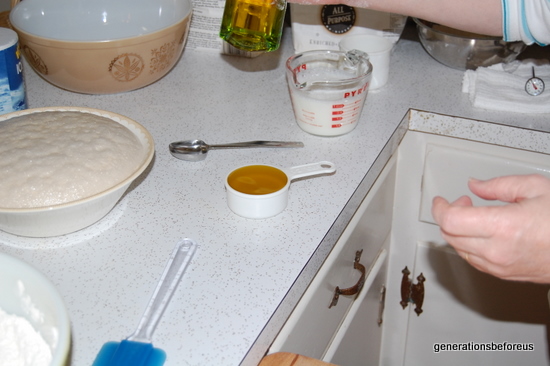
Now it is time to measure 1/2 cup of olive oil if you have not already
Everything is now ready to pour into the bowl of flour, remember you already put the salt into the flour.
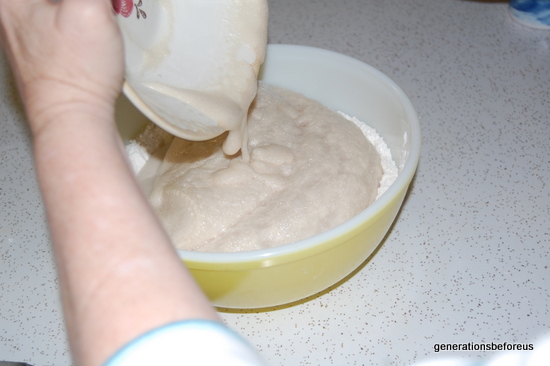
Pour in the yeast mixture
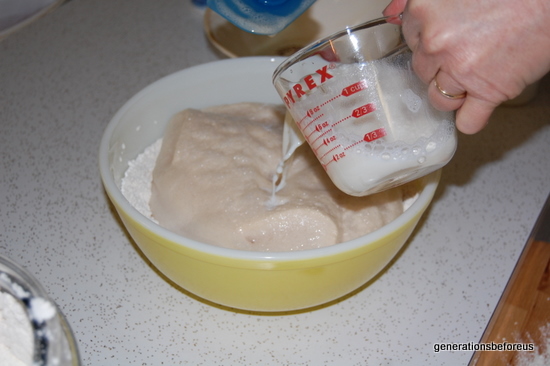
Pour in the 1 cup of milk and if you are not using milk pour in one cup of warm water
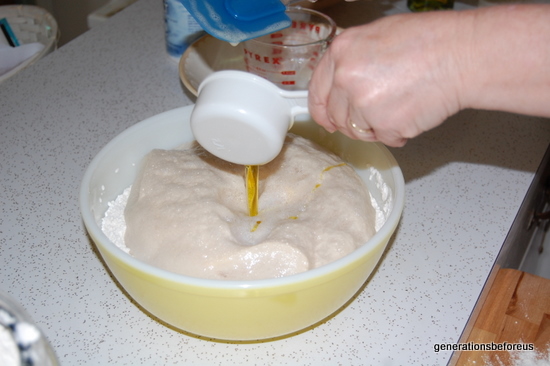
Pour in the 1/2 cup of olive oil
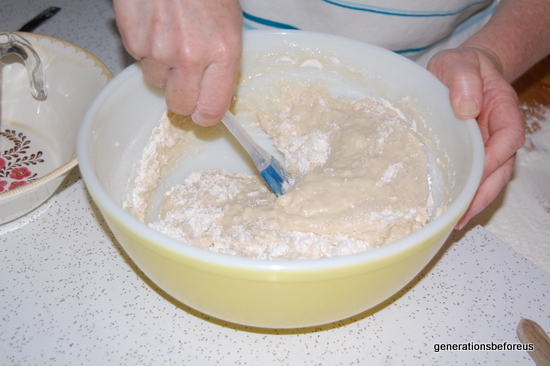
Stir this around a good bit of stirring. You will have a thick batter. It all depends on your weather and other factors but it should be a thick or thin batter.
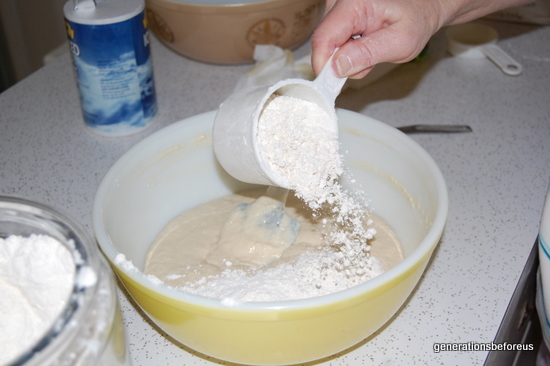
Now this is where you start adding extra flour. I add the flour around the edges of the bowl. I add about a half a cup at a time Working that in.
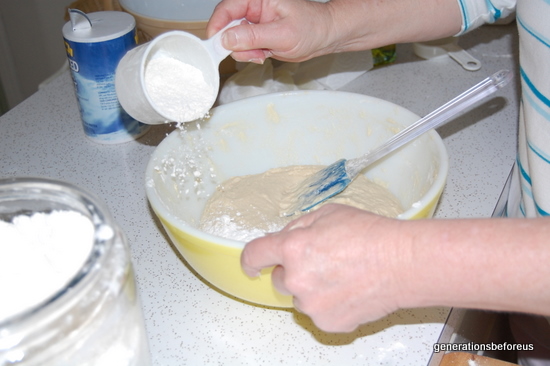
Keep adding and mixing the extra flour into the dough until.....
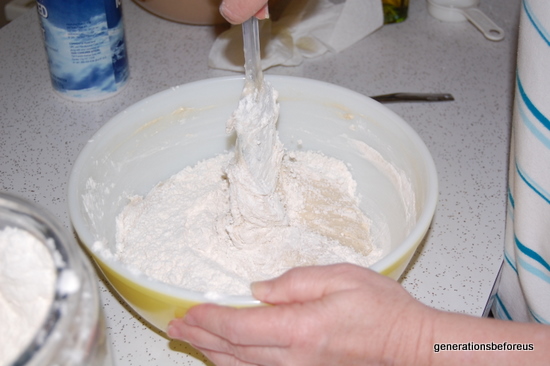
Until it is too thick to stir in with your spatula
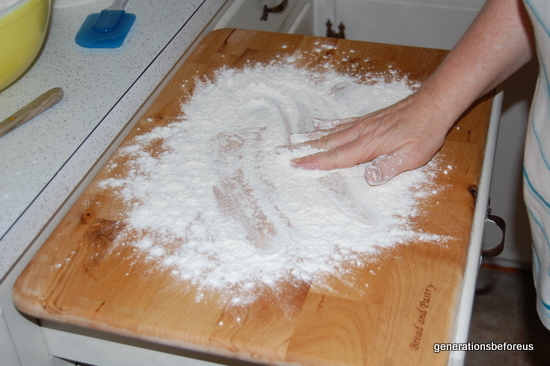
Now get your surface ready to knead your dough. I use a breadboard, I have also used my counter top until I had a breadboard. I am short so I pull out a drawer and place my breadboard on top.
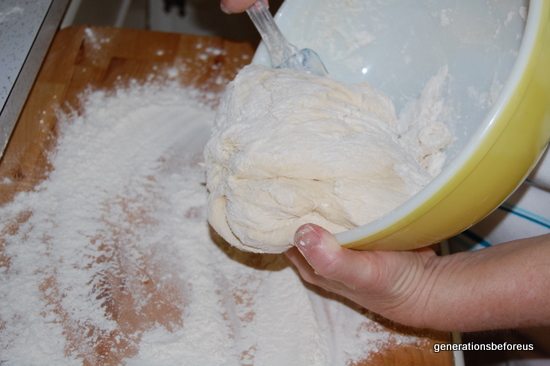
Now it is time to remove it from the bowl onto a floured board of countertop.
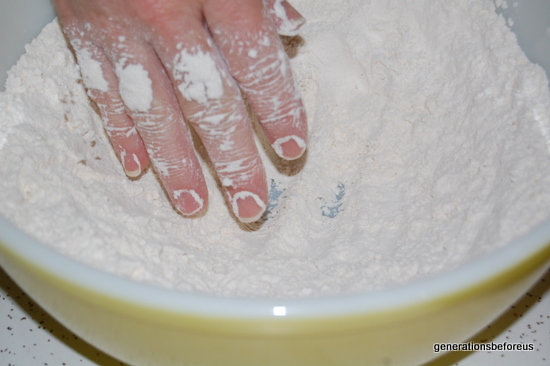
This is where you learn how to handle the dough. Right here your dough will be sticky. I am just removing the last bit of dough off my spatula. I will then go and wash my hands and dry them well. After I dry my hands I flour my hands.
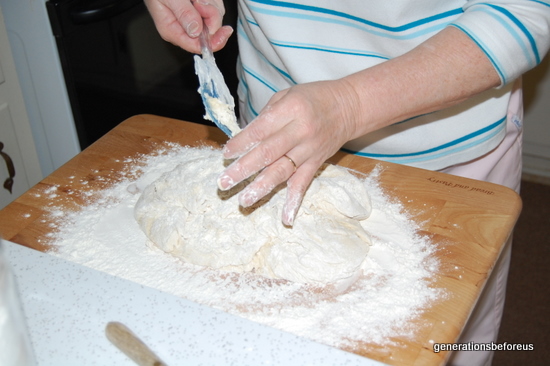
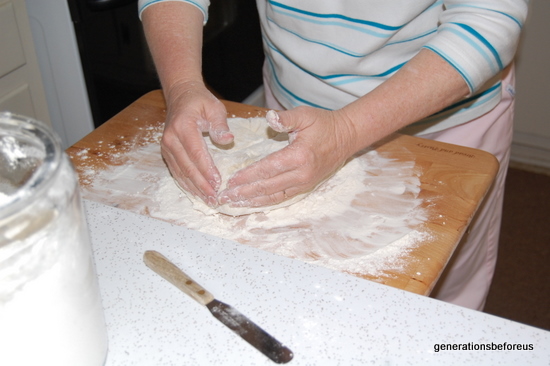
I pull the flour off the board into my dough with a gentle touch and work this flour gently because it will be sticky for a bit of time. You need to keep sprinkling flour over and around the dough as you work the dough until it is not sticky. Until you learn how to do this you may have to wash your hands a few times.
It will get easier with practice. Just keep pulling in the flour and mashing the dough around. Kneading will come next.
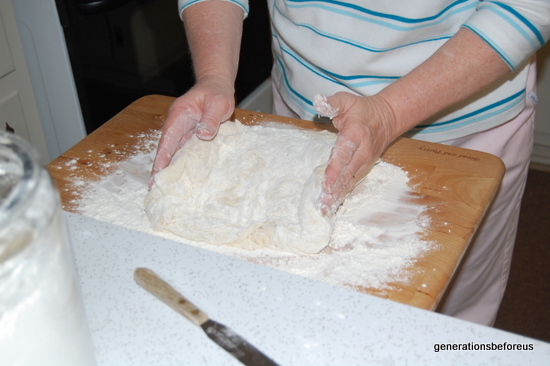
When you feel the dough is not sticky anymore it is time to knead

You will be pressing the dough, then using the palm of your hand and push, turn and push etc.
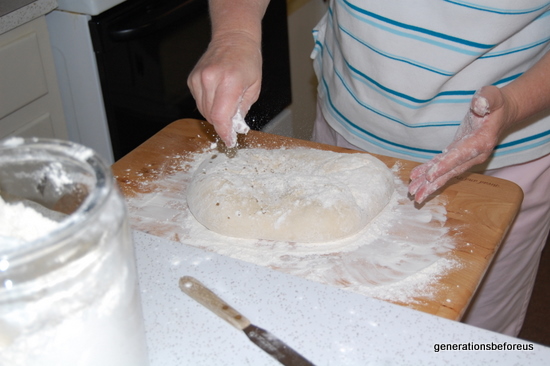
You will have to keep dusting with flour and make sure you keep flour under the dough until it is no longer sticking to the board. I did not get a good picture of the kneading, I will try and add one later. You will knead the bread 5 to 10 minutes. I usually knead for about 8 minutes.
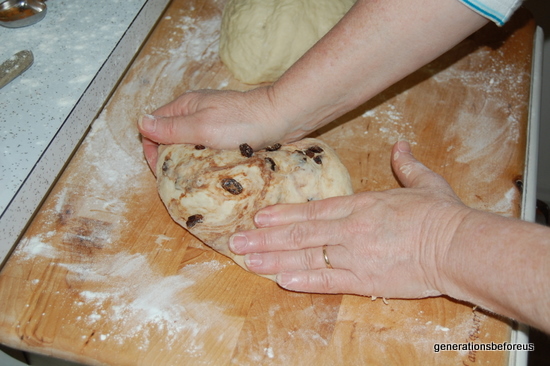
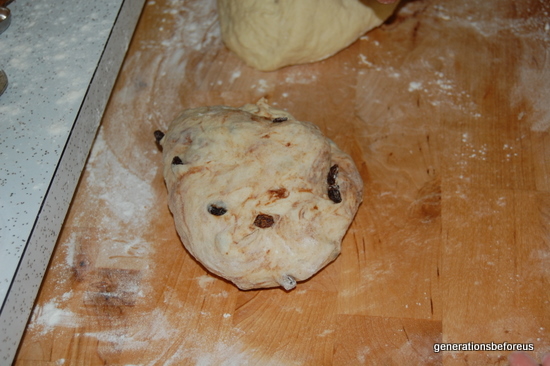
I don't want to confuse you but the day these photos were taken I was making two types of bread. So I divided my dough here into two pieces. If you are making two loaves of white bread or two loaves of raisin bread you will not divide the dough at this time. The first time you make bread I would suggest you make simple white bread so you can get the hang of it first.
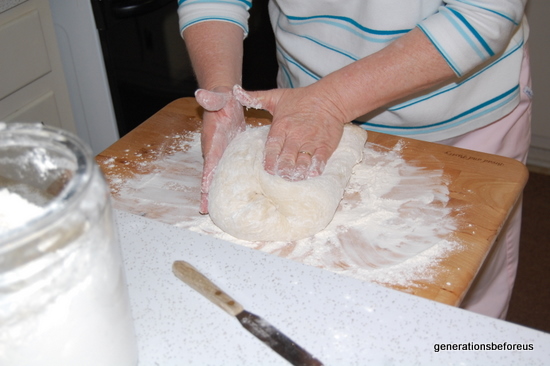
Here is a picture of me kneading raisin bread. I add the rasins and cinnamon during the kneading stage when I make raisin bread. The dough sitting on the board that I am not kneading is plain white bread, many times I split my dough and make a sandwich bread and a raisin bread for toast.
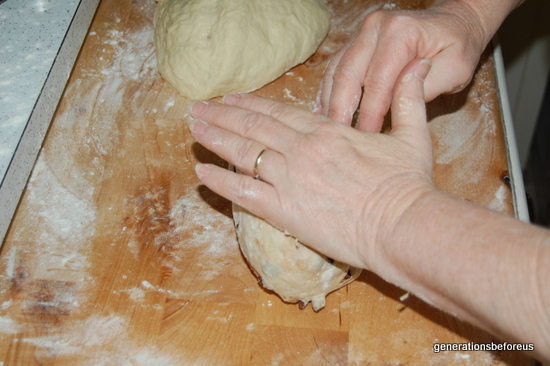
This is how I place my hand then press down with the part of my hand close to my wrist. This motion is kneading. Press, turn pull the bread over, press turn, pull the bread over. Working in flour as you do this. You want the dough to remain soft. If you work in too much flour your bread will be heavy. But if you work in less flour your bread will be light.
In your recipe you started off with three cups into the bowl, then worked in about a cup more with the spatula, maybe less. Then when you knead you worked in about another cup.
I am sorry for the confusion here but hope that I am explaining it clearly.
Your dough should be soft and not sticky. It may be a tiny bit sticky but you will learn the feel.
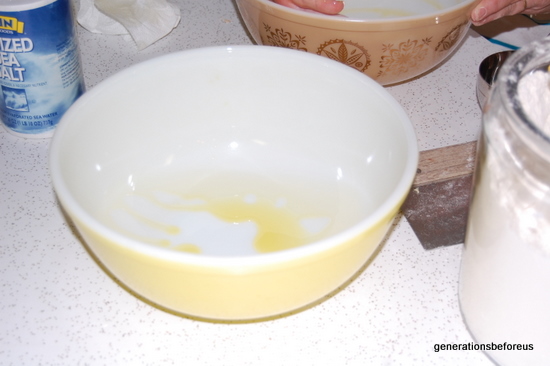
Now pour about a tablespoon of olive oil into the other large bowl or the one you washed. And spread the oil around in the bowl. You will be placing the dough into this bowl to let it rise.
If you are making two different breads such as raisin bread and plain bread you will need to oil two large bowls.
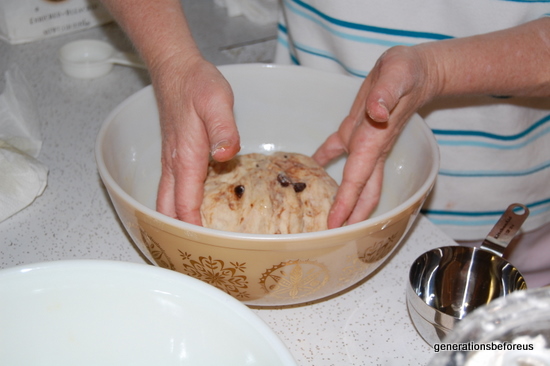
Place the dough into the greased bowl, toss the dough around until the oil has surrounded the dough.
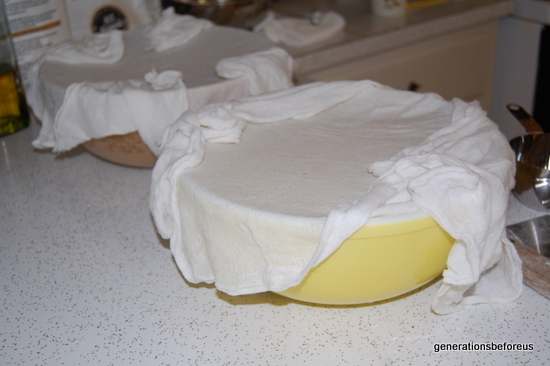
Cover the bowl or bowls with a dampened cloth. I use baby cloth diapers because they are just the right thickness but you can use a dish towel. Set aside and let it riser for about 30 to 40 minutes.
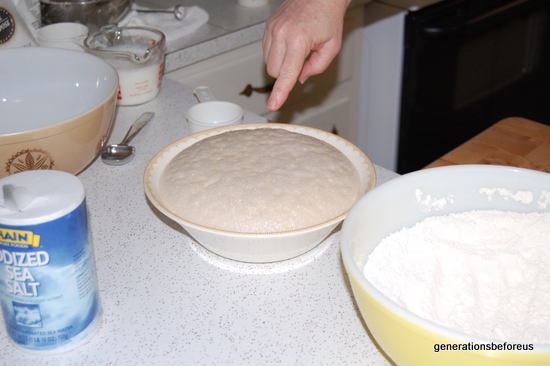
After the dough has been in the bowl for the 30 to 40 minutes it should be about double in size.
Oil your clean counter down just a bit and Remove the dough from the bowl and place on the oiled counter. If you still have the single batch now is the time to divide the dough in half. Press it down easy and then roll it and place it into your two greased bread pans.

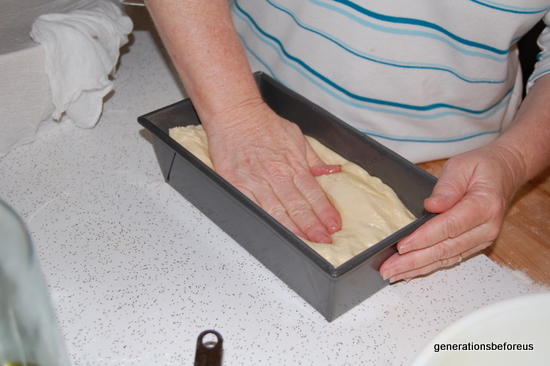
If you made two different types of bread as I did then your bread is already divided so Simply pour/dump the dough into the greased breadpan and press down.
Now you have to let it rise a second time. Set the pans in a draft free area of your kitchen and leave uncovered to rise for about 30 minutes depending on the temperature of your kitchen. Don't let it over rise at this point. After about 20 minutes of rising time you should pre-heat your oven to 350 degrees so it will be ready when it is time to put the bread in the oven.

This is before letting it rise in the pans

This is what they look like after 30 minutes and time to bake them. This day we were cooking them outside in our Big Green Egg. Notice that the raisin bread did not rise the same, this is ok. It will rise some more in the oven. Place the bread in the oven and bake at 350 degrees for 30 minutes.
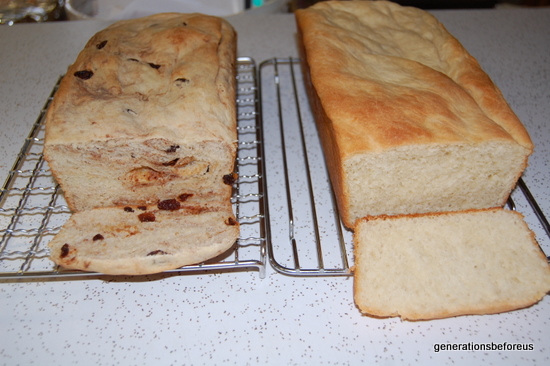
After the bread has cooled about 20 minutes or so remove the bread from the pans onto a cooling rack until cooled completely. The tops of this bread fell flat due to cooking it ouside on the Egg. The kitchen oven cooks it better but we were experimenting this particular day cooking bread without electricity. I will take more pictures next time I cook it in the kitchen oven but I wanted to get this page up for now. Hope this helps you to learn to make bread.

