This is Tatting
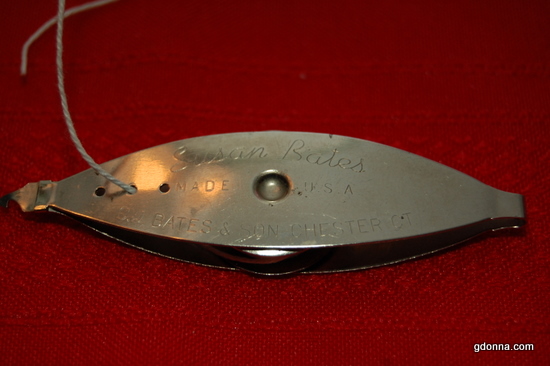
This was my Grandmother's Tatting wheel. I love this tatting wheel because it was in her loving hands years ago. If you notice in the picture it was made in the USA and now they are made in China. Even the metal feels different and more smooth than the new one.
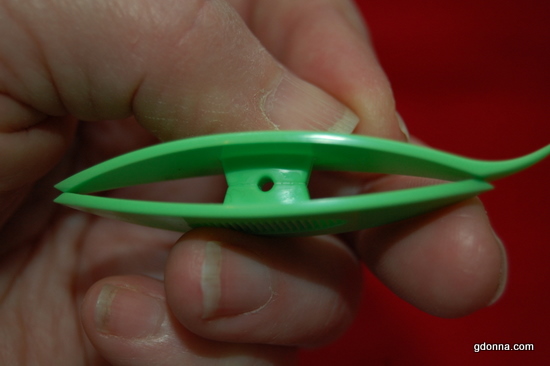
This is the new type that is popular and frankly I like it because I can control the thread better with these types. Sorry about the rough hands in the photos, I do a lot of gardening.
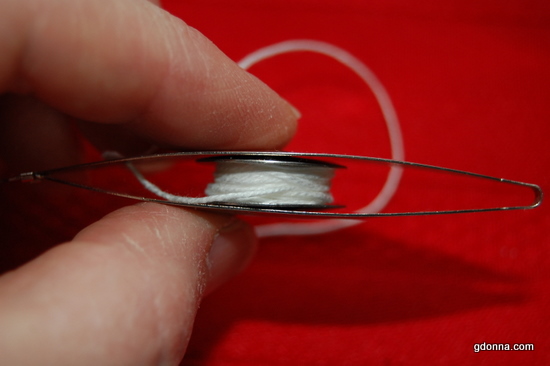
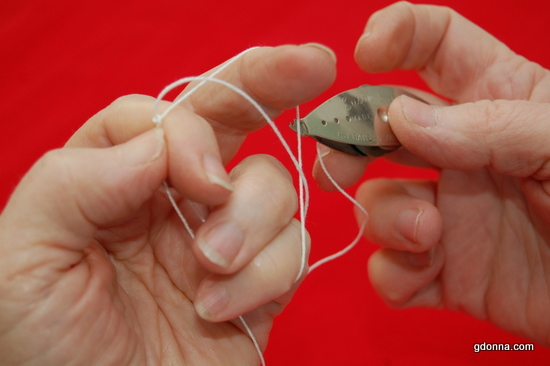
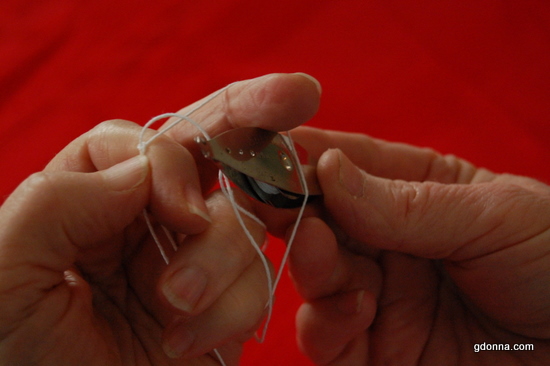
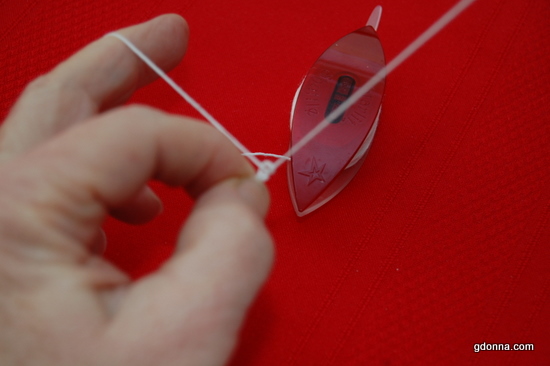
This is the bobbin inside the metal shuttle.

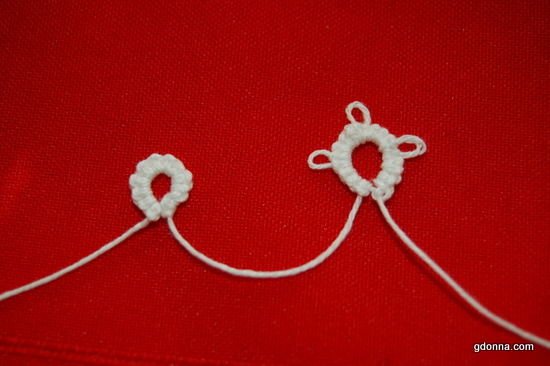
This is a picot
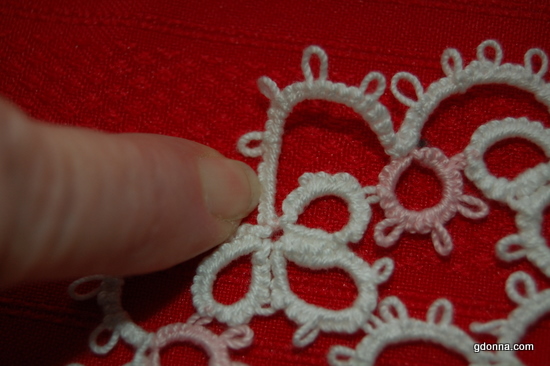
This is a chain
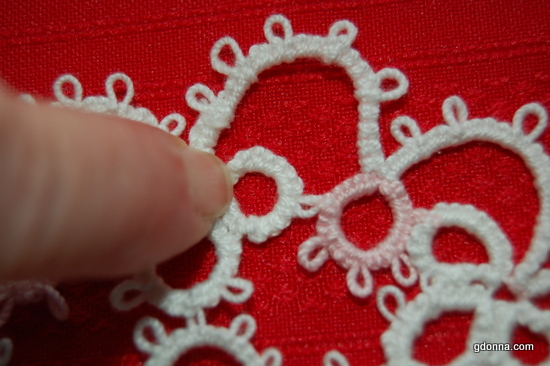
This is a ring
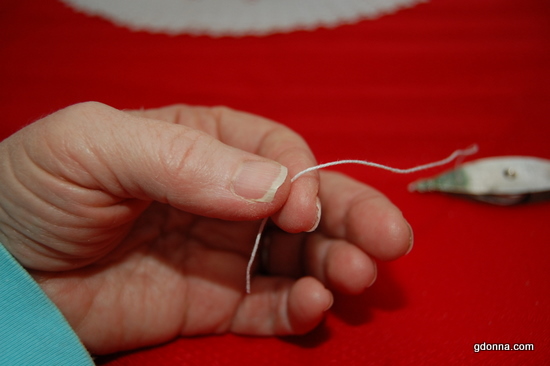
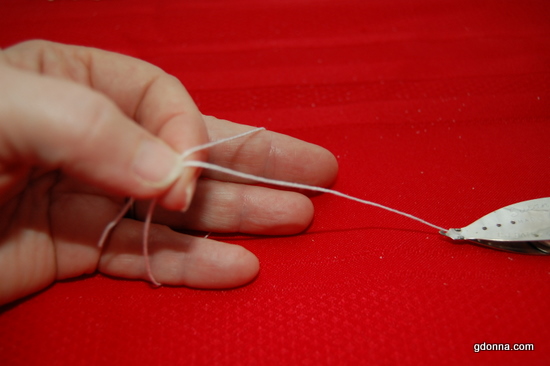
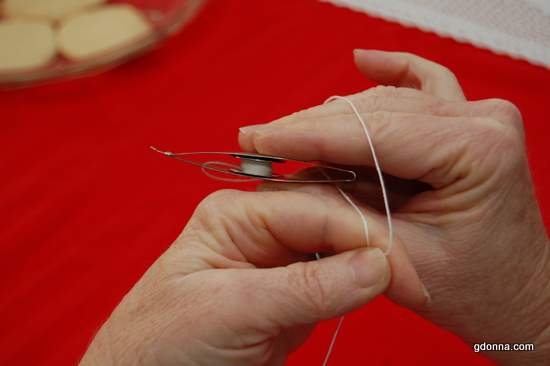
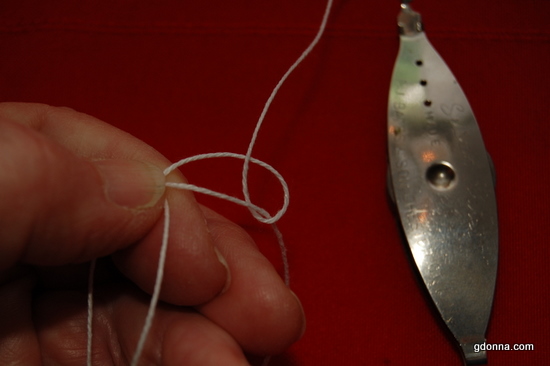
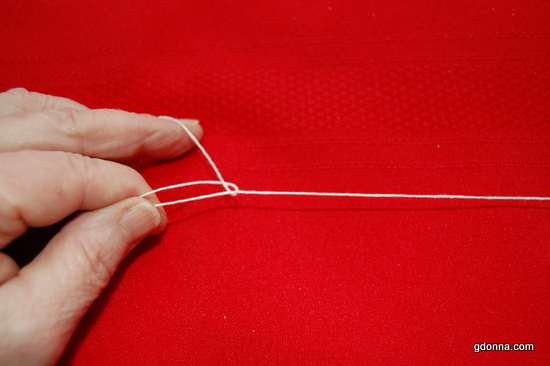
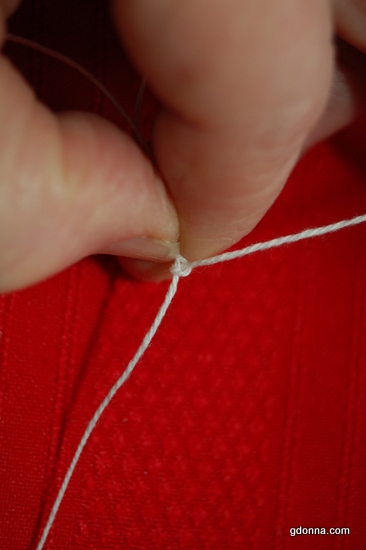
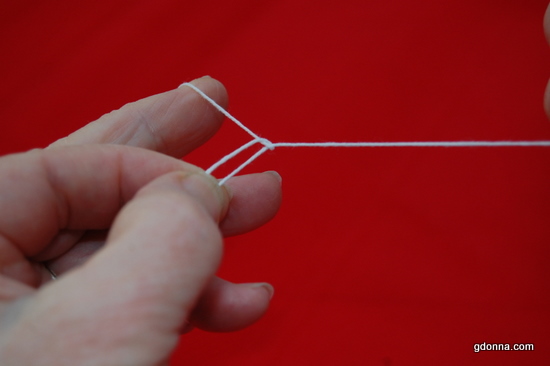
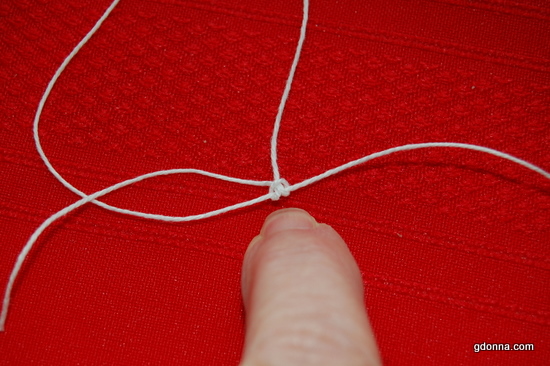
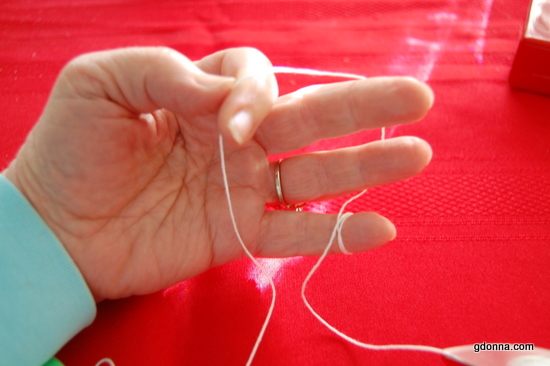
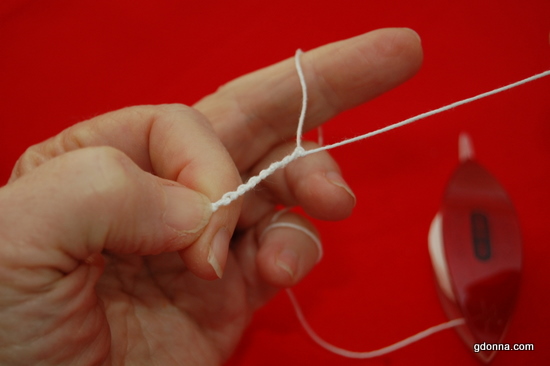
This is how you hold the beginning of the thread, let me say here when you start using two shuttles this thread that is hanging down will be part of the other shuttle. But for now just beginning, this is the way to start.
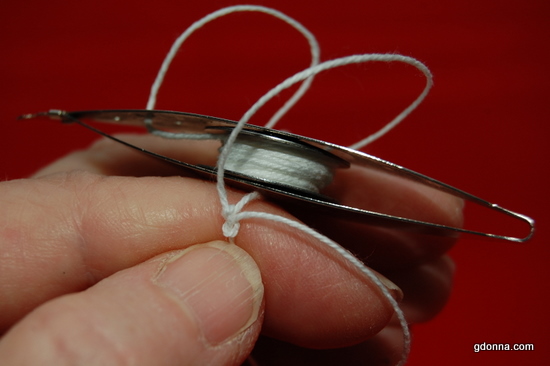
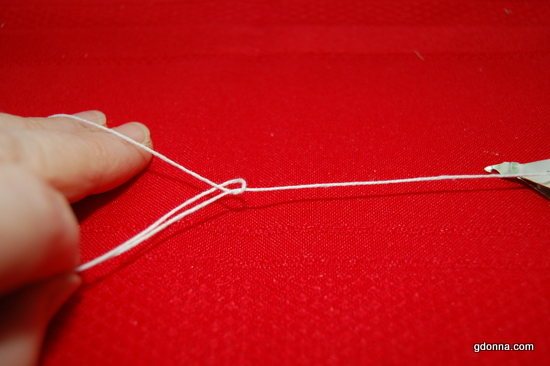
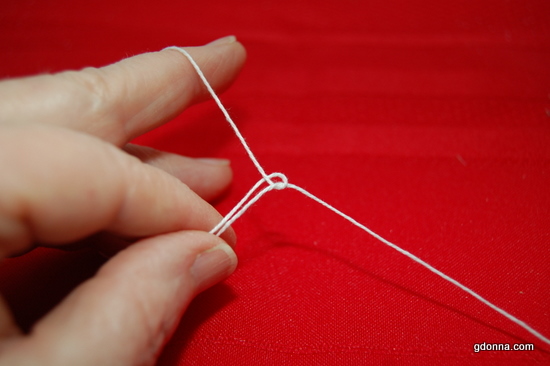
This thread will wrap around your fingers and brought back up next to the beginning of the thread.
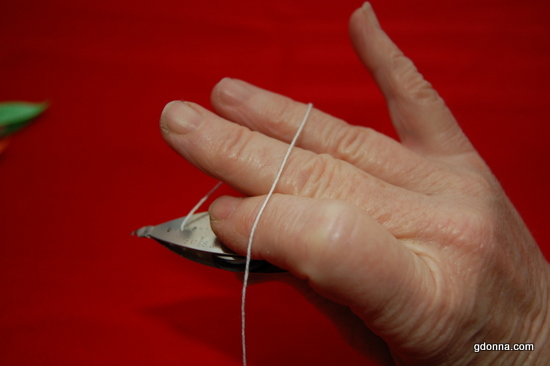
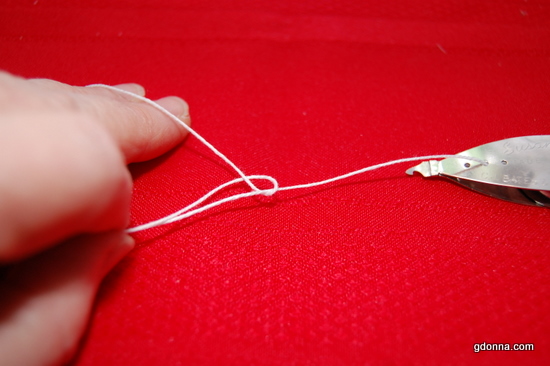
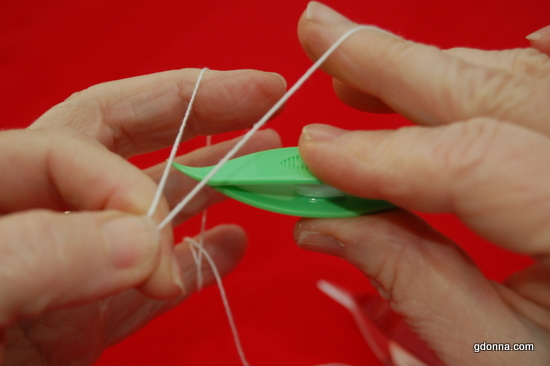
This is the right hand, the thread comes from the shuttle
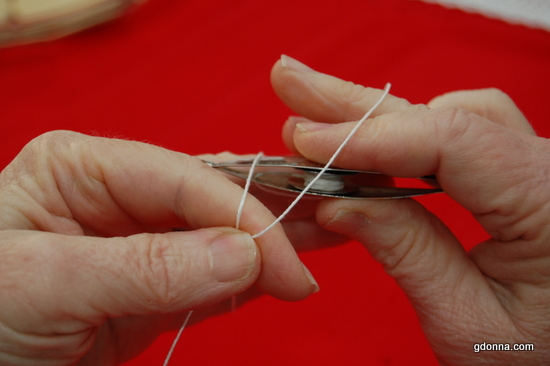
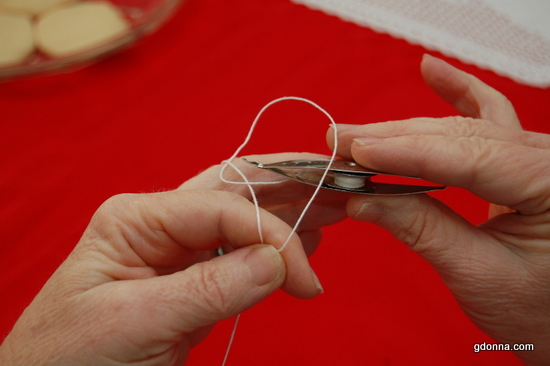
You insert the shuttle under the thread that is wrapped around your left hand.
It is just my hand that is removed to take this picture. The right hand guides the shuttle under the ring thread.

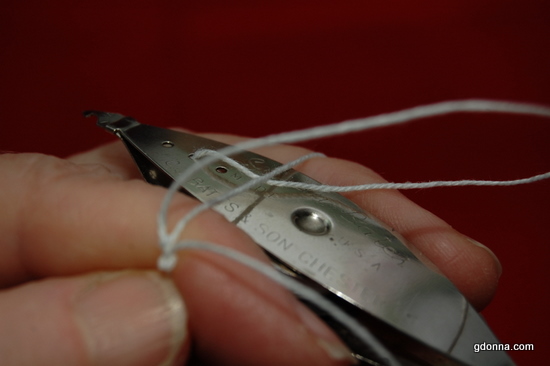
Here is another picture of the shuttle going under the ring thread and notice the string across the top of my fingers on my right hand.
Now I have passed the shuttle all the way under the ring thread and I am backing the shuttle now over the top of the ring thread just like backing up a car over a speed bump.
This is the sequence, wrap the shuttle thread over your fingers of your right hand, pass the shuttle under the ring thread of your left hand then back up the shuttle over the top of the ring thread and gently pull the thread away from the ring.
Here is a close up with my right hand removed so you can see the shuttle backing over the top of the ring thread.
Now we have back out over the ring thread and will keep gently pulling but we must FLIP the thread onto the shuttle thread. If we miss this step you cannot tat properly.

You pull the shuttle away, gently relax your fingers to let the thread change directions.
Pull the long middle finger of your left hand to make the thread flip over to the shuttle thread.
THE FLIP!
Here is the most important part of tatting, the part that seems to be left out of most instructions. I will try to be as clear as I can manage.
This is a photo of the WRONG WAY. The loop is wrapped around the tail thread. Go back up to the previous picture and look at it again then back to this one and notice the difference. Here if I hold the shuttle in my right hand putting gentle tension on the shuttle thread and lift my middle (long) finder it will help the thread to flip.

Here the thread is in the middle of the flip
I am putting a little tension, it is starting the flip
Now it has flipped
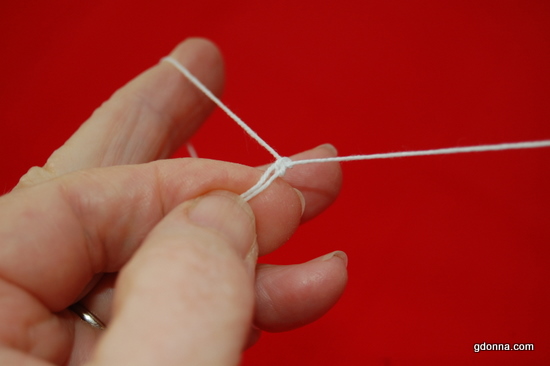
By lifting my long finger and pulling gently with my right hand the flipped thread will travel across the shuttle thread and travel to the left to meet my thumb and index finger where I have a grasp on the thread.
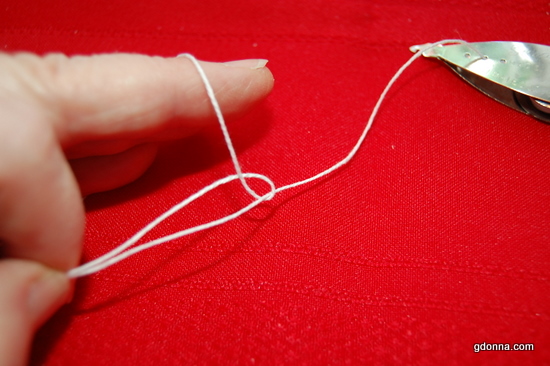
So here is the sequence of the double stitch. I am pulling the loop across the shuttle thread toward my left hand
I pulled it tight against my fingers
Now for the second half of the double stitch. You may want to look around on the internet for videos etc. I do this a little different but it is more comfortable to me this way.
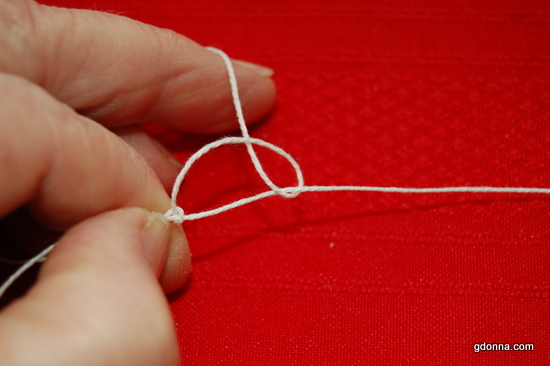
I am grasping the first part of the double stitch in my left hand between my thumb and index finger I have my long finger pulling up on the ring thread and have made a triangle. I come around that triangel with my shuttle and insert the shuttle inside the back of the triangle.
The shuttle comes through the triangle but over the other thread.
Pull the shuttle away keeping the long finger on the left hand up and make the loop flip to the shuttle thread.
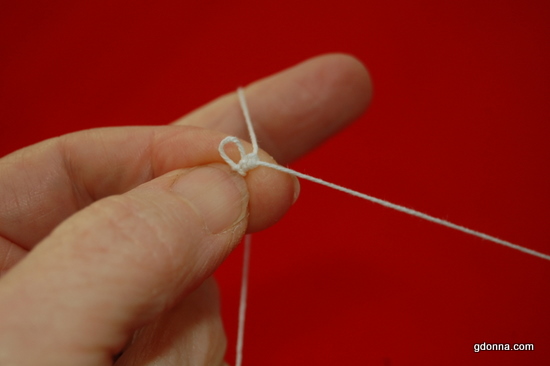
I have moved it next to the first part of the double stitch
This is what it looks like pulling down next to the first part of the stitch
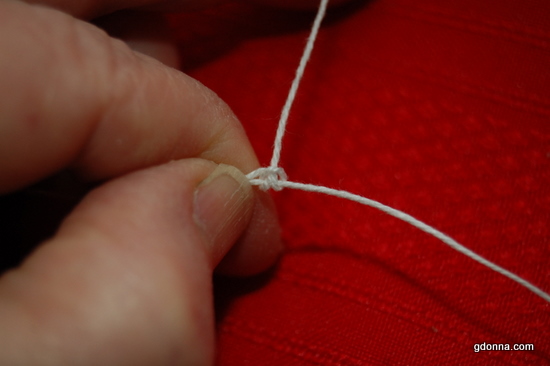
This is a double stitch. We flipped loop one then flipped loop two onto the shuttle thread and move it to the left hand.
I have removed my hand from the thread that was wrapped around my left hand. Study this picture well, the double stitch is traveling along the thread coming from the shuttle.
Here is another look, if I move that double stitch to the left here this ring will get smaller.
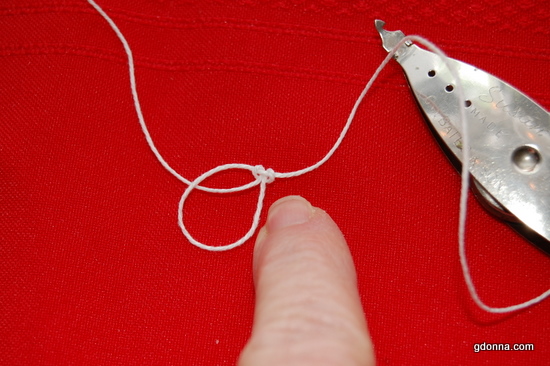
See, I kept moving it to show you how the ring gets smaller and that is what makes a ring in Tatting.
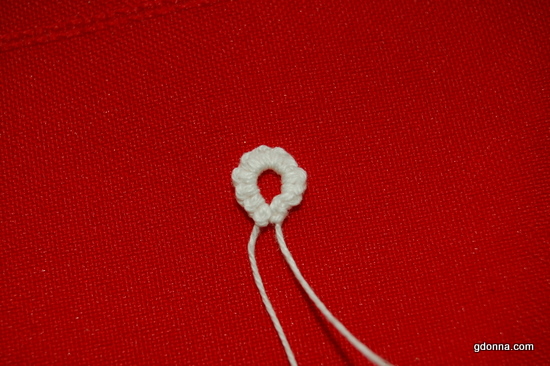
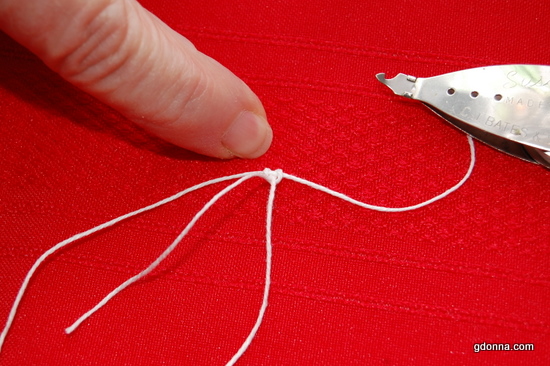
I tatted 12 double stitches on my shuttle thread then pulled the ring closed to show you the ring
I did another ring but added picots so you could see the difference.
THE CHAIN
This is how I hold the thread for the chain
Notice that I have not wrapped and joined the thread as I did for the ring.
I have two shuttles now. I pinch the thread as I did before and bring the thread around my fingers as before but I looped the thread three times around my little finger.

So now we have thread to the left and to the right

I just laid the shuttle down on my hand to show you that this is now working shuttle. You would not start a piece off with a chain so we must pretend here that you are holding a piece that you are working on. This is just an example to show you the attachment of the two pieces.
Here is where you have to imaging that your rings that you have made are hanging from my fingers on my left hand. Now the shuttle thread that is partially wrapped around my finger of my left hand, wrapped the aroung my little finger and that shuttle is just laying on the table. The shuttle coming from the left side is going to do the same double stitches that you have learned previously. Everything is the same other than you are making a chain and using two shuttles.
Double stitch, first part of the chain
The chain still loose, you will want to slide them tight to the left when finished. This chain I made here has no picots.
To make a picot you simple leave a space between two double spaces.
You leave a space then make the second half of the double stitch.
Once the double stitch is complete slide it next to the other double stitch and a small loop will form between the two double stitches.
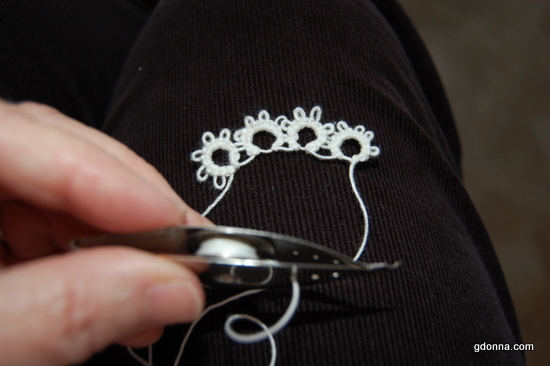
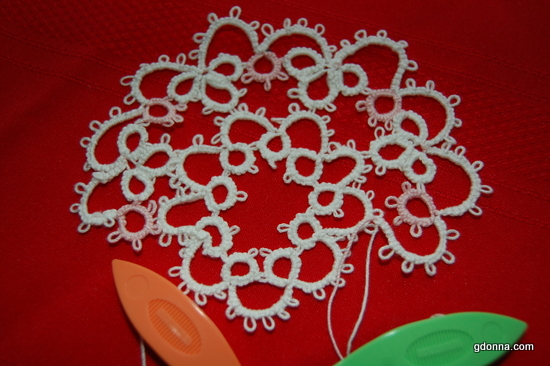
Here are some simple daisy rings and picots, this can be done with one shuttle.
Whew! I will stop here right now, so I can figure out how to attach a video of all of this so it might be easier to understand.
Look around on the internet, there are some great videos out but the flip seems to be most often left out and this has to be done to tat. Hope this helps.

